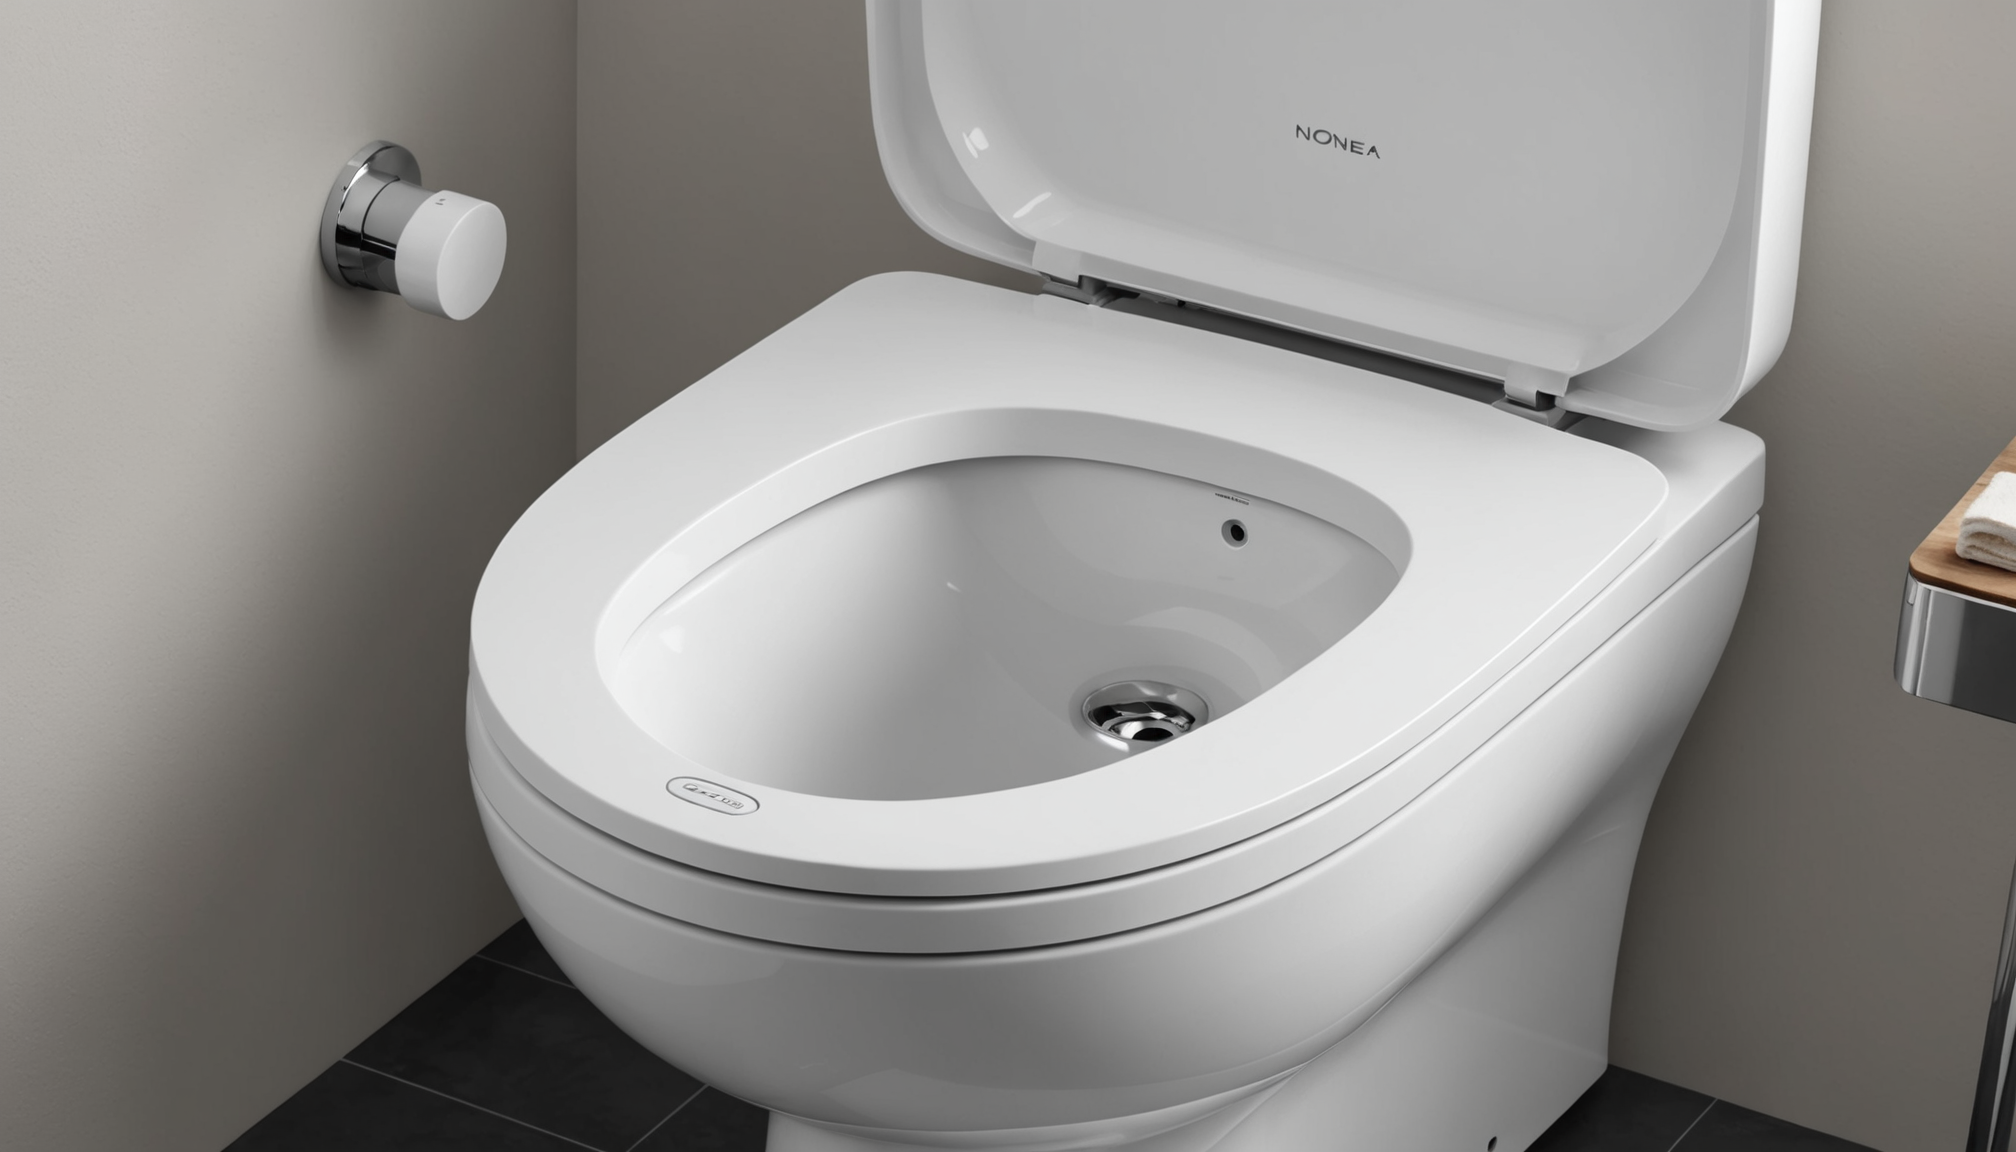
When it comes to enhancing your bathroom experience, bidet seats offer a modern and hygienic solution. Understanding the different types of bidet seats is crucial for making an informed decision about which one to install. Bidet seats come in various designs, each with its own set of features to cater to different preferences and needs.
The most basic type is the non-electric bidet seat. These seats are easy to install and require no electrical power, making them a cost-effective option. They typically come with a control lever or knob that activates a nozzle to release a stream of water for cleaning. Non-electric bidet seats are eco-friendly and can be a great starting point for those new to bidet use. According to a study by Scientific Reports, bidets can significantly reduce the use of toilet paper, contributing to environmental sustainability.
For those seeking more features, electric bidet seats offer a range of advanced functionalities. These seats require a power outlet and provide options such as heated seats, warm water washing, adjustable water pressure, and even air drying. Some high-end models include features like nightlights, automatic deodorizers, and remote controls. Electric bidet seats are popular for their comfort and convenience. Brands like TOTO and Bio Bidet are renowned for their quality and innovation in this category.
Another type is the tankless bidet seat, which heats water on demand. Unlike traditional models that store heated water in a tank, tankless bidets provide an endless supply of warm water without the wait time. This makes them energy-efficient and space-saving. Tankless bidet seats are particularly beneficial in households with frequent bathroom usage, as they ensure consistent water temperature.
For those with mobility issues or specific health needs, there are specialized bidet seats designed for ease of use. Features may include wider seats, remote controls, and advanced water spray settings that can aid in personal hygiene. These seats are often recommended by healthcare professionals for individuals with conditions that require extra care during bathroom use.
When considering the installation of a bidet seat, it’s important to check the compatibility with your existing toilet. Most bidet seats are designed to fit standard round or elongated toilet bowls. However, ensuring the correct fit is crucial for both functionality and aesthetics. Additionally, consider the plumbing requirements. While many bidet seats can be installed using the existing water supply line, some may require additional plumbing work. Consulting the manufacturer’s guidelines or seeking professional help can ensure a smooth installation process.
The variety of bidet seats available caters to different needs and preferences, from basic non-electric models to advanced electric and tankless options. By understanding the features and benefits of each type, you can make an informed decision that enhances your bathroom experience while considering your plumbing and installation requirements.
Power requirements and options
When considering the power requirements and options for bidet seats, there are several factors to keep in mind to ensure a seamless and functional installation in your bathroom. Understanding these aspects will help you determine the best fit for your needs and existing plumbing setup.
Electric bidet seats, which offer advanced features like heated seats and warm water washing, require a dedicated power outlet. Typically, these seats need a 120-volt GFCI (Ground Fault Circuit Interrupter) outlet, which is a standard safety measure in bathrooms. It’s crucial to check the proximity of the outlet to the toilet to ensure the power cord can reach comfortably. If no outlet is nearby, you may need to consult an electrician to install one.
Non-electric bidet seats, on the other hand, do not require any power source. They are mechanically operated and rely solely on your bathroom’s water pressure for functionality. This makes them an eco-friendly and cost-effective option, as they do not contribute to your electricity bill. However, they may lack the advanced features that electric models offer.
As you consider the power requirements, it’s also essential to think about power-saving features. Many electric bidet seats come with energy-saving modes that can reduce power consumption when the seat is not in use. Some models even have automatic power-off functions to prevent unnecessary energy usage.
Here are some important facts and tips to consider:
- Electric bidet seats typically require a 120-volt GFCI outlet for safe operation in the bathroom.
- Non-electric bidet seats are a cost-effective and eco-friendly option as they rely solely on water pressure and require no electrical power.
- Consider the location of your power outlet in relation to the toilet to ensure the power cord can reach conveniently.
- Look for energy-saving features in electric bidet seats to minimize power consumption and reduce operating costs.
- Always consult the manufacturer’s guidelines for specific power requirements and consider hiring a professional if additional electrical work is needed for installation.
By understanding these power requirements and options, you can make an informed decision about which bidet seat is ideal for your bathroom and plumbing setup.
Plumbing considerations
When it comes to plumbing considerations for bidet seats, understanding the common mistakes people make can help you avoid potential issues and ensure a smooth installation process. One of the most frequent errors is not checking the compatibility of the bidet seat with your existing toilet and plumbing setup. Not all bidet seats are universal, and purchasing the wrong one can lead to leaks, poor fit, or improper functioning. To avoid this, measure your toilet bowl and check the manufacturer’s specifications to ensure a good match.
Another common mistake is failing to assess your water supply and pressure. Most bidet seats require a certain level of water pressure to function correctly. If your water pressure is too low, the bidet may not clean effectively. Additionally, if your home has hard water, it can lead to mineral buildup and clogging of the bidet’s nozzles. Installing a water softener or using a filter can help mitigate these issues. Remember to turn off the water supply valve behind the toilet before starting any plumbing work to prevent leaks.
Many people also overlook the importance of having the right T-valve adapter. This small part is crucial for connecting the bidet seat to your water supply line. Using the wrong adapter or not installing it properly can result in leaks and poor water flow. Make sure to use the adapter that comes with your bidet seat or consult a professional if you’re unsure.
Ignoring the need for proper sealing is another pitfall. The bidet seat needs to be well-sealed to prevent water from leaking onto the floor or into the toilet bowl. Most bidet seats come with a gasket or seal that should be installed correctly. If not, water can seep through, causing damage and creating a breeding ground for mold and bacteria.
Lastly, some people make the mistake of not following the manufacturer’s installation instructions carefully. Each bidet seat model may have specific requirements and steps for installation. Skipping or improvising these steps can lead to all sorts of problems, from leaks to malfunctioning features. Always read the installation manual thoroughly and ensure you understand each step before proceeding. If you’re not confident in your plumbing skills, hiring a professional can save you time, hassle, and potential repair costs.
In summary, avoiding common plumbing mistakes involves careful measurement and compatibility checks, assessing your water supply and pressure, using the right T-valve adapter, ensuring proper sealing, and following the manufacturer’s instructions to the letter. By taking these precautions, you can ensure a successful bidet seat installation in your bathroom.
Step-by-step installation guide
To install a bidet seat in your bathroom, follow these comprehensive steps for a smooth and successful process. Remember, the installation process may vary slightly depending on the bidet seat model, but these general steps will provide a solid foundation.
Step-by-Step Installation Guide
Tools Needed:
– Adjustable wrench
– Screwdriver
– Safety glasses
– Plumber’s tape
– Bucket or towel (for catching water)
Materials Included with Most Bidet Seats:
– T-valve or adapter
– Flexible supply hose
– Mounting hardware
– Installation instructions
1. Shut Off Water Supply:
– Locate the water supply valve behind your toilet and turn it clockwise to shut off the water.
– Flush the toilet to drain any remaining water in the tank and bowl. Use a bucket or towel to catch any leftover water.
2. Disconnect the Existing Water Supply Hose:
– Using an adjustable wrench, carefully loosen and remove the water supply hose from the toilet’s tank. There may be a bit of water remaining in the hose, so prepare a bucket or towel to catch it.
3. Install the T-Valve or Adapter:
– Attach the T-valve or adapter to the toilet’s fill valve. Ensure it is securely in place and hand-tighten it. If necessary, use plumber’s tape to seal the threads for a leak-free connection.
4. Connect the Flexible Supply Hose:
– On one end of the flexible supply hose, connect it to the T-valve or adapter.
– Connect the other end of the hose to the bidet seat. Hand-tighten the connections to avoid damage.
5. Remove the Existing Toilet Seat (if applicable):
– If you are replacing an existing toilet seat, use a screwdriver to unscrew the mounting bolts from underneath the toilet bowl.
– Lift off the old seat.
6. Install the Bidet Seat:
– Place the bidet seat on the toilet bowl, aligning it with the mounting holes.
– Use the provided mounting hardware to secure the bidet seat. Hand-tighten the bolts and then use the wrench to ensure a secure fit without over-tightening.
7. Connect the Bidet Seat to the Water Supply:
– Ensure that the hose is connected properly to both the T-valve or adapter and the bidet seat.
– Check for any leaks by turning the water supply valve counterclockwise to open it. Monitor the connections for any signs of water dripping.
8. Test the Bidet Seat:
– Once the water supply is turned back on, test the bidet seat to ensure it is functioning correctly.
– Check for water pressure, nozzle movement, and any other features that came with your bidet seat.
9. Final Adjustments:
– Make any necessary adjustments to the water pressure, temperature settings, and nozzle position according to the manufacturer’s instructions.
– If you have an electric bidet seat, plug it into the nearby power outlet and test all the electric features.
Key Takeaways and Actionable Advice
– Measure Twice: Ensure the bidet seat is compatible with your toilet bowl by carefully measuring and checking the manufacturer’s specifications.
– Safety First: Always shut off the water supply before starting any plumbing work to prevent leaks and accidents.
– Proper Connections: Use plumber’s tape on threaded connections to avoid leaks and hand-tighten fittings to prevent damage.
– Follow Instructions: Thoroughly read and follow the manufacturer’s installation manual to avoid common mistakes.
– Test Thoroughly: After installation, test all features to ensure everything is working correctly.
With careful preparation and attention to detail, installing a bidet seat can be a straightforward DIY project that significantly improves your bathroom experience. Enjoy the hygienic benefits and enhanced comfort of your newly installed bidet seat!
Common troubleshooting tips
- What should I do if my bidet seat isn’t getting any water?
- First, check if the water supply valve behind the toilet is fully open. If it is, inspect the water supply hose and T-valve for any kinks or damage. Ensure all connections are properly tightened. If the issue persists, it might be due to low water pressure or a clogged filter within the bidet seat, which may require professional assistance.
- Why is my bidet seat leaking water?
- Leaks are often caused by loose connections or improper sealing. Check all water supply line connections and ensure they are tight. Inspect the gasket or seal between the bidet seat and the toilet bowl for any damage or misalignment. If necessary, replace the seal or consult a professional plumber.
- How do I fix a weak water spray in my bidet seat?
- A weak water spray can be due to low water pressure or a clogged nozzle. First, check your home’s water pressure. If it’s low, consider installing a water pressure booster. If the pressure is adequate, clean the bidet nozzle as mineral deposits can accumulate and reduce water flow. Regular maintenance can help prevent this issue.
- My electric bidet seat suddenly stopped heating the water. What should I do?
- If your electric bidet seat is no longer heating the water, there might be an issue with the heating element or the power supply. First, ensure that the bidet seat is properly plugged in and the power outlet is functioning. Next, check the bidet’s settings to ensure the heating function is enabled. If the problem persists, consult the manufacturer’s customer support or a qualified technician.
- I’ve installed my bidet seat, but it seems unstable. How can I fix this?
- An unstable bidet seat is often due to improper installation or a mismatch between the seat and the toilet bowl. Ensure that the mounting bolts are securely tightened and that the seat is correctly aligned with the toilet bowl. If the issue persists, double-check that the bidet seat is compatible with your toilet model, and consider seeking professional help for installation.