According to the National Roofing Contractors Association, catching roof leaks early can prevent up to 95% of major structural damage cases in residential buildings. As a professional with over 15 years of experience handling emergency roof leaks, I can confirm that identifying warning signs quickly is crucial for preventing extensive damage to your home.
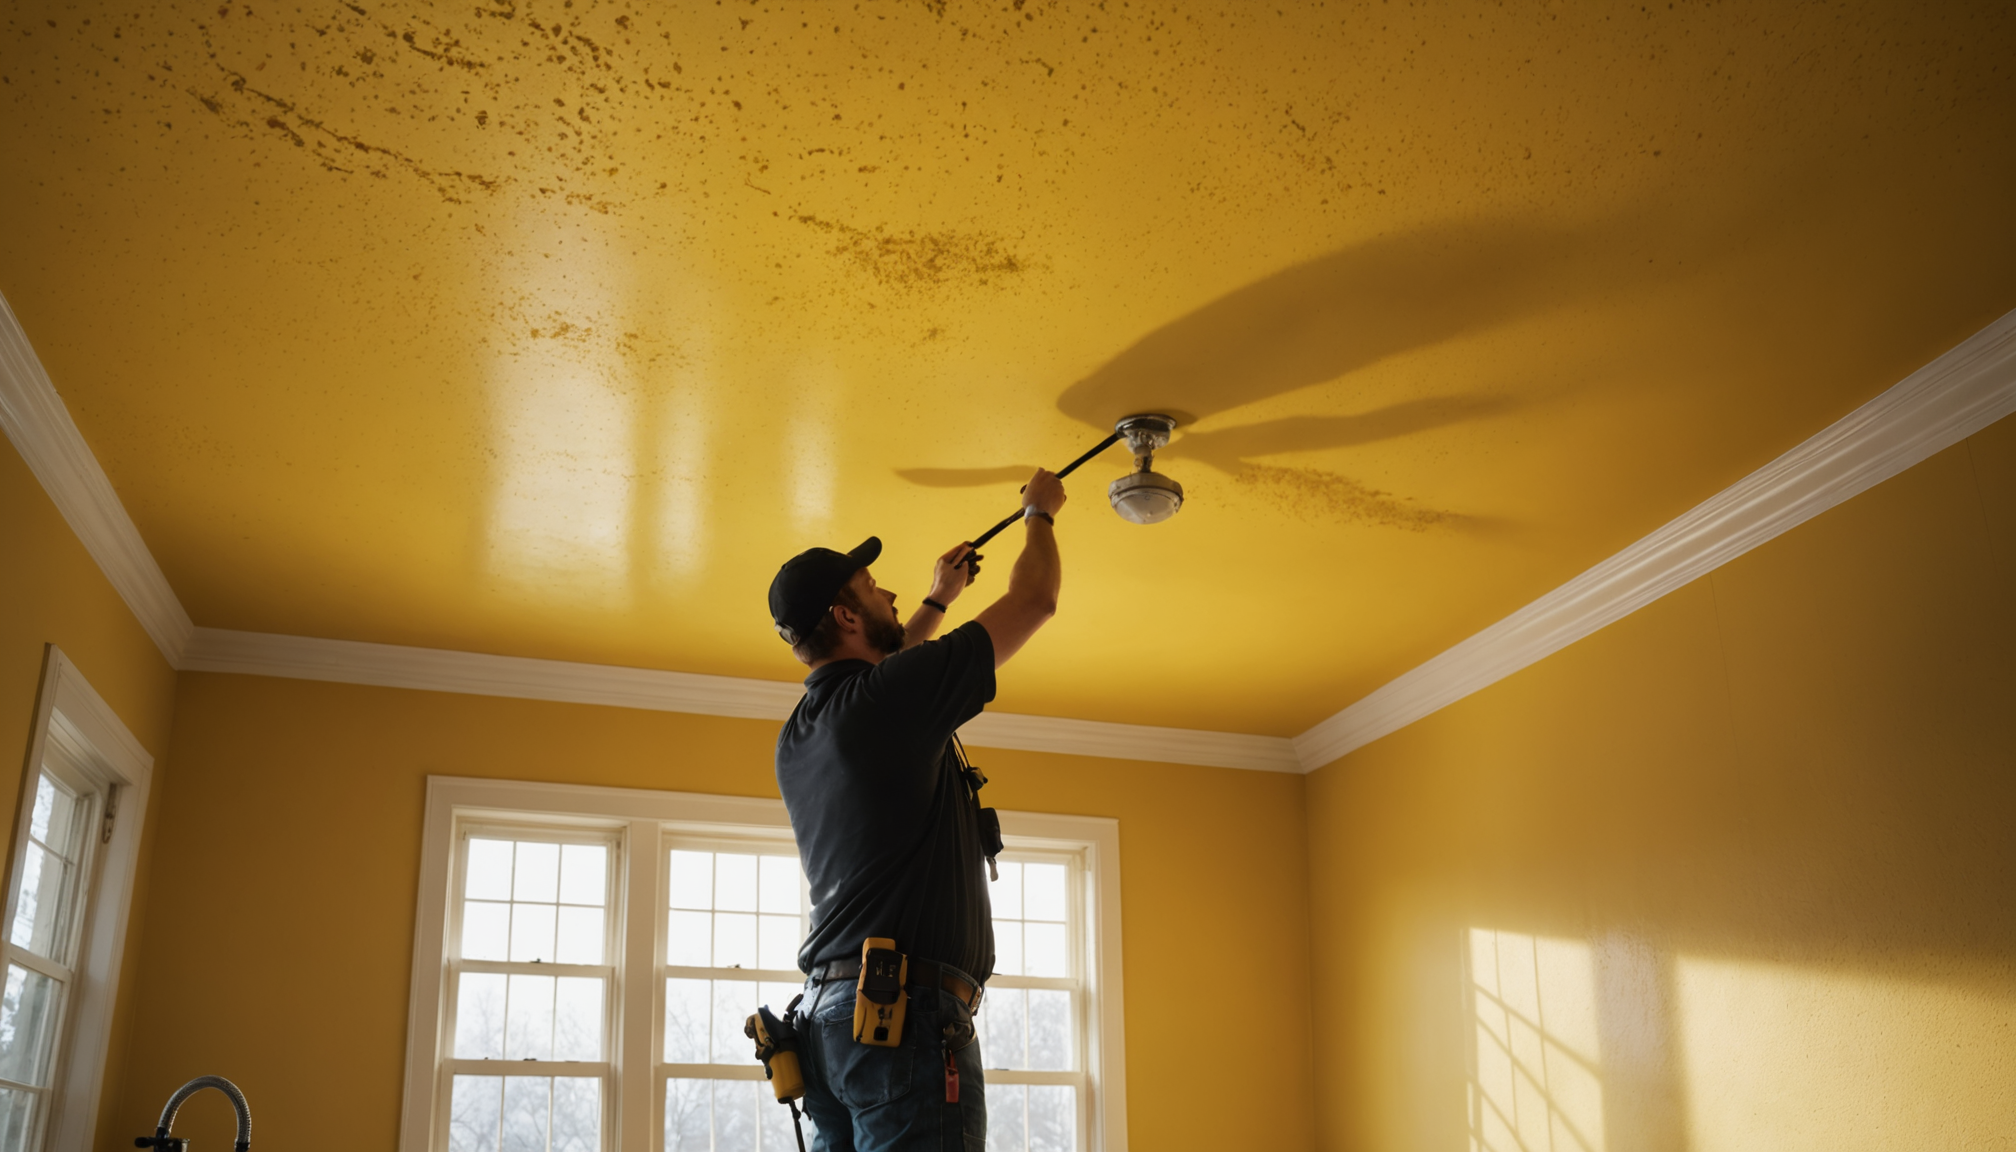
The most obvious indicator of roof leaks is water stains on your ceiling or walls, typically appearing as dark brown or yellow rings that grow larger over time. However, don’t wait until you see dripping water – by then, significant damage may have already occurred. Research from the Insurance Institute for Business & Home Safety shows that even small leaks can compromise your home’s structural integrity within 24-48 hours.
Be vigilant for these early warning signs that indicate potential roof leaks:
- Missing, cracked, or curling shingles – inspect your roof regularly, especially after severe weather
- Granules collecting in gutters or downspouts – this indicates shingle deterioration
- Damaged or missing flashing around chimneys, vents, and skylights
- Sagging areas on your roof deck – this often indicates water-saturated decking
- Musty odors in your attic or upper floors – can signal hidden moisture problems
- Light penetrating through roof boards – check your attic during daylight hours
- Peeling paint or wallpaper on walls or ceilings
- Mold or mildew growth, particularly in upper corners of rooms
During your inspections, pay special attention to areas around roof penetrations such as vents, chimneys, and skylights, as these are responsible for nearly 90% of all roof leaks according to the Roofing Industry Alliance for Progress. Professional homeowner tips suggest examining these vulnerable areas at least twice a year, ideally in spring and fall.
If you notice any of these warning signs, it’s essential to prepare for emergency repair measures immediately. The Environmental Protection Agency reports that addressing roof leaks within the first 24-48 hours significantly reduces the risk of mold development, which can lead to health issues and costly remediation.
Creating a temporary emergency repair
When facing an active roof leak, swift action is crucial to prevent further damage to your home’s structure. Start by placing buckets or containers to catch water and marking the exact locations where water is entering. For a quick emergency repair, use a large waterproof tarp as your primary defense against water infiltration. The tarp should extend from the leaking area up to the roof’s peak and down past the leak by at least four feet on each side.
To secure the tarp properly, use 2×4 lumber pieces along the edges, wrapping the tarp around them to create a tight seal. Nail or screw these boards directly into the roof, but be cautious to place fasteners only in the upper edge of shingles to maintain their water-shedding capability. Remember, this is a temporary solution that should last 2-3 months maximum, giving you time to arrange for professional repairs.
For smaller leaks, roofing cement or patches can provide immediate relief. Apply roofing cement generously around the affected area, pressing it firmly into any visible gaps or cracks. If you’re dealing with a damaged shingle, you can slide a piece of aluminum flashing under it and seal it with roofing cement. This emergency repair technique has proven effective in preventing water infiltration during severe weather conditions.
For rubber roof surfaces (EPDM), specialized patch kits can provide a more reliable temporary fix. Clean the area thoroughly with alcohol-based cleaner, apply the patch according to manufacturer instructions, and roll it firmly to ensure proper adhesion. Statistics show that properly applied emergency patches can effectively prevent water damage for up to 90 days when maintained correctly.
- Always work with a partner when performing emergency roof repairs for safety reasons
- Avoid attempting repairs during active rainfall or when the roof is wet and slippery
- Document the temporary repair with photos for insurance purposes and future professional assessment
- Mark the location of leaks from inside the attic using bright-colored spray paint or tape for easy identification later
Essential tools and materials needed
When preparing for emergency roof leak repairs, many homeowners make the mistake of rushing to fix the problem without gathering the right tools and materials first. This comprehensive list of essential items will help you handle roof leaks effectively while avoiding common pitfalls.
Must-have tools for emergency repair situations include:
• A sturdy extension ladder with stabilizers
• Safety equipment (non-slip shoes, safety harness, gloves)
• Measuring tape and chalk or marker for marking damaged areas
• Utility knife and scissors
• Hammer and roofing nails
• Pry bar for removing damaged shingles
• Caulking gun for sealant application
Critical materials to keep on hand:
• Heavy-duty tarps (at least 6 mil thickness)
• Several 2×4 lumber pieces for securing tarps
• Roofing cement or sealant
• Self-adhesive roofing patches
• Spare shingles matching your roof
• Rubber washers for nail sealing
• Plastic sheeting for interior protection
A common mistake is using substandard materials like lightweight tarps or regular duct tape, which can fail quickly during severe weather. Homeowner tips from roofing experts emphasize using professional-grade materials rated for outdoor use. Another frequent error is not having proper safety equipment ready, which can lead to dangerous situations during emergency repair attempts.
Store these materials in an easily accessible location, preferably in a waterproof container. Many homeowners make the mistake of discovering their emergency supplies have deteriorated when they need them most. Inspect your emergency repair kit every six months, replacing any damaged or expired materials.
Remember to include basic cleanup supplies:
• Heavy-duty garbage bags
• Absorbent cloths or towels
• Wet/dry vacuum
• Buckets for catching water
• Mold-resistant cleaner
• Work lights or flashlights with extra batteries
Organized preparation can make the difference between a manageable repair and extensive water damage during roof leaks. Keep an inventory list with your supplies and update it regularly to ensure you’re always prepared for unexpected situations.
Protecting interior spaces from water damage
When water starts infiltrating your home through roof leaks, protecting your interior spaces becomes paramount. Start by identifying and marking all leak locations with brightly colored tape or sticky notes to track multiple entry points. Immediately remove valuable items, electronics, and furniture from affected areas to prevent water damage and potential electrical hazards.
Create water diversion systems using plastic sheeting to channel water into buckets or containers. Angle the sheeting so water flows away from walls and electrical outlets. For maximum effectiveness, secure the plastic with push pins or tape at a slight incline, creating pathways that direct water to collection points. According to homeowner tips from restoration experts, proper water diversion can reduce interior damage by up to 70% during emergency repair situations.
Essential protective measures include:
• Covering floors with waterproof tarps or heavy plastic sheeting
• Placing moisture-absorbing materials like cat litter around bucket bases
• Using fans and dehumidifiers to control moisture levels
• Removing wet carpeting, padding, and affected insulation promptly
• Documenting all damage with photos for insurance purposes
For items that can’t be moved, create protective barriers using plastic sheeting and waterproof covers. Pay special attention to electronic equipment, electrical outlets, and wood furniture. Statistics show that quick action to protect interior spaces can reduce restoration costs by up to 40% during active roof leaks.
Moisture monitoring is crucial during this phase. Use moisture meters or indicators to track humidity levels in affected areas. Keep air circulating with fans and maintain indoor humidity below 50% to prevent mold growth. Experts recommend checking enclosed spaces like closets and cabinets regularly, as these areas can harbor hidden moisture.
For ceiling protection, consider drilling small holes in bulging areas to release trapped water in a controlled manner. While this may seem counterintuitive, it prevents extensive ceiling collapse and allows for better damage control. Always place buckets directly under these drainage points and replace them before they become too full.
Remember to:
• Monitor collection containers regularly and empty them before overflowing
• Keep pathways clear for safe movement around affected areas
• Document all protective measures taken for insurance purposes
• Check adjacent rooms for signs of water migration
• Maintain good ventilation while managing moisture levels
With proper interior protection measures in place, you can effectively minimize damage while awaiting permanent repairs. Stay vigilant and adjust your protection strategy as needed based on changing conditions.
Professional assistance and long-term solutions
- How do I know when it’s time to call a professional roofer instead of attempting DIY repairs?
- Call a professional immediately if you notice structural sagging, multiple leak points, or if your roof is over 15 years old. Professional roofers can provide comprehensive assessments and proper repairs that comply with local building codes and manufacturer warranties.
- What should I look for when choosing a roofing contractor for emergency repairs?
- Select a licensed, insured contractor with positive local reviews and experience handling emergency roof leaks. Verify their credentials, ask for recent references, and ensure they provide detailed written estimates and warranties for their work.
- How much should I expect to pay for professional roof repair services?
- Costs typically range from $300 to $1,500 for minor repairs, while major repairs can exceed $3,000. The final price depends on factors like roof type, damage extent, and your location, but investing in professional repairs can prevent more costly damage in the future.
- Can I just keep patching my roof instead of replacing it?
- While emergency repairs and patches can provide temporary solutions, multiple repairs often indicate it’s time for a full replacement. Most asphalt shingle roofs last 20-25 years, and continuing to patch beyond this point can lead to more extensive damage and higher costs.
- What preventive measures can help avoid future emergency roof leaks?
- Schedule professional inspections twice yearly and after major storms to identify potential issues early. Regular maintenance, including gutter cleaning, trimming overhanging branches, and replacing damaged shingles promptly, can significantly reduce the risk of emergency leaks.
Professional homeowner tips suggest establishing a relationship with a reliable roofing contractor before emergencies occur. This proactive approach ensures faster response times during urgent situations and often leads to better service rates. Emergency repair costs typically increase by 25-50% during peak demand periods, such as after major storms.
When selecting long-term solutions, consider upgrading to more durable materials or installing additional protective features like ice and water shields. Modern roofing materials can increase your home’s value while providing better protection against future leaks. Statistics show that homes with updated roofing systems command 3-7% higher resale values compared to those with aging roofs.
For financing options, explore:
• Home improvement loans
• Insurance claims (if damage is storm-related)
• Manufacturer financing programs
• Home equity lines of credit
• Local government weatherization programs
Remember to maintain detailed records of all repairs, including:
• Before and after photos
• Contractor estimates and invoices
• Warranty documentation
• Maintenance schedules
• Insurance claim correspondence
Many reputable roofing companies offer maintenance plans that include regular inspections and priority service for roof leaks. These programs can extend your roof’s lifespan by up to 30% while providing peace of mind during severe weather events.