Proper ventilation in your bathroom isn’t just a matter of comfort; it’s crucial for maintaining a healthy and safe environment. Bathroom exhaust fans play a pivotal role in moisture control, preventing issues like mold growth, peeling paint, and warped doors. According to the Home Ventilating Institute (HVI), a properly sized exhaust fan should be a priority for every homeowner.
Understanding the size of your bathroom exhaust fan is the first step in ensuring effective ventilation. The size of exhaust fans is typically measured in cubic feet per minute (CFM), which indicates how much air the fan can move in one minute. To determine the CFM needed for your bathroom, you’ll need to calculate the volume of the room and consider the number of fixtures present.
The general guideline, as recommended by the HVI, is to have a fan with at least 1 CFM per square foot of floor area. For example, if your bathroom is 80 square feet, you would need a fan rated at 80 CFM. However, if your bathroom has a jetted tub, multiple showerheads, or other water features, you may need a fan with a higher CFM rating. Here’s a simple breakdown:
- For bathrooms 50 square feet or less: A minimum of 50 CFM.
- For bathrooms over 50 square feet: Add 50 CFM for each toilet, shower, or bath, and 100 CFM for each whirlpool.
Additionally, the fan should be strong enough to provide at least eight air changes per hour. This means the fan should be able to replace the air in the bathroom at least eight times in one hour. For instance, if your bathroom has a volume of 720 cubic feet (8 feet x 9 feet x 10 feet), the exhaust fan should have a CFM rating of at least 90 (720 cubic feet / 8).
Investing in the right-sized exhaust fan is essential for maintaining good indoor air quality and preventing moisture-related problems. For instance, a study by the Environmental Protection Agency (EPA) showed that proper ventilation can significantly reduce mold growth, which is a common issue in poorly ventilated bathrooms. By following these sizing guidelines, you can ensure that your bathroom remains a safe and comfortable space.
Importance of proper ducting
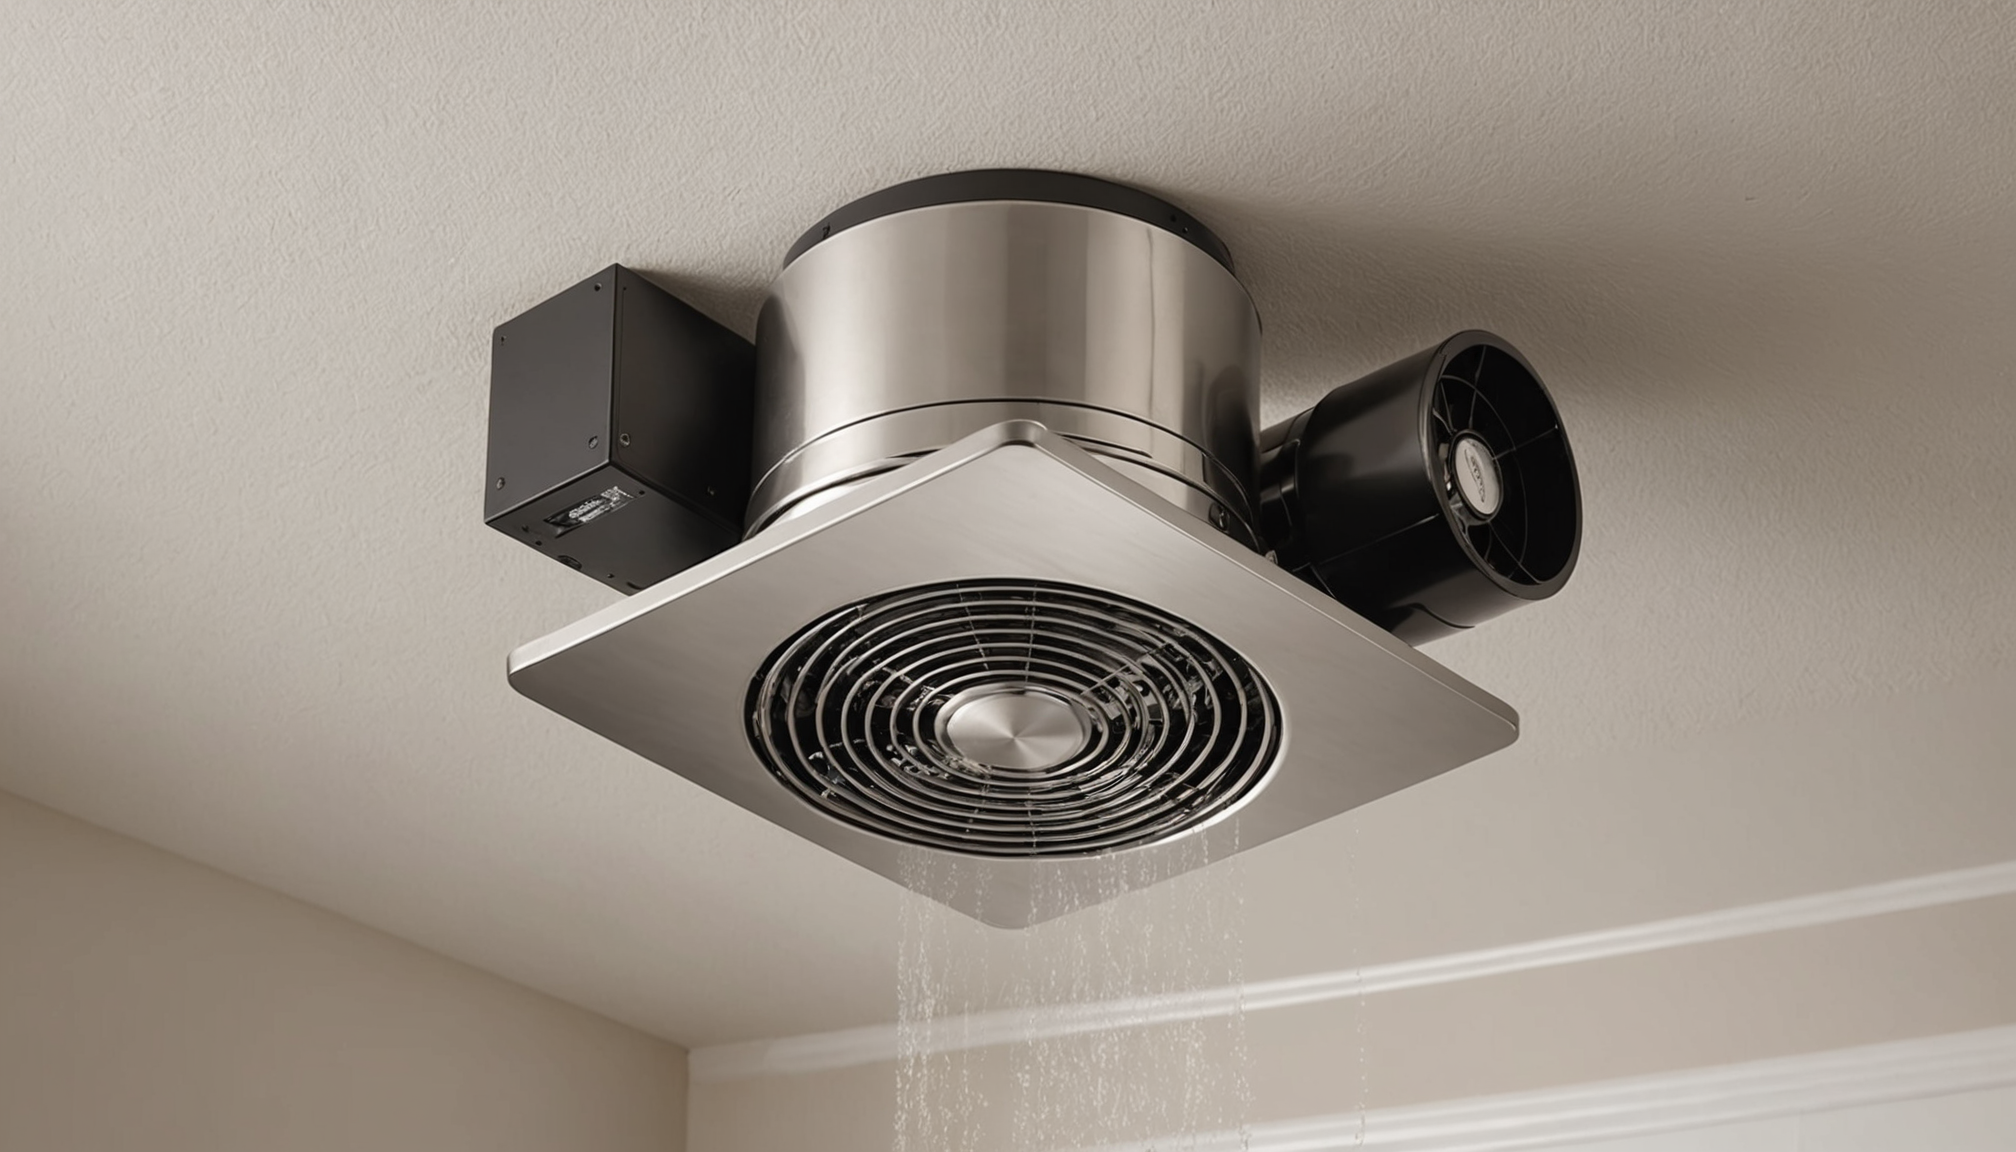
Proper ducting is a critical aspect of ensuring your bathroom exhaust fan functions effectively. Even the most powerful exhaust fan won’t do much good if the duct system is not properly designed and installed. The duct is responsible for carrying the moist air from the bathroom to the outside, making it a key component in moisture control and overall ventilation.
One of the most important factors to consider is the length of the duct. The longer the duct, the harder your exhaust fan has to work to push the air through. Ideally, the duct run should be as short and straight as possible. Every elbow or bend in the duct adds resistance, reducing the fan’s ability to move air. A general rule of thumb is to have no more than the equivalent of a 90-degree elbow in the duct run.
The size of the duct also matters. A duct that is too small can restrict airflow, making your exhaust fan less effective. Conversely, a duct that is too large can lead to inefficiencies and may allow moist air to condense and collect inside the duct. The duct size should match the outlet size of your exhaust fan, typically ranging from 3 to 6 inches in diameter for most residential bathroom fans.
Insulating the duct is another crucial step, especially if the duct passes through unconditioned spaces like an attic. Insulation helps prevent condensation from forming inside the duct, which can lead to mold growth and other moisture-related problems. Additionally, insulating the duct can help reduce noise from the exhaust fan and improve its overall efficiency.
Lastly, it’s essential to ensure that the duct terminates properly outside the house. The exhaust should be directed away from any air intake vents to prevent re-circulating the moist air back into the home. It’s also important to use a proper vent cap with a backdraft damper to prevent outside air from flowing back into the duct when the fan is not in use.
- Keep duct runs short and straight to minimize resistance and maximize airflow.
- Match the duct size to the outlet size of your exhaust fan for optimal performance.
- Insulate ducts passing through unconditioned spaces to prevent condensation and improve efficiency.
- Ensure the duct terminates properly outside, directing exhaust away from air intake vents.
By paying attention to these aspects of ducting, you can significantly improve the performance of your bathroom exhaust fan and enhance your bathroom’s ventilation and moisture control capabilities.
Choosing the right exhaust fan
One of the most common mistakes people make when choosing a bathroom exhaust fan is underestimating the importance of the fan’s capacity. Many homeowners simply choose the fan with the lowest CFM rating to save money, only to find that the fan is inadequate for their bathroom’s size and humidity levels. To avoid this, always follow the guidelines for calculating the CFM based on your bathroom’s square footage and fixtures. Remember that a fan that’s too small won’t effectively control moisture, leading to issues like mold and mildew.
Another mistake is not considering the noise level of the exhaust fan. Some fans can be quite loud, which can be disruptive, especially if the bathroom is near bedrooms or living spaces. The noise level of exhaust fans is measured in sones—the lower the sone rating, the quieter the fan. Aim for fans with a sone rating of 1.5 or lower for quieter operation. Neglecting to check the sone rating can lead to an unpleasant surprise when you first turn on your new fan.
Ignoring the energy efficiency of the exhaust fan is another oversight. Some fans can consume a significant amount of energy, leading to higher utility bills. Look for fans that are Energy Star-rated, as these are designed to be more energy-efficient. Although they may cost a bit more upfront, the long-term savings can make up for the initial investment.
Many homeowners also fail to consider additional features that can enhance the fan’s functionality and convenience. For example, some fans come with built-in timers, humidity sensors, or even lights. These features can help ensure the fan runs long enough to clear out moisture, turns on automatically when humidity levels rise, or provides additional lighting for the bathroom. Ignoring these features may mean missing out on added benefits that could improve your bathroom’s overall ventilation and comfort.
Lastly, not paying attention to the installation requirements of the exhaust fan can lead to problems. Some fans are designed for ceiling mounting, while others can be wall-mounted. Ensure the fan you choose is compatible with your bathroom’s layout and your ability to install it. Not checking this can result in a fan that doesn’t fit or operates poorly, compromising your moisture control efforts.
To avoid these common mistakes, take the time to research and compare different exhaust fan models. Consider factors like CFM, sone rating, energy efficiency, additional features, and installation requirements. By making an informed decision, you can ensure that your bathroom exhaust fan effectively controls moisture, improves air quality, and enhances the overall comfort of your bathroom.
Step-by-step installation guide
Installing a bathroom exhaust fan is a task that, with the right tools and knowledge, can be accomplished efficiently. Here’s a step-by-step guide to help you through the process:
1. Gather Tools and Materials: Start by assembling the necessary tools. You’ll need a screwdriver, drill, tape measure, pencil, drywall saw, and the exhaust fan kit. Make sure you have the appropriate ducting and insulation if needed.
2. Determine the Location: Choose the optimal placement for your exhaust fan. This is typically on the ceiling, central to the bathroom but slightly towards the vented exterior wall. Ensure the spot is free of obstructions like plumbing or electrical wires.
3. Mark the Cutout: Use the template provided with the exhaust fan to mark the cutout area on the ceiling or wall. Trace around the template with a pencil, making sure the lines are accurate.
4. Cut the Opening: Carefully cut along the traced lines using a drywall saw. Be cautious to avoid cutting any electrical wires, pipes, or other hidden fixtures within the wall or ceiling.
5. Install the Mounting Bracket: Secure the mounting bracket that comes with the fan to the ceiling or wall joists. Use the screwdriver or drill to attach the bracket firmly.
6. Position the Exhaust Fan: Place the exhaust fan housing into the cutout, ensuring it aligns with the mounting bracket. Secure the fan housing with screws or clips provided.
7. Connect the Ducting: Attach the ducting to the exhaust fan’s outlet. Make sure the duct is properly sized and runs as straight as possible to minimize resistance. Secure the duct to the outlet using clamps or tape.
8. Route the Duct to the Exterior: Run the duct to the nearest exterior wall or roof. Ensure the duct terminates outside, away from any air intake vents, using a vent cap with a backdraft damper.
9. Electrical Wiring: Turn off the power to the bathroom at the main circuit breaker. Follow the manufacturer’s instructions to wire the exhaust fan. Typically, you’ll connect the black (hot) wire from the fan to the black wire from the house, the white (neutral) wire to the white wire, and the ground wire to the ground wire or box. Secure wire connections with wire nuts.
10. Install the Fan Grille: Attach the fan grille to the ceiling or wall. This is usually the final step, and it ensures a neat and finished look. Most grilles snap on or are secured with screws.
11. Test the Exhaust Fan: Turn the power back on and test the fan by switching it on. Check that the fan runs smoothly, the duct is secure, and there are no leaks or unusual noises.
Key Takeaways & Actionable Advice
– Always follow the manufacturer’s instructions closely for wiring and installation specifics.
– Keep duct runs short and straight to maximize efficiency.
– Ensure all joints are well-sealed to prevent moisture and air leaks.
– Regularly test the fan to ensure it is functioning correctly.
By following these steps, you can install a bathroom exhaust fan that effectively manages moisture and improves ventilation in your bathroom. Improving your home’s ventilation not only enhances comfort but also contributes to a safer and healthier living environment. With these guidelines, you’re well on your way to achieving a well-ventilated bathroom!
Maintenance and troubleshooting tips
- Q: How often should I clean my bathroom exhaust fan?
- A: It’s recommended to clean your bathroom exhaust fan at least once a year. This helps to maintain optimal performance and prevent dust and debris buildup, which can impact the fan’s ability to control moisture effectively.
- Q: Why does my exhaust fan keep running even after I turn it off?
- A: If your exhaust fan continues to run after being turned off, it could be due to a faulty switch or a problem with the fan’s timer (if equipped). Check the switch and consider replacing it if necessary. If the fan has a timer, consult the manufacturer’s guidelines for troubleshooting.
- Q: How can I reduce the noise coming from my bathroom exhaust fan?
- A: To reduce noise, ensure that the fan is properly secured and the ducting is well-insulated. Loose parts can cause rattling, and uninsulated ducts can amplify the fan’s noise. Additionally, consider replacing an old or loud fan with a new model that has a lower sone rating for quieter operation.
- Q: What should I do if my exhaust fan isn’t removing moisture effectively?
- A: If your exhaust fan isn’t controlling moisture as expected, first check that the fan is the correct size for your bathroom. Ensure that the ducting is properly installed, free of leaks, and terminates outside. Also, clean the fan and duct to remove any blockages. If the problem persists, the fan may need to be replaced.
- Q: Can I vent my bathroom exhaust fan into the attic or crawl space?
- A: No, it’s not recommended to vent your bathroom exhaust fan into the attic, crawl space, or any other enclosed area. This can lead to mold growth and moisture-related issues in these spaces. Always vent the exhaust fan directly outside to ensure proper moisture control and ventilation.