Before starting your shed foundation project, gathering all necessary materials and tools is crucial for a smooth, efficient workflow. For a standard 10’x12′ gravel pad foundation, you’ll need approximately 2-3 tons of gravel, with experts at the National Concrete Association recommending a combination of #2 crushed stone for the base layer and 3/4″ crushed gravel for the top layer.
Here’s a comprehensive list of required materials:
- #2 crushed stone (approximately 1.5 tons)
- 3/4″ crushed gravel (approximately 1 ton)
- Commercial-grade landscape fabric (enough to cover area plus 2 feet extra on each side)
- Landscape fabric pins (1 pin every 2-3 feet)
- Wooden stakes (at least 8)
- Mason’s string or construction line
Essential tools for the project include:
- Plate compactor (can be rented from local hardware stores)
- Shovel and rake
- Level (4-foot and torpedo)
- Measuring tape (25-foot minimum)
- Wheelbarrow
- Garden hoe
- Hammer or mallet
- Safety equipment (gloves, safety glasses, steel-toe boots)
According to construction expert Mike Holmes, investing in quality materials, particularly the right type of gravel, is crucial for a long-lasting outdoor shed foundation. Research from the Building Research Establishment (BRE) indicates that proper material selection can extend a foundation’s lifespan by up to 25 years. When selecting gravel, ensure it’s clean and free from organic matter, as this can lead to settling issues over time.
Site preparation and drainage
Proper site preparation and drainage are fundamental for a lasting gravel shed foundation. Begin by removing all vegetation, including grass, weeds, and roots, from the marked area, extending at least 12 inches beyond your planned foundation perimeter. The soil should be excavated to a depth of 4-6 inches, depending on your local frost line and soil conditions. According to the International Association of Certified Home Inspectors, the excavated area should have a slight slope of approximately 1 inch per 8 feet to ensure proper water drainage away from the foundation.
Assessment of the soil composition is crucial. Clay-heavy soils require deeper excavation and additional drainage measures, while sandy soils typically offer better natural drainage. Consider installing a French drain system if your site experiences significant water accumulation. This involves digging a trench around the perimeter of your outdoor foundation area and installing perforated drainage pipes surrounded by gravel.
Once excavated, the soil should be thoroughly compacted using a plate compactor, making multiple passes in different directions. This creates a stable base for your gravel foundation and helps prevent future settling. The American Concrete Institute recommends achieving a minimum 95% compaction rate for optimal stability. Test the compacted soil by walking on it – there should be minimal depression under your weight.
- Always check local building codes for minimum depth requirements and drainage specifications before excavation
- The excavated area should extend 12-18 inches beyond the planned shed footprint for proper support
- Install drainage solutions before laying gravel if the site has poor natural drainage
- Soil compaction is crucial – make at least 3-4 passes with the plate compactor in different directions
Measuring and marking the area
A common mistake when measuring for a shed foundation is relying on a single measurement or failing to check for square corners. Start by measuring the exact dimensions required for your outdoor shed, adding an extra 12 inches on all sides to ensure proper foundation support. When marking corners, use the 3-4-5 triangle method to guarantee perfect 90-degree angles. For example, measure 3 feet along one side, 4 feet along the perpendicular side, and the diagonal should measure exactly 5 feet if the corner is square.
Many DIYers make the error of not marking elevation points or assuming the ground is level. Use wooden stakes at each corner and several points along the perimeter, driving them firmly into the ground. Connect these stakes with mason’s string, keeping it level using a line level. The string should be set at least 6 inches above the highest ground point to serve as a reference for proper grading of your gravel foundation.
Another frequent oversight is not accounting for the shed’s door location when marking the foundation area. Ensure the gravel pad extends at least 18 inches beyond the door opening to provide stable footing. Some people also forget to check local setback requirements, leading to costly corrections later. Always verify minimum distance requirements from property lines and other structures before finalizing your layout.
Key points to avoid measurement errors:
– Don’t rely on single measurements; measure diagonals to confirm square corners
– Use multiple stakes along each side, not just at corners
– Keep strings taut and level for accurate reference points
– Account for proper drainage slope in your measurements (1 inch per 8 feet)
– Mark utility lines and obstacles that might interfere with the foundation
– Double-check all measurements before proceeding with excavation
Remember to document all measurements and marking points with photographs or detailed notes, as these references will be valuable during subsequent construction phases.
Installing landscape fabric
After preparing the site and marking the area accurately, laying landscape fabric serves as a crucial barrier between the soil and your gravel foundation. Roll out the commercial-grade landscape fabric, ensuring it covers the entire excavated area with an additional 2 feet of overlap on each side. This extra material prevents unwanted vegetation growth along the edges of your outdoor shed foundation.
When laying the fabric, work from one end to the other, smoothing out any wrinkles or folds as you go. Overlap adjacent strips by at least 6 inches to create a continuous barrier. This overlap is essential, as gaps can allow soil to mix with your gravel layers, potentially compromising the foundation’s integrity over time.
Secure the fabric using landscape pins placed every 2-3 feet along the edges and seams. Pay special attention to corners and areas where the fabric meets obstacles. According to foundation experts, properly installed landscape fabric can extend the life of a gravel foundation by preventing soil contamination and reducing maintenance needs.
Key considerations for optimal fabric installation:
– Pull the fabric taut before securing it with pins
– Create upturned edges along the perimeter to prevent gravel from sliding under the fabric
– Use additional pins in high-stress areas or where the ground isn’t perfectly level
– Trim excess fabric only after the gravel layers are in place
– Repair any tears immediately to maintain the barrier’s effectiveness
In areas with poor soil conditions, consider using a double layer of landscape fabric for extra protection. While this adds minimal cost to the project, it provides significant long-term benefits for your shed’s foundation stability.
Remember to handle the fabric carefully to avoid tears or punctures. If damage occurs, repair it immediately with patches of additional fabric, overlapping the damaged area by at least 12 inches on all sides. A well-installed fabric layer sets the stage for successful gravel installation and ensures your foundation remains stable for years to come.
Adding and compacting gravel layers
Now comes the critical phase of building up your gravel foundation layers. Start by spreading the #2 crushed stone as your base layer, working in sections of about 2-3 inches in depth. Using the wheelbarrow, distribute the stone evenly across the landscape fabric, being careful not to tear or disturb the fabric underneath. Expert contractors recommend working from the outside edges toward the center to maintain consistent coverage.
After laying each section of the base layer, use the plate compactor to thoroughly compress the stone. Make at least 3-4 passes in different directions, ensuring complete compaction. According to the Gravel Foundation Institute, proper compaction can reduce future settling by up to 40%. Continue this process until you’ve achieved a 4-inch compacted base layer.
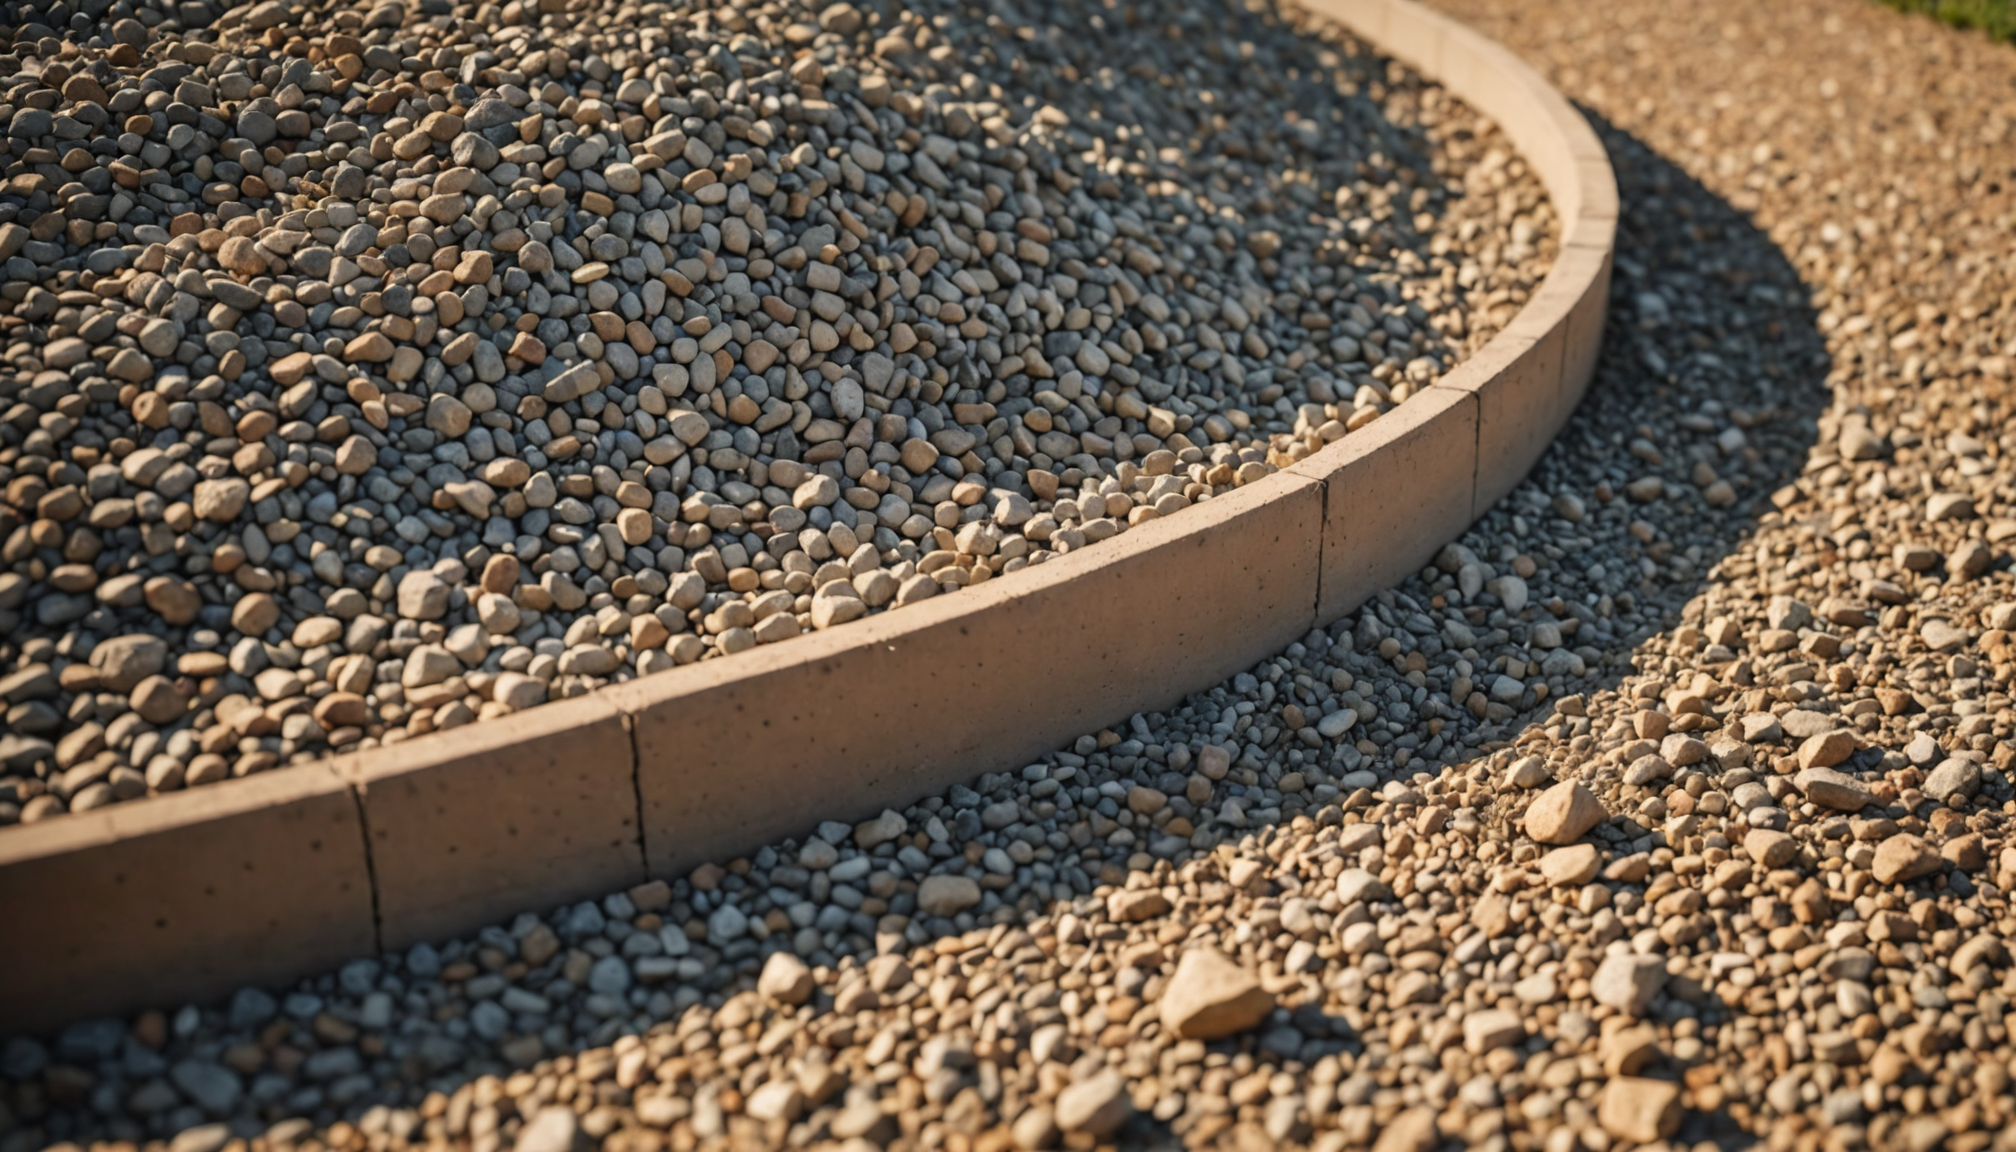
For the top layer, spread the 3/4″ crushed gravel in a similar manner, working in 2-inch sections. This finer gravel creates a smoother, more stable surface for your outdoor shed. The total height of your gravel foundation should reach approximately 6 inches after compaction. Use a level frequently during this process to ensure proper slope for drainage.
- How do I know if I’ve compacted the gravel enough?
- The gravel should feel firm and not shift under foot traffic. When testing with a plate compactor, you should notice minimal settlement after 2-3 passes, and the machine should bounce slightly instead of sinking.
- Can I skip the base layer and just use one type of gravel?
- Using two different sizes of gravel is essential for proper foundation stability. The larger base stone provides drainage and support, while the smaller top layer fills gaps and creates a level surface.
- What if it rains during the gravel installation process?
- Light rain shouldn’t significantly impact the process, but heavy rain can make compaction difficult. Wait for the gravel to drain before continuing compaction, and ensure proper slope is maintained for drainage.
- How much should the gravel settle after installation?
- With proper compaction, settling should be minimal, typically less than 1/2 inch over the first year. If you notice more significant settling, it may indicate insufficient compaction during installation.
- Do I need to add more gravel over time?
- A properly installed gravel foundation should require minimal maintenance. However, you might need to add a small amount of top layer gravel every 3-5 years to maintain proper level and appearance.
Final leveling and inspection
Once all gravel layers are in place, the final leveling and inspection phase becomes crucial for ensuring your shed’s long-term stability. Use a 4-foot level to check for any low spots or irregularities across the entire gravel surface. Pay special attention to the corners and edges, as these areas often need additional adjustment. If you notice any depressions, add small amounts of 3/4″ crushed gravel and compact thoroughly.
Check the overall slope of your foundation using a level and measuring tape. The recommended 1-inch drop per 8 feet should be consistent across the entire surface to ensure proper water drainage. Test the drainage by spraying water with a garden hose – it should flow away from the foundation area without pooling.
Walk across the entire gravel pad, paying attention to any soft spots or areas that feel less stable. These areas require additional compaction or material. Professional contractors recommend performing a “bounce test” with the plate compactor – the machine should slightly bounce rather than sink into the gravel, indicating proper compaction.
Essential inspection points include:
– Checking foundation dimensions against your original measurements
– Verifying corner squares using the 3-4-5 method
– Confirming proper height and level across the entire surface
– Testing overall stability by walking on different areas
– Ensuring landscape fabric remains completely covered
– Inspecting edges for proper gravel containment
Industry standards suggest allowing the outdoor foundation to settle for 24-48 hours before beginning shed construction. During this time, monitor the surface for any changes or settling that might require attention. If rainfall occurs, re-inspect the drainage patterns to ensure water flows away from your gravel pad as intended.