Before diving into any decking restoration project, proper surface preparation is absolutely crucial for achieving professional-looking results. According to the North American Deck and Railing Association, nearly 80% of deck sealing failures occur due to inadequate surface preparation. This initial step will determine the success of all subsequent cleaning and sealing efforts.
Start by removing all furniture, planters, grills, and other items from your outdoor deck. Use plastic sheeting to protect nearby plants and surfaces from cleaning solutions and debris. The National Wood Council recommends waiting at least 24 hours after any rainfall before beginning preparation work to ensure the wood is completely dry.
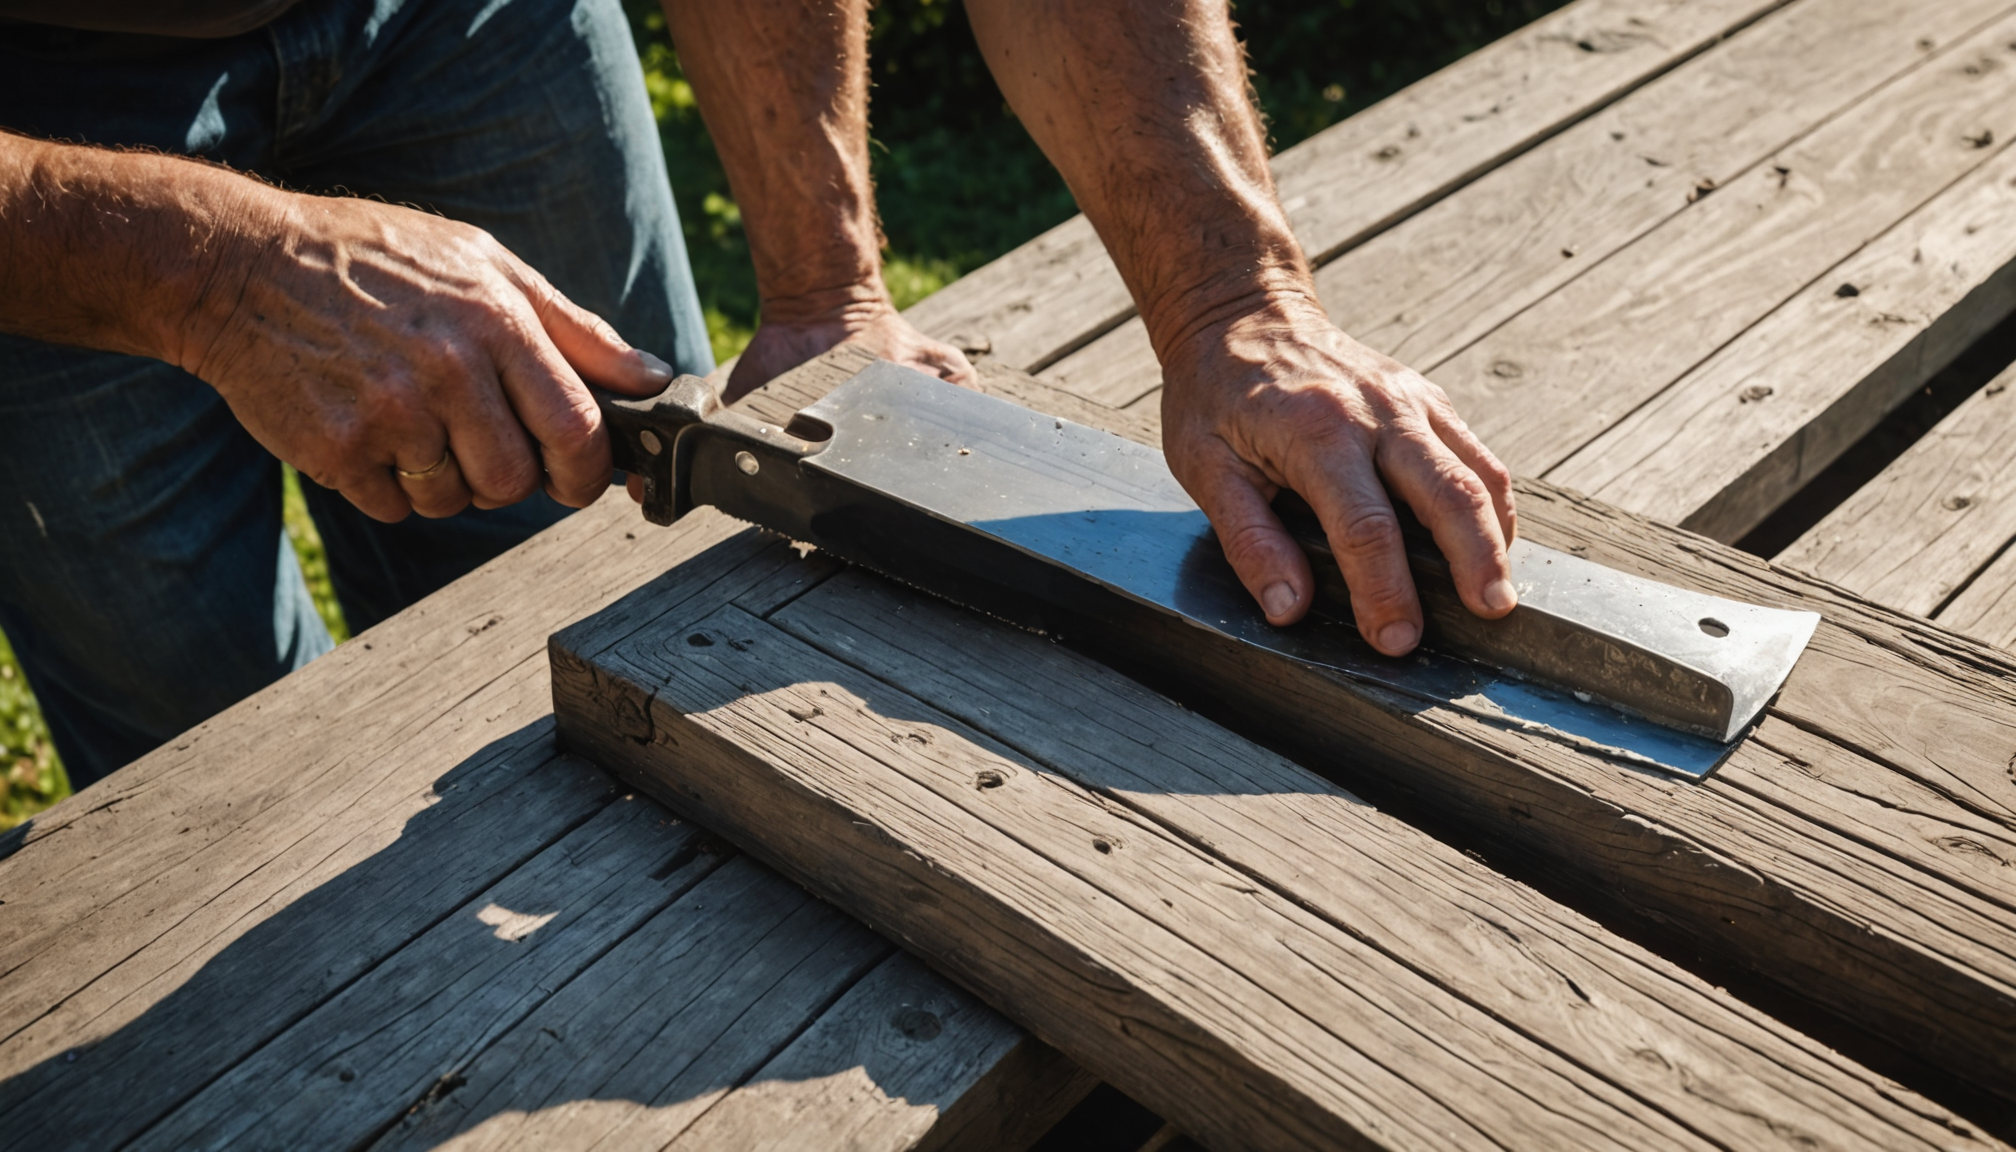
Using a putty knife or paint scraper, carefully remove any loose paint, previous sealant, or wood fibers. Pay special attention to high-traffic areas and spots where water tends to pool. Professional deck contractors suggest working in small 2-3 foot sections to ensure thorough coverage.
- Check between deck boards for accumulated debris
- Remove visible nails or screws that have popped up
- Sand rough areas using 80-grit sandpaper
- Sweep thoroughly to remove all loose material
For older decks, experts from the Forest Products Laboratory recommend using a moisture meter to test the wood’s moisture content. The ideal moisture level should be below 15% before proceeding with any cleaning or sealing work. If readings are higher, allow additional drying time to prevent potential sealing failures.
Cover electrical outlets, lighting fixtures, and metal hardware with waterproof tape or plastic. This protective measure prevents damage during the subsequent cleaning phases and helps avoid corrosion from harsh cleaning solutions that will be used later in the process.
Cleaning and removing debris
Start by using a leaf blower or stiff-bristled broom to remove loose surface debris, leaves, and twigs from your outdoor decking. For stubborn dirt and grime, mix a specialized deck cleaner according to the manufacturer’s instructions – typically one part cleaner to four parts water. Professional deck contractors recommend oxygen bleach-based cleaners over chlorine bleach, as they’re more effective at breaking down organic matter without damaging the wood fibers.
Apply the cleaning solution generously using a pump sprayer, working in manageable 3×3 foot sections to prevent the solution from drying too quickly. Allow the cleaner to sit for 10-15 minutes, but don’t let it dry completely. Use a stiff-bristled brush attached to a pole to scrub the surface vigorously, always working in the direction of the wood grain to prevent splintering.
For particularly stubborn stains or heavy mildew growth, a pressure washer can be employed, but careful attention must be paid to the pressure settings. The Deck Industry Association recommends using no more than 1500 PSI to avoid damaging the wood. Keep the nozzle at least 12 inches away from the surface and maintain a consistent sweeping motion.
After cleaning each section, rinse thoroughly with clean water, working from the highest point to the lowest to prevent dirty water from settling back onto cleaned areas. Allow the deck to dry completely for at least 48 hours before proceeding with any sealing or finishing work.
- Use oxygen bleach-based cleaners instead of chlorine bleach for safer, more effective cleaning
- Maintain consistent pressure and distance when using a pressure washer to avoid wood damage
- Clean in small sections and never let cleaning solutions dry on the wood surface
- Ensure thorough rinsing to remove all cleaning solution residue
Brightening the wood
A common misstep in wood brightening is using household bleach, which can actually damage wood fibers and lead to premature deterioration. Instead, use a specialized wood brightener containing oxalic acid, which safely removes rust stains, tannin bleed, and gray weathering while restoring the wood’s natural color and preparing it for sealing.
Many homeowners make the mistake of applying the brightener solution too aggressively or letting it sit too long on the wood surface. Always work in small sections, applying the brightener evenly with a pump sprayer or brush. Let it sit for only 10-15 minutes – any longer can result in uneven brightening or wood damage. Outdoor decking experts recommend maintaining a wet surface throughout the process to prevent the brightener from drying and leaving residue marks.
Another frequent error is skipping the neutralization step after brightening. The acidic brightener must be thoroughly neutralized with clean water to prevent ongoing chemical reactions that could affect the sealing process later. Make at least three passes with clean water, working from top to bottom to ensure all brightener is removed.
Many DIYers also rush the drying process after brightening. The wood needs at least 48 hours to dry completely before any sealing can begin. Using a moisture meter can help avoid this mistake – the wood should read below 15% moisture content before proceeding with protective treatments.
- Never mix brightening solutions with other cleaning products
- Avoid applying brightener in direct sunlight or on hot surfaces
- Don’t forget to protect surrounding vegetation from brightening solutions
- Test the brightener on a small, inconspicuous area first
Brightening solutions work best when applied to damp wood, so timing is crucial. Apply the brightener within 24 hours of cleaning while the wood is still slightly damp but not wet. This allows for optimal penetration and more uniform results across the entire deck surface.
Inspecting for repairs
After the brightening process, a thorough inspection of your outdoor decking is essential to identify any structural issues or damage that needs attention before sealing. Armed with a flathead screwdriver, systematically check each board by pressing firmly to locate soft spots that might indicate rot or decay. Pay special attention to areas near the house, around posts, and where water typically pools.
Use a bright flashlight to examine the deck’s undersides and joists, looking for signs of water damage, mold growth, or pest infestations. Professional deck builders recommend checking all support posts for stability by gently pushing against them – any movement could indicate foundation issues that require immediate attention.
Mark problematic areas with chalk or painter’s tape for easy reference. Common issues requiring repair include:
- Loose or protruding nails and screws that need re-securing
- Splintered or cracked boards requiring replacement
- Damaged support posts or joists that compromise structural integrity
- Loose railings or balusters that pose safety risks
For board replacement, ensure new lumber matches the existing decking in both type and dimension. When securing loose boards, use deck screws rather than nails, as they provide better holding power and are less likely to pop up over time. Industry experts recommend stainless steel or high-quality coated screws to prevent rust stains.
Check all ledger board connections – where the deck attaches to the house – as this is a critical structural component. Ensure proper flashing is in place and all bolts are tight and free from corrosion. Any signs of water damage or deterioration in this area should be addressed by a professional before proceeding with sealing work.
Small cracks or splits in boards can often be repaired using exterior-grade wood filler. However, if a board shows signs of extensive rot or damage, complete replacement is necessary to maintain the deck’s structural integrity and ensure proper sealing results.
By identifying and addressing these issues now, you’ll create the perfect foundation for the sealing process and significantly extend your deck’s lifespan. Remember that proper repairs don’t just improve appearance – they’re crucial for safety and long-term durability.
Selecting the right sealant
- How do I know which type of deck sealant is best for my outdoor decking?
- The best sealant depends on your deck’s wood type and exposure conditions. For most applications, a penetrating oil-based sealer offers excellent protection while maintaining the wood’s natural appearance, while water-based sealers are more environmentally friendly and easier to clean up.
- Should I choose a clear sealant or one with stain?
- Clear sealants highlight the wood’s natural beauty but offer less UV protection than pigmented options. Semi-transparent stains provide a good balance between showing wood grain and protecting against sun damage, typically lasting 2-3 years before requiring reapplication.
- How often should I reseal my deck after the initial sealing?
- Most deck sealants need to be reapplied every 2-3 years, depending on weather exposure and foot traffic. Perform a water test annually – if water no longer beads on the surface, it’s time to reseal the deck.
- What’s the difference between water-based and oil-based sealants?
- Water-based sealants dry quickly, have low VOCs, and clean up easily with soap and water. Oil-based sealants penetrate deeper into the wood, provide better water resistance, and typically last longer, but require mineral spirits for cleanup and have stronger odors during application.
- Can I apply a new sealant over an existing one during deck cleaning and sealing?
- It’s not recommended to apply new sealant over existing finishes as this can lead to adhesion problems and uneven protection. Always strip old sealant completely and prepare the surface properly before applying a new coating.
Applying the protective finish
When applying the protective finish, timing and technique are crucial for optimal results. Begin early in the day when temperatures are between 50-90°F and no rain is forecast for at least 24 hours. Before starting, check the wood’s moisture content one final time – it should read below 15% for the sealant to bond properly.
Using a high-quality natural bristle brush or lamb’s wool applicator, apply the sealant in long, smooth strokes following the wood grain. Work in manageable sections, typically 2-3 boards wide, maintaining a wet edge to prevent lap marks. For outdoor decking projects, professionals recommend the “two-board” technique – applying sealant to two boards at a time from end to end before moving to the next section.
Pay special attention to end grain and board ends, which absorb more sealant. These areas often need two or three coats applied wet-on-wet for adequate protection. Don’t forget to seal between board gaps – use a thin brush to ensure these spaces are properly protected from water infiltration.
- Apply thin, even coats rather than one thick layer
- Back-brush any puddles or excess sealant to prevent shiny spots
- Allow proper drying time between coats (typically 4-6 hours)
- Consider applying a second coat for high-traffic areas
Common mistakes to avoid during sealing include over-application, which can lead to sticky surfaces and extended drying times, and inadequate coverage, which might leave some areas vulnerable to moisture damage. After completing the deck cleaning and sealing process, allow at least 24-48 hours of dry weather before replacing furniture or exposing the surface to foot traffic. This ensures proper curing and maximizes the durability of your protective finish.