Before starting your French drain project, gathering all the necessary materials and tools is crucial for a successful outdoor drainage system installation. Based on professional recommendations and building codes, you’ll need specific materials designed to handle water management in your yard effectively.
For a standard 30-foot French drain installation, here’s your comprehensive materials list:
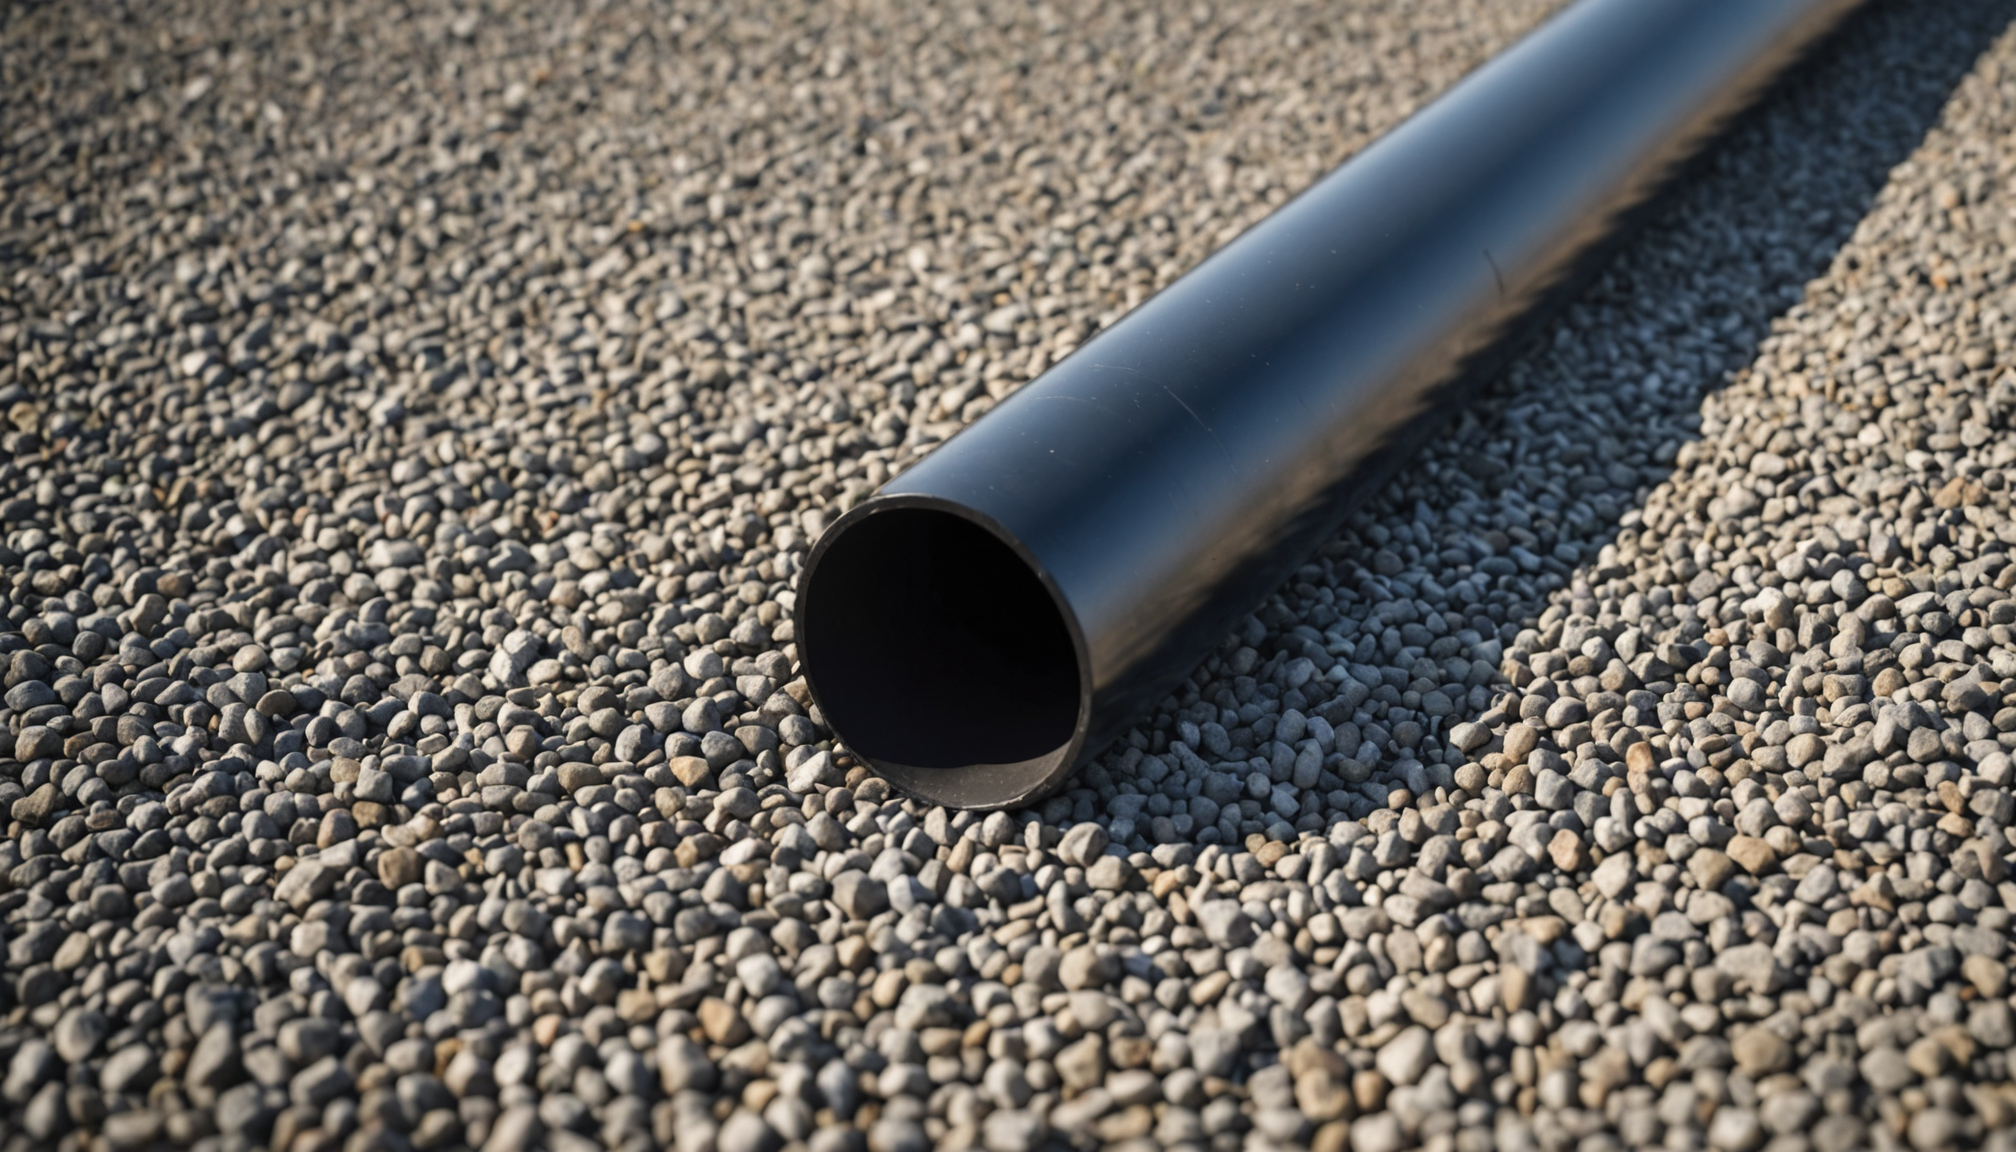
- 4-inch perforated PVC drain pipe (33 feet to allow for connections)
- Non-woven geotextile filter fabric (40 feet x 3 feet)
- 3/4-inch washed drainage gravel (approximately 2 tons)
- PVC pipe connectors and end caps
- Landscape marking paint
- String line and stakes
Essential tools for the installation include:
- Trenching shovel or mechanical trencher
- Regular shovel and spade
- Wheelbarrow
- Level (2-foot and 4-foot)
- Tape measure
- Safety equipment (gloves, safety glasses, steel-toe boots)
- Garden rake
- Tamper
According to the International Association of Certified Home Inspectors, using the correct grade of filter fabric is crucial – it should be rated for soil separation and have a flow rate of at least 140 gallons per minute per square foot. The gravel should be clean and washed, as unwashed gravel can contain fine particles that could clog your drainage system over time.
For larger projects or challenging soil conditions, consider renting additional equipment such as a mini excavator or power trencher. These machines, while adding to the initial cost (approximately $150-250 per day), can significantly reduce installation time and physical labor. Studies from landscaping professionals indicate that mechanical trenching can complete the job up to 5 times faster than manual digging.
Planning your drainage route
A well-planned drainage route is essential for your French drain’s effectiveness. Start by identifying the highest point where water collects in your yard and determine the lowest point where water can safely exit. Using landscape marking paint, create a line that follows the natural slope of your property, maintaining a consistent grade of at least 1 inch per 8 feet for proper water flow.
Before finalizing your outdoor drainage path, contact your local utility companies to mark underground services. This crucial step prevents accidental damage to gas, water, or electrical lines. Keep the French drain at least 6 feet away from your home’s foundation and ensure it doesn’t direct water onto neighboring properties.
Consider existing landscape features when mapping your route. The drain should avoid large tree roots, which can eventually infiltrate and damage the system. If your yard has multiple problem areas, design the route to collect water from these spots using tributary branches that connect to the main drainage line.
Use a string line and stakes to mark the entire path, then verify the slope using a level. For accurate grading, place stakes every 8 feet and attach a string line at the proper height. This guide will ensure consistent slope during trench excavation. Professional landscapers recommend testing your planned route by running a garden hose along it during dry weather to observe how water naturally flows.
- Maintain a minimum slope of 1 inch per 8 feet for optimal drainage performance
- Keep French drains at least 6 feet away from building foundations to prevent water damage
- Always call utility companies for line marking before finalizing your drainage route
- Plan for at least one cleanout access point every 50 feet of drain length
Digging the trench properly
A proper trench is the backbone of an effective outdoor drainage system. The most common mistake homeowners make is digging too shallow – a French drain needs to be at least 12 inches deep, but preferably 18-24 inches for optimal performance. The width should consistently measure 12 inches to accommodate both the pipe and sufficient gravel.
Start by removing grass and topsoil carefully, setting it aside for later use. Using your marked line as a guide, dig consistently while maintaining the predetermined slope. Many DIYers make the critical error of creating an uneven trench bottom, which leads to standing water and reduced drainage efficiency. Use your level frequently to check the grade as you dig.
Another frequent mistake is leaving loose soil at the bottom of the trench. The base must be firmly compacted using a tamper to prevent future settling, which could create low spots in your drainage system. Remove any rocks or roots that could puncture the filter fabric or cause irregular settling.
Common errors to avoid:
– Digging V-shaped trenches instead of ones with flat bottoms
– Failing to maintain consistent width throughout the drain’s length
– Not accounting for pipe connections, which require slightly deeper sections
– Ignoring soil conditions that might require additional depth
In clay-heavy yards, consider digging 2-3 inches deeper than planned and adding a layer of sand to improve drainage. If you encounter groundwater while digging, you’ll need to work quickly or use a pump to remove standing water before installation.
For corners or turns in your French drain, make gradual curves rather than sharp angles, which can impede water flow and make pipe installation difficult. The trench should be slightly deeper at these points to maintain proper water flow around bends.
Keep excavated soil at least 2 feet away from the trench edges to prevent it from falling back in during installation. If working in sandy soil, you may need to slope the trench walls slightly to prevent cave-ins. Check local building codes, as some areas require specific trench depths or configurations for residential drainage systems.
Installing filter fabric and gravel
Once your trench is properly prepared, laying the filter fabric correctly creates a crucial barrier that prevents soil from mixing with your drainage gravel. Start by rolling out the non-woven geotextile fabric along the entire length of the trench, ensuring it covers both the bottom and sides with at least 12 inches of excess material hanging over each edge. This overlap will be essential for proper wrapping of the system.
A common mistake is stretching the fabric too tightly – allow some slack to prevent tearing when adding gravel. The fabric should conform to the trench shape naturally, creating a smooth liner that will effectively trap soil particles while allowing water to pass through. Secure the edges temporarily with landscape pins or heavy rocks to keep the fabric in place during gravel installation.
Begin adding the first layer of washed drainage gravel, approximately 3 inches deep, directly onto the filter fabric. Use the rake to spread the gravel evenly, maintaining a flat surface. This initial layer creates a stable bed for your drainage pipe and helps prevent any sharp objects from potentially damaging the pipe system.
Key points for gravel selection and placement:
– Use only clean, washed 3/4-inch gravel
– Avoid mixing different gravel sizes
– Add gravel in layers, compacting each layer lightly
– Maintain consistent depth throughout the outdoor drainage system
When spreading gravel, work from one end of the trench to the other, being careful not to drag or damage the filter fabric. The gravel should be free from fine particles or sand that could potentially clog your French drain over time. A good test is to run water through a handful of gravel – it should flow freely without becoming muddy.
Professional installers recommend checking the level of your gravel bed frequently to ensure proper slope is maintained. Any irregularities in this foundation layer will affect your yard’s drainage efficiency. Continue adding gravel until you’ve created a solid, level base that’s ready for pipe installation.
Remember, proper material selection and careful installation at this stage will significantly impact your drainage system’s long-term performance. Take your time to get it right – rushing through this critical phase could lead to future problems that are difficult and expensive to fix. With proper attention to detail, you’re setting yourself up for a French drain that will effectively manage water in your yard for years to come.
Placing and connecting drain pipes
- How do I join multiple drainage pipes together for a longer French drain?
- Use proper PVC connectors and ensure all joints are securely fastened. Apply PVC cement to create watertight seals, and maintain a slight downward slope (1 inch per 8 feet) across all connections for consistent water flow.
- Should the drain pipe holes face up or down in my yard’s drainage system?
- Install the pipe with holes facing down for optimal performance. This orientation allows water to enter from below, preventing soil and debris from clogging the holes while maximizing the drainage capacity of your outdoor system.
- What’s the best way to handle corners in my French drain layout?
- Use gradual curves rather than sharp angles, with a minimum radius of 2 feet. For turns greater than 45 degrees, install a cleanout access point to facilitate future maintenance and prevent potential clogs in these vulnerable areas.
- How do I prevent my drainage pipe from shifting after installation?
- Secure the pipe by surrounding it with enough gravel to prevent movement, and ensure the trench bottom is properly compacted. Use anchor stakes at regular intervals, especially on slopes, and maintain consistent gravel depth on all sides of the pipe.
- Can I connect my gutter downspouts to my French drain?
- Yes, you can connect downspouts to your French drain using appropriate adapters and ensuring proper slope. However, install a catch basin or debris filter at each connection point to prevent leaves and debris from entering and clogging the drainage system.
Finishing and maintenance tips
Once your drainage system is installed, proper finishing and regular maintenance will ensure its long-term effectiveness. After placing the final layer of gravel, fold the excess filter fabric over the top, creating a complete wrap around the gravel and pipe. Leave about 4-6 inches of space from the surface for topsoil.
For proper yard restoration, carefully replace the reserved topsoil over the fabric, ensuring it’s level with the surrounding ground. Consider adding grass seed or sod to restore your lawn’s appearance. To mark your outdoor drainage system’s location, place small landscape markers or take detailed measurements from fixed points in your yard.
Regular maintenance is crucial for optimal performance:
– Inspect your French drain’s exit point monthly for blockages or debris
– Clear any visible obstructions from the outlet area
– Monitor water flow during heavy rains to ensure proper drainage
– Check for sinkholes or depressions along the drain’s path
– Clean out access points annually using a garden hose or plumber’s snake
Be proactive about potential issues by observing your yard after significant rainfall. Look for signs of standing water or oversaturated soil near the drain’s path. During fall, prevent leaves and debris from accumulating over the drainage area, as they can impede water flow and lead to soil compression.
In winter, ensure the drain’s exit point remains clear of ice buildup, which can cause backup issues. If you notice slower drainage or standing water where there wasn’t any before, flush the system with a garden hose through the cleanout ports to remove any accumulated sediment.
For enhanced system longevity, consider these professional tips:
– Avoid planting deep-rooted vegetation directly over the drain
– Keep heavy vehicles and equipment off the drainage path
– Document your maintenance activities and any repairs
– Schedule professional inspections every 3-5 years
With proper maintenance, your French drain should effectively manage your yard’s water issues for 20-30 years before requiring any major repairs or replacement.