According to the National Roofing Contractors Association, performing regular roof inspections at least twice a year can extend your roof’s lifespan by up to 25%. These DIY maintenance checks, ideally conducted in early spring and late fall, help identify potential issues before they become costly problems.
Start your inspection from the inside by examining your attic on a bright day. Look for spots where sunlight penetrates through the roof boards or any signs of water stains, which could indicate leaks. Document these locations for a more thorough exterior check later.
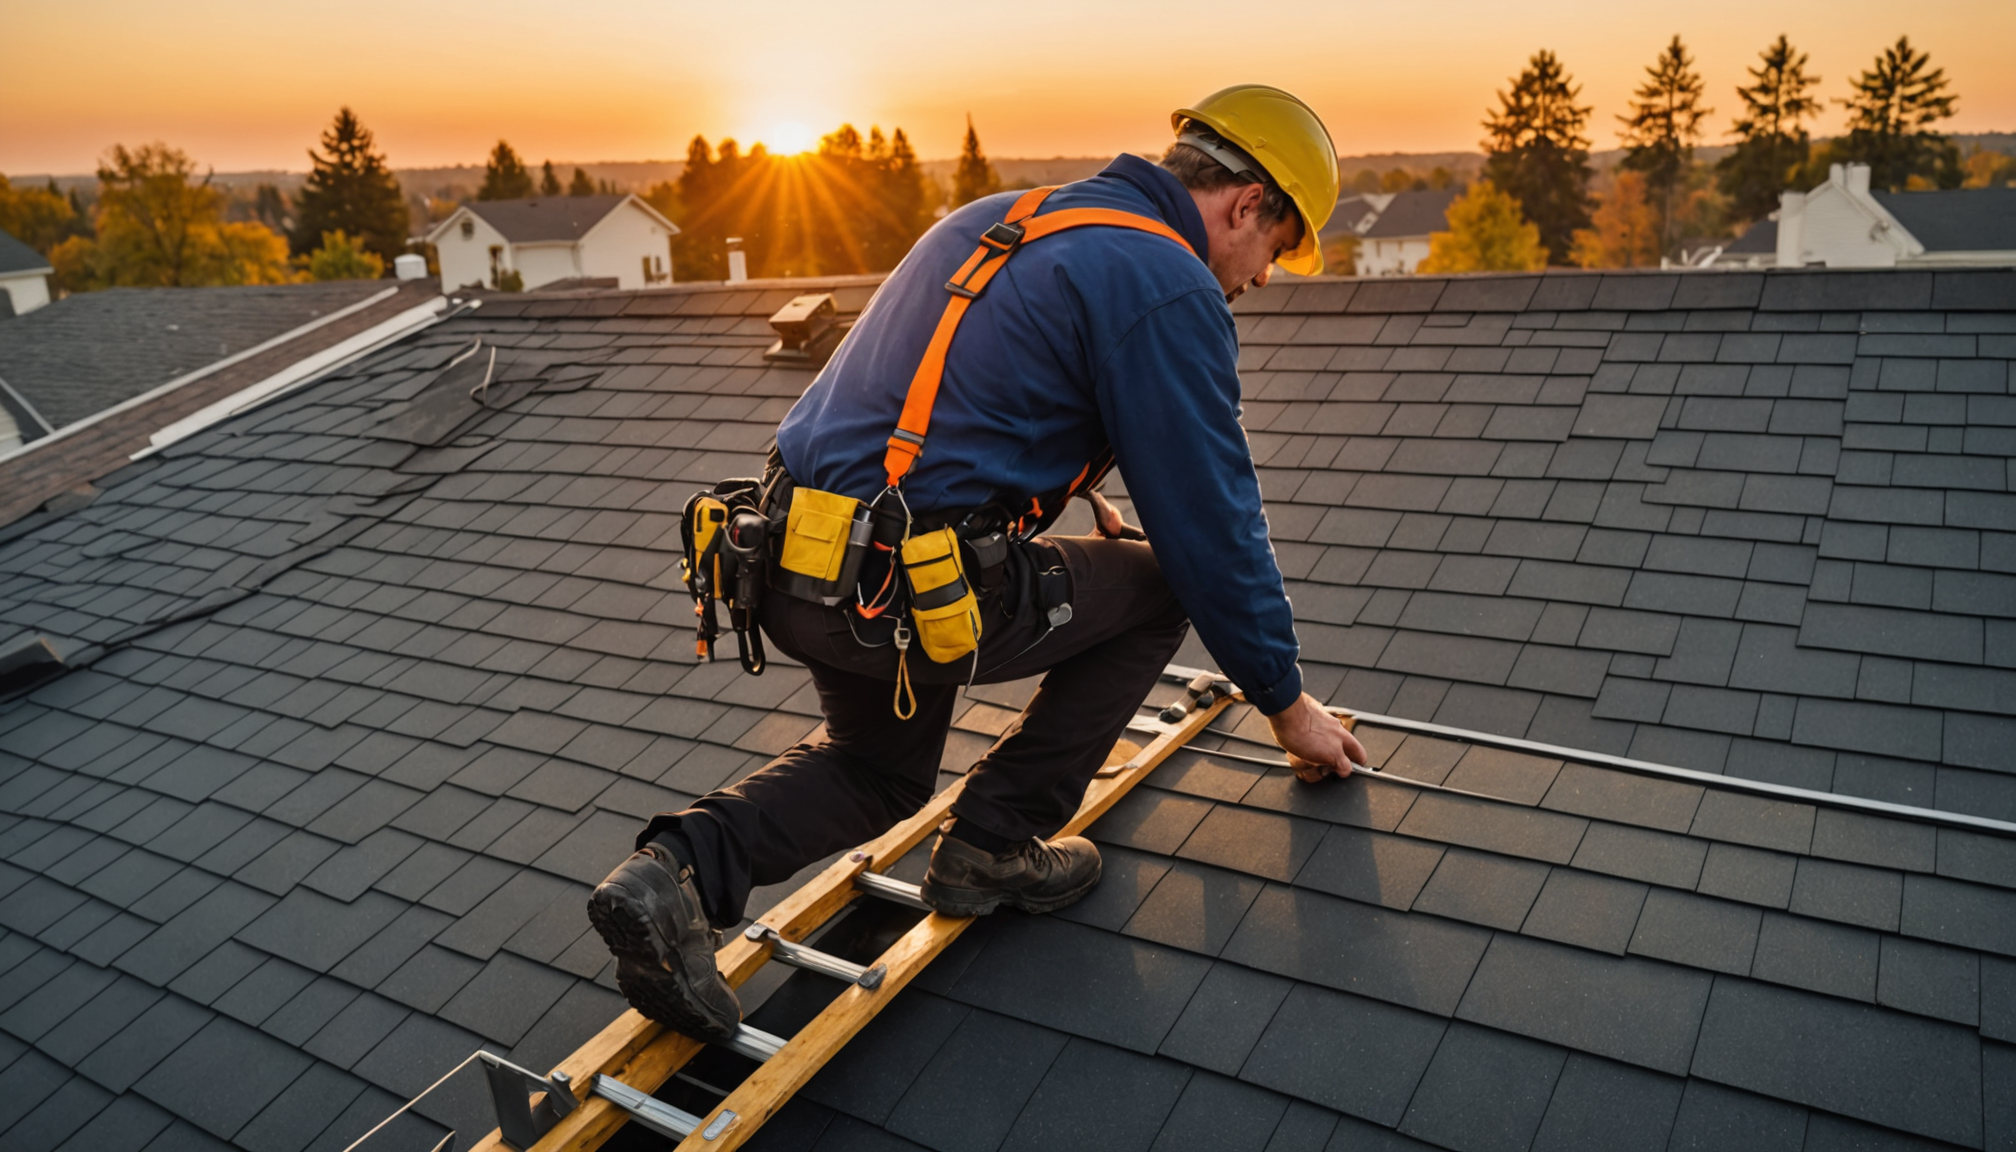
When conducting exterior inspections, always prioritize safety. Use a sturdy ladder with stabilizers, and if possible, remain on the ladder rather than walking on the roof. Professional roofing tips suggest using binoculars for a detailed view of areas that are difficult to access safely.
- Check for loose, cracked, or missing shingles
- Inspect flashing around chimneys, vents, and skylights
- Look for signs of rust on metal components
- Remove debris accumulation from valleys and corners
- Document any areas showing excessive granule loss
The Environmental Protection Agency recommends using a soft-bristled brush or leaf blower to remove debris, as pressure washing can damage shingles and void warranties. During cleaning, pay special attention to areas where branches overhang the roof, as these spots tend to accumulate more debris and retain moisture.
Research from the International Association of Certified Home Inspectors shows that proper maintenance and regular cleaning can prevent up to 90% of premature roof failures. Create a detailed checklist and maintain a log of your inspections, noting any changes or concerns for future reference. This systematic approach to home care ensures you won’t miss critical signs of wear and tear.
Basic gutter maintenance
Maintaining clean and functional gutters is a cornerstone of effective home care and roof protection. Experts recommend cleaning gutters at least twice annually, though homes surrounded by trees may require more frequent attention. A well-maintained gutter system prevents water damage to your roof’s fascia boards and helps avoid costly foundation issues.
Start your DIY gutter maintenance by removing large debris with a small plastic scoop or trowel. Work in sections, placing debris in a bucket or dropping it onto a tarp below to minimize cleanup. After removing solid matter, flush the gutters with a garden hose to ensure proper water flow and identify any potential leaks or misaligned sections.
Professional roofing tips emphasize the importance of checking downspout functionality. Insert your garden hose into the top of each downspout and run water while a helper monitors the bottom outlet. If water doesn’t flow freely, use a plumber’s snake to clear any blockages. Install gutter guards or screens to reduce debris accumulation, but remember these accessories still require periodic maintenance.
- Check and tighten gutter fasteners every spring and fall
- Ensure gutters maintain a proper slope (1/4 inch per 10 feet toward downspouts)
- Replace worn or damaged gutter sections promptly to prevent water damage
- Install splash blocks or downspout extensions to direct water away from foundation
Pay special attention to gutter seams and corners, as these areas are most prone to leaks. Apply gutter sealant to any detected leaks after thoroughly cleaning and drying the area. For homes in colder climates, consider installing heat cables along gutters and downspouts to prevent ice dam formation during winter months.
Moss and algae prevention
Many homeowners unknowingly contribute to moss and algae growth through improper maintenance practices. Understanding how to prevent these unwanted guests is crucial for effective home care and roof protection. Research shows that moss and algae can reduce a roof’s lifespan by up to 10 years if left untreated.
One of the most effective DIY roofing tips involves installing zinc or copper strips near the roof’s peak. When it rains, these metals release ions that naturally prevent moss and algae growth on the shingles below. For existing growth, avoid using pressure washers or harsh scraping tools, as these can damage shingles and void warranties.
Several common mistakes can accelerate moss and algae development:
• Allowing tree branches to hang over the roof, creating shade and moisture
• Neglecting to remove organic debris that holds moisture
• Using incorrect cleaning solutions that may damage shingles
• Failing to address poor ventilation in the attic
For safe and effective maintenance, create a prevention strategy that includes:
• Trimming trees to allow more sunlight on the roof
• Installing proper attic ventilation to reduce moisture
• Using oxygen bleach solutions specifically designed for roof cleaning
• Applying EPA-approved treatments that won’t harm surrounding vegetation
Keep in mind that north-facing roof sections and areas with limited sun exposure are particularly susceptible to moss and algae growth. Consider installing darker shingles in these areas, as they tend to retain more heat and dry faster after rainfall. Some manufacturers now offer algae-resistant shingles containing copper granules, which can be a worthwhile investment during replacement projects.
Remember to inspect your roof regularly for early signs of growth, particularly during spring and fall. Dark streaks or green patches indicate the beginning stages of colonization, and addressing these issues promptly can prevent more extensive damage and costly repairs later.
Shingle repair and replacement
When individual shingles become damaged or worn, prompt attention can prevent more extensive roof problems and costly repairs. Statistics from building maintenance experts indicate that addressing shingle issues immediately can save homeowners up to 70% compared to waiting for major damage to occur.
Begin your DIY repair assessment by identifying damaged shingles from the ground using binoculars. Look for:
• Curling or buckling edges
• Missing granules exposing bare spots
• Cracks or splits in the shingle surface
• Loose or missing shingles
• Signs of water damage underneath
For minor repairs, choose a cool, dry day with temperatures between 50-85°F to ensure proper adhesion. When replacing individual shingles, essential roofing tips include:
• Carefully lifting the overlapping shingles without breaking their seal
• Removing all old nails completely
• Installing new underlayment if the existing material is damaged
• Using the correct number and placement of roofing nails
• Applying roofing cement under shingle tabs
Professional home care experts recommend keeping spare shingles from your original installation for future repairs, as this ensures a perfect match in color and style. If matching shingles aren’t available, consider replacing an entire section to maintain a uniform appearance.
Some maintenance tasks require special attention:
• Never stack new shingles on top of old ones
• Ensure proper nail placement to prevent water infiltration
• Use appropriate underlayment materials
• Apply roofing cement sparingly to avoid creating water dams
• Match shingle alignment with existing rows
For extensive damage affecting more than 30% of the roof, consult a professional roofer, as this might indicate it’s time for a complete replacement. Keep detailed records of all repairs, including dates, materials used, and specific locations, to track your roof’s maintenance history and identify recurring problem areas.
By maintaining proper tools and materials for emergency repairs, you’ll be prepared to address sudden damage from storms or falling branches. Create a basic repair kit including:
• Spare shingles
• Roofing nails
• Roofing cement
• Utility knife
• Pry bar
• Hammer
• Safety equipment
Remember to prioritize safety during any repair work, using proper fall protection and never working alone on steep or wet surfaces.
Seasonal weatherproofing
- How do I prepare my roof for winter season?
- Winter preparation should include clearing all gutters, sealing any visible gaps around vents or chimneys, and installing gutter guards if needed. In regions with heavy snowfall, consider installing roof heating cables to prevent ice dam formation.
- When is the best time to check my roof’s weatherproofing?
- Roofing tips from experts suggest checking weatherproofing in early fall before winter weather arrives, and again in spring to assess any winter damage. This timing allows for repairs during moderate temperatures when sealants and materials work most effectively.
- What are the signs that my roof’s weatherproofing is failing?
- Common indicators include water stains on interior ceilings, drafts in the attic, or visible gaps around roof penetrations. Increased energy bills can also signal compromised weatherproofing as heated or cooled air escapes through the roof.
- Can I apply roof sealant myself as part of DIY maintenance?
- Yes, homeowners can apply roof sealant as a DIY project, but proper preparation and appropriate weather conditions are crucial. Use only roofing-specific sealants, ensure surfaces are completely dry, and work in temperatures above 50°F for best results.
- How often should I replace roof flashing as part of home care?
- Roof flashing typically needs replacement every 15-20 years, but should be inspected annually for signs of wear or damage. Replace flashing immediately if you notice rust, cracks, or separation from sealed areas, regardless of age.