When it comes to exterior weatherproofing, choosing the right caulk is crucial for lasting protection against the elements. According to the U.S. Department of Energy, proper outdoor caulking can reduce energy costs by up to 15% annually by preventing air leaks around windows and doors. The most reliable options for exterior applications are silicone-based, polyurethane, and hybrid caulks, each offering specific advantages for different situations.
Silicone caulk remains the gold standard for exterior use, with studies from the Sealant, Waterproofing & Restoration Institute showing it can last up to 20 years when properly applied. 100% silicone caulk offers superior flexibility, UV resistance, and can withstand temperature extremes from -60°F to 400°F, making it ideal for areas with severe weather conditions.
For areas requiring paintability, modified silicone or siliconized acrylic caulks provide a good balance of durability and compatibility with paint. However, construction expert Mike Holmes recommends using pure silicone for critical exterior joints that won’t be painted, particularly around windows and door frames.
- Polyurethane caulks: Best for concrete, masonry, and areas requiring exceptional durability
- Hybrid caulks (MS Polymer): Combines silicone’s flexibility with polyurethane’s strength
- Butyl rubber: Excellent for metal surfaces and areas with constant water exposure
- Acrylic latex with silicone: Suitable for minor gaps and areas requiring paint
Professional contractors recommend choosing caulk with an ASTM C920 certification, which ensures the product meets strict performance standards for exterior use. Additionally, look for products with at least 25% joint movement capability, indicated by a “+/-25” rating on the package, to accommodate seasonal expansion and contraction of building materials.
The color selection also matters significantly. While white remains the most popular choice, manufacturers like DAP and GE now offer dozens of colors to match common building materials. Construction specialists suggest selecting a shade slightly darker than the surrounding surface, as exterior caulk tends to collect dirt over time and darker colors mask this effect better.
Essential tools and materials
To ensure a successful exterior caulking project, having the right tools and materials readily available is essential. A professional-grade caulking gun stands as the most crucial tool, with experts recommending a model featuring a smooth plunger mechanism and a built-in seal puncturing tool. The quality of your caulking gun directly affects the precision and ease of application, making it worth investing in a durable model with a high thrust ratio of at least 10:1.
Beyond the caulking gun, proper surface preparation tools are vital for outdoor weatherproofing. A wire brush, putty knife, and plastic scraper help remove old caulk and debris effectively. For thorough cleaning, isopropyl alcohol or mineral spirits, along with lint-free cloths, ensure surfaces are completely clean and ready for new caulk application.
Safety equipment plays a crucial role in any exterior caulking project. Chemical-resistant gloves protect your hands from harsh cleaning agents and caulk residue, while safety glasses shield your eyes during removal and application processes. When working with certain types of caulk, particularly those containing strong chemicals, a respirator mask might be necessary for adequate protection.
Masking tape proves invaluable for achieving clean, professional-looking lines. Professional contractors recommend using painter’s tape specifically designed for exterior use, as it resists UV damage and removes cleanly even after several days of exposure to the elements.
- Keep backup nozzles and caps handy – caulk can harden quickly once opened
- Store a utility knife with spare blades for cutting nozzles and removing old caulk
- Include a caulk finishing tool or spray bottle with soapy water for smooth beads
- Have a supply of rags or paper towels ready for immediate cleanup
A sturdy ladder with proper stabilizers becomes necessary for reaching higher areas around windows and trim. Extension poles or scaffolding might be required for multi-story applications, ensuring safe access to all work areas while maintaining proper positioning for accurate caulk application.
Surface preparation and cleaning
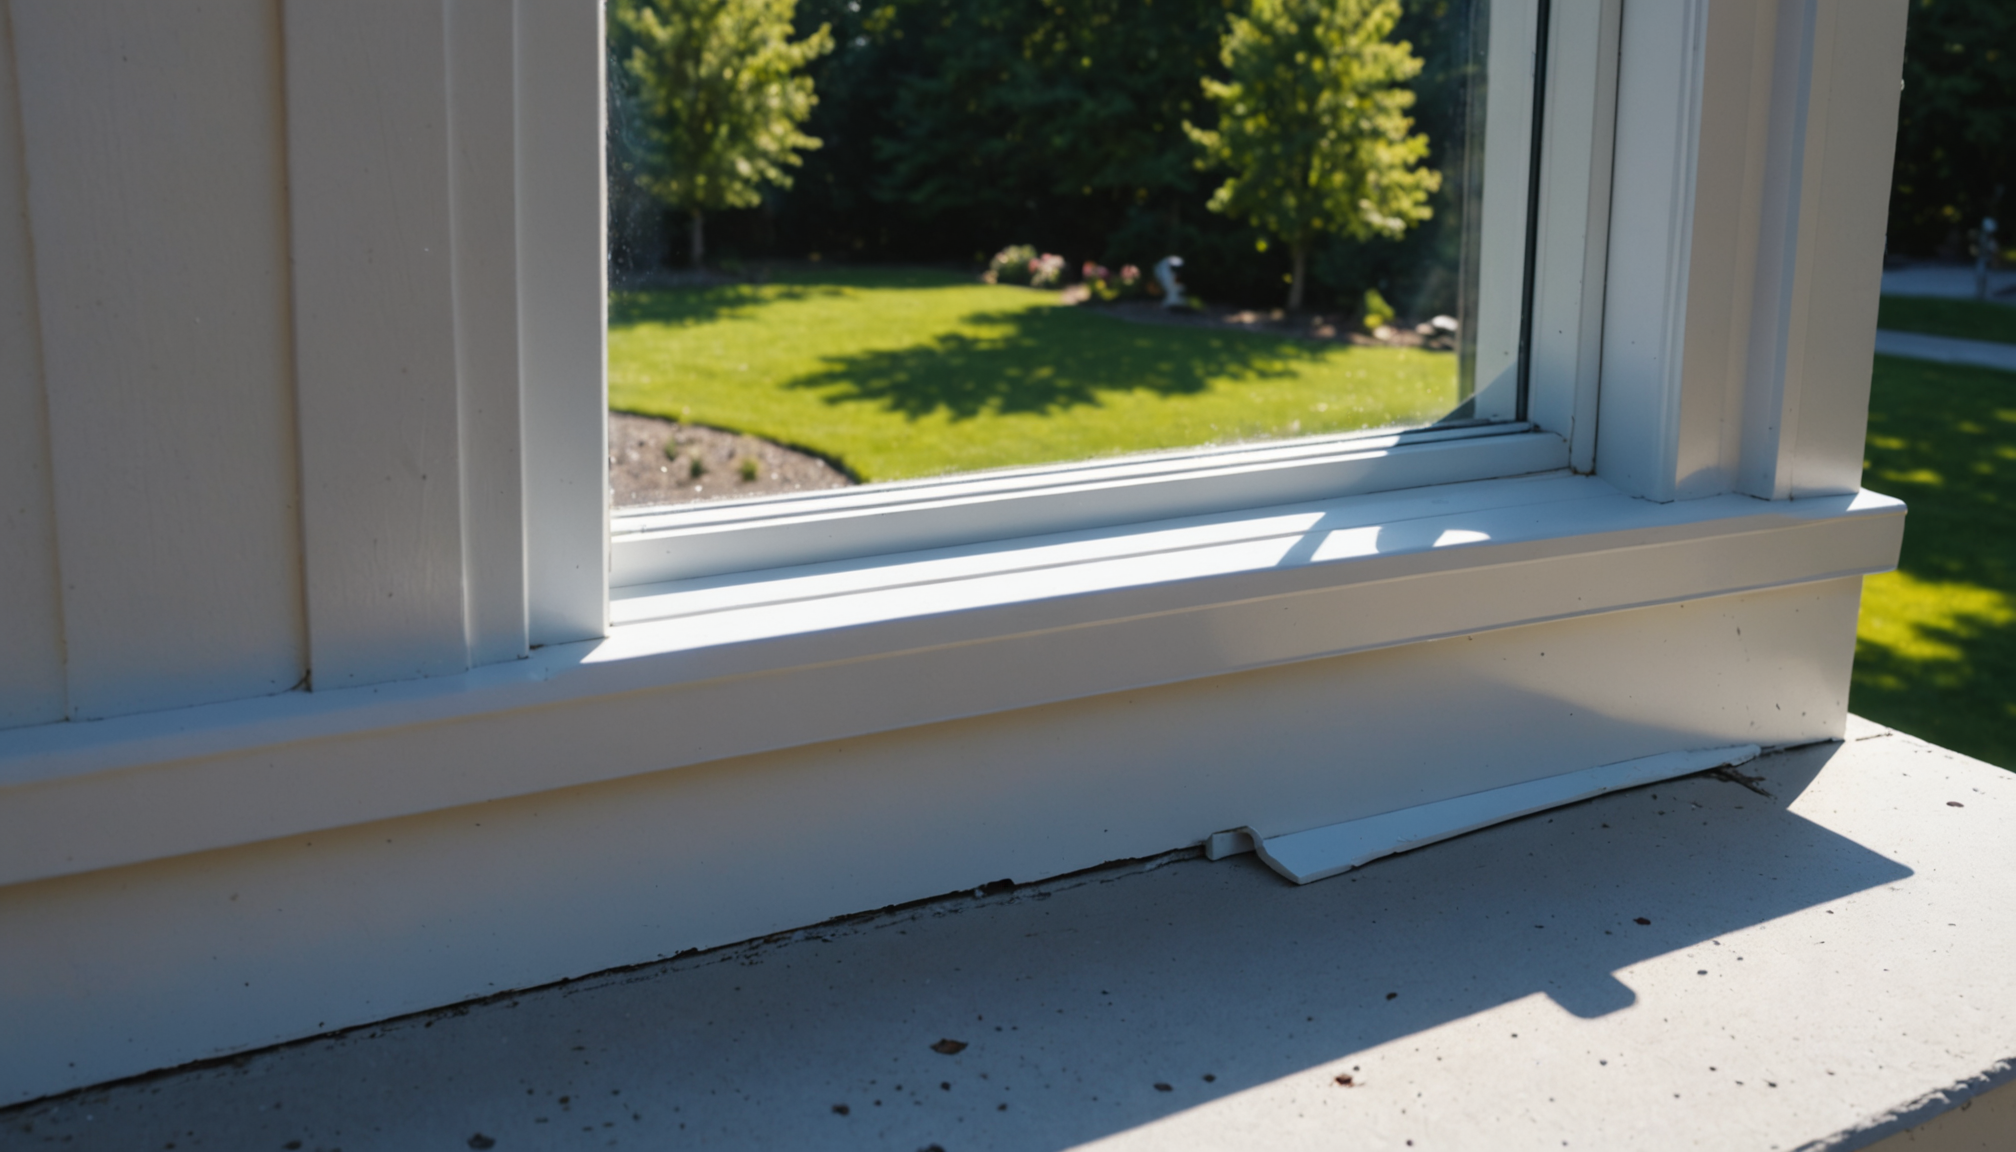
Proper surface preparation stands as the cornerstone of successful exterior caulking, with industry experts estimating that 80% of caulk failures stem from inadequate cleaning and preparation. The process begins with a thorough inspection of the area, identifying loose materials, mold, or mildew that must be addressed before applying new caulk.
Start by removing all traces of old caulk using a putty knife or specialized caulk removal tool. For stubborn residue, professionals recommend using a commercial caulk remover solution, allowing it to penetrate for 2-4 hours before scraping. Any remaining debris should be cleared away with a wire brush, paying special attention to corners and deep crevices.
After mechanical cleaning, the surface must be thoroughly dried and decontaminated. Use a vacuum or compressed air to remove loose particles, followed by wiping with isopropyl alcohol or mineral spirits on a lint-free cloth. This step eliminates oils, dust, and microscopic debris that could compromise adhesion. Areas affected by mold should be treated with a bleach solution (one part bleach to three parts water) and allowed to dry completely.
The importance of proper drying time cannot be overstated. Even on seemingly dry days, moisture can lurk within porous materials. Industry standards recommend waiting at least 24 hours after rainfall before applying outdoor caulk, and using a moisture meter for precise readings. Surfaces should have less than 12% moisture content for optimal adhesion.
For metal surfaces, light sanding with fine-grit sandpaper creates a better bonding surface. Wood trim might require sanding and priming if the surface is weathered or damaged. Masonry surfaces should be wire-brushed and any loose mortar repaired before caulking.
Temperature and humidity also play crucial roles during preparation. Most weatherproofing caulks perform best when applied in temperatures between 40°F and 85°F, with relative humidity below 80%. Check weather forecasts to ensure conditions will remain stable for at least 24 hours after application.
Application techniques and tips
Start by cutting the caulk tube’s nozzle at a 45-degree angle, making the opening slightly smaller than the gap you’re filling. When exterior caulking, maintaining consistent pressure on the caulking gun while moving at a steady pace creates the most effective seal. Professional contractors recommend pulling the gun rather than pushing it, as this technique provides better control and more uniform application.
For optimal weatherproofing results, apply caulk when the outdoor temperature remains between 50°F and 80°F, as extreme temperatures can affect curing time and adhesion. Work in sections no longer than 24 inches at a time, ensuring complete coverage while maintaining control over the bead size. The ideal bead should be approximately 1/4 inch wide for most exterior applications.
To achieve professional-looking results, use the “three-touch” technique:
1. Position the gun and begin squeezing with steady pressure
2. Draw the gun along the joint while maintaining consistent flow
3. Release pressure slightly before reaching the end point
After applying the caulk, tool it immediately using a caulk finishing tool or your finger dipped in soapy water. This crucial step forces the material into the joint, removes excess, and creates a concave surface that allows for proper joint movement. Professional installers recommend tooling within five minutes of application to ensure the best adhesion and appearance.
For challenging areas around windows and doors:
– Use backer rod for gaps larger than 1/4 inch
– Apply masking tape on both sides of the joint for clean lines
– Remove tape immediately after tooling while the caulk is still wet
– Work from top to bottom to prevent water from getting trapped behind fresh caulk
Weather conditions significantly impact success rates. Avoid caulking during windy conditions as dust and debris can compromise adhesion. Similarly, direct sunlight can cause the caulk to cure too quickly, potentially leading to shrinkage or poor bonding. When possible, work on shaded areas or during overcast days for best results.
By following these professional techniques and paying attention to environmental conditions, you’ll achieve durable, weathertight seals that protect your home and enhance its appearance. Remember that patience and attention to detail during application will save time and money on future repairs and maintenance.
Common mistakes to avoid
- What are the most common mistakes people make when applying exterior caulk?
- The biggest mistakes include applying caulk to dirty or wet surfaces, using the wrong type of caulk for outdoor use, and failing to remove old caulk completely. These errors can significantly reduce the effectiveness and longevity of the weatherproofing seal.
- How can I tell if I’m using too much or too little caulk?
- For exterior applications, the optimal caulk bead should be about 1/4 inch wide and deep. If the caulk shrinks significantly after drying or bulges out of the joint, you’re either using too little or too much. The bead should make full contact with both surfaces without excess material.
- Why does my exterior caulk keep cracking or peeling?
- Cracking and peeling typically occur when the caulk is applied in inappropriate weather conditions or on improperly prepared surfaces. Ensure temperatures are between 40-85°F during application and curing, and that surfaces are clean, dry, and free of old caulk.
- Can I apply new caulk over old caulk to save time?
- Never apply new caulk over old caulk, as this creates a weak bond and compromises the seal’s integrity. Always remove old caulking completely and clean the surface thoroughly before applying new material. This ensures proper adhesion and longevity.
- Is it okay to paint over exterior caulk right away?
- Most exterior caulks require 24-72 hours of curing time before painting. Painting too soon can prevent proper curing and cause the caulk to crack or separate. Always check the manufacturer’s specifications for recommended curing times and paintability.
Maintenance and reapplication schedule
Regular maintenance and timely reapplication of exterior caulking ensure long-lasting protection for your home. Industry experts recommend inspecting outdoor seals at least twice yearly, typically in spring and fall, when temperature variations make gaps and failures most visible. During these inspections, pay particular attention to areas exposed to intense sunlight or frequent moisture, as these conditions accelerate caulk deterioration.
The lifespan of exterior caulk varies significantly based on several factors:
– High-quality silicone caulk typically lasts 15-20 years
– Polyurethane sealants generally need replacement every 10-12 years
– Acrylic latex caulks may require renewal every 5-7 years
– Areas with extreme weather conditions might need more frequent attention
Weatherproofing maintenance should follow a systematic approach:
1. Spring inspection: Check for winter damage and address any immediate issues
2. Summer monitoring: Look for UV-related deterioration or heat-induced separation
3. Fall assessment: Ensure all seals are intact before winter weather arrives
4. Spot repairs: Address small issues immediately to prevent larger problems
Professional contractors recommend establishing zones around your home for systematic inspection and maintenance. Create a checklist that includes:
– North-facing windows and doors (check for moisture damage)
– South-facing areas (inspect for UV deterioration)
– Ground-level joints (examine for water damage)
– Roof-adjacent seals (verify integrity of weatherproofing)
Keep detailed records of when different areas were last caulked and what products were used. This documentation helps track performance and predict when reapplication might be necessary. Many homeowners find it helpful to create a digital or physical map of their home’s exterior, noting dates and types of caulk used in different locations.
When reapplication becomes necessary, always remove the old caulk completely rather than applying new material over it. This ensures proper adhesion and maximizes the effectiveness of the new weatherproofing seal.