When it comes to enhancing safety and accessibility in your bathroom, understanding the proper placement of grab bars is crucial. Poorly placed grab bars can be ineffective or even pose additional hazards. According to the Centers for Disease Control and Prevention, approximately 235,000 people visit emergency rooms each year due to injuries sustained in the bathroom, with many of these incidents involving falls. Properly installed grab bars can significantly reduce these risks.
Grab bars should be installed in locations where slips and falls are most likely to occur. These areas typically include the shower, bathtub, and toilet vicinity. The Americans with Disabilities Act (ADA) provides guidelines for grab bar placement, which can be an excellent starting point. For example, in a bathtub, grab bars should be placed along the back wall and the control wall to provide stability during entry and exit.
In the shower, it’s recommended to install grab bars on the side wall and the back wall, roughly 33 to 36 inches above the floor. This positioning helps maintain balance while standing or using a shower seat. Around the toilet, grab bars should be installed on the side wall closest to the toilet, about 33 inches above the floor, and on the back wall if space allows. These locations provide essential support during transfers on and off the toilet.
It’s also important to consider the user’s specific needs and preferences. For instance, individuals with disabilities or mobility issues may require additional grab bars or specific placements tailored to their needs. Consulting with a healthcare professional or an occupational therapist can provide valuable insights into the best grab bar configuration for individual users.
Remember, grab bars are safety hardware designed to bear significant weight, so their placement should always align with the underlying studs in the wall whenever possible. This ensures that the grab bars are securely anchored and can provide the necessary support during use. In situations where studs are not available, special anchors designed to handle the weight and force exerted on grab bars should be used.
By understanding and implementing the proper placement of grab bars, you can greatly enhance the safety and accessibility of your bathroom, providing peace of mind for users and reducing the risk of falls and injuries.
Locating studs in your walls
Locating studs in your walls is a vital step in ensuring the safety and stability of your grab bars. Studs are the vertical wooden frames behind your walls that provide secure anchoring points for heavy hardware like grab bars. Here are some essential facts and tips to help you locate studs in your bathroom walls:
- Most walls have studs spaced 16 or 24 inches apart. This standard spacing is a helpful starting point when searching for studs. Measure from one stud to find the next, and you’ll likely find them at these intervals.
- Use a stud finder for accurate detection. A stud finder is an inexpensive tool that can make the task much easier. These devices use various technologies, such as magnetic or electronic sensors, to pinpoint the location of studs behind the wall surface.
- Knock on the wall to hear the difference. As a low-tech alternative, you can tap on the wall and listen for changes in sound. Areas with studs behind them will sound more solid and produce less echo than hollow spaces without studs.
- Look for visual clues like nails or baseboard changes. Sometimes, the baseboards or other wall trimmings can provide hints about stud locations. Nails or changes in the baseboard can indicate where studs are positioned.
- Measure from corners or other known stud locations. Studs are often located near corners and on either side of windows and doors. Measuring from these points can help you find studs in other parts of the wall.
Once you’ve located the studs, mark their positions lightly with a pencil. This will guide you during the grab bar installation process, ensuring that your safety hardware is securely fastened to the wall. Proper stud location is crucial for enhancing the accessibility and safety of your bathroom, providing reliable support for users.
Choosing the right grab bar and size
When it comes to choosing the right grab bar and size, several common mistakes can compromise both safety and accessibility. One frequent error is selecting a grab bar that is too small or too large for the intended user. To avoid this, consider the dimensions of your bathroom and the specific needs of the person using the grab bar. A standard size for grab bars is typically between 18 to 24 inches in length, but larger sizes up to 42 inches are also available for areas where more support is needed, such as along a bathtub or in a shower.
Another common mistake is choosing a grab bar with an incorrect finish or material. Grab bars come in various finishes, including chrome, brushed nickel, and stainless steel. While aesthetics are important, the primary concern should be the material’s durability and grip. For example, textured finishes can provide better grip, especially in wet environments like bathrooms. Avoid finishes that are too smooth or slippery, as they can be hazardous when wet.
Many people also overlook the importance of selecting the appropriate type of grab bar. There are different types designed for specific uses, such as straight grab bars, angled grab bars, and wave-style grab bars. Straight grab bars are versatile and can be installed horizontally, vertically, or at an angle. Angled grab bars are useful for providing support at different heights, while wave-style grab bars offer multiple grip positions for users with various needs. Consider the user’s mobility and strength when selecting the type of grab bar.
Additionally, it’s essential to ensure that the grab bar is rated to support the user’s weight. Not all hardware is created equal, and failing to choose a grab bar with adequate weight capacity can lead to serious accidents. Look for grab bars that meet ADA (Americans with Disabilities Act) guidelines, which require them to support at least 250 pounds of force.
Lastly, some people make the mistake of not considering the diameter of the grab bar. The diameter should be comfortable for the user to grip firmly. A standard diameter is around 1.25 to 1.5 inches, but this can vary. Users with smaller hands or those with arthritis may require a smaller diameter for a better grip.
By taking the time to choose the right grab bar and size, you can significantly enhance the safety and accessibility of your bathroom. Consider the user’s needs, the bathroom layout, and the specific features of the grab bar to make an informed decision. This attention to detail will ensure that the grab bar provides the necessary support and reduces the risk of falls and injuries.
Installing grab bars into studs
To install grab bars into studs, you’ll need a few tools and some basic knowledge of hardware installation. Here’s a step-by-step guide to ensure your grab bars are securely fastened, enhancing the safety and accessibility of your bathroom.
First, gather your tools: a drill, a screwdriver bit that matches your screws, a pencil, a level, and a tape measure. You’ll also need the grab bar kit, which includes the bar itself and the necessary mounting hardware.
1. Mark the stud locations: Using the stud locations you previously marked, determine where you want to install the grab bar. Place the grab bar against the wall, ensuring it spans across at least two studs for optimal support. Use a level to ensure the bar is straight, then mark the screw holes with a pencil.
2. Pre-drill the holes: Using a drill bit slightly smaller than your screws, drill pilot holes into the studs where you marked the screw holes. This step makes it easier to insert the screws and helps prevent the wood from splitting.
3. Attach the mounting brackets: Most grab bars come with mounting brackets that attach to the wall first. Align these brackets with the pilot holes and secure them using the provided screws. Be sure to use a screwdriver bit that fits the screw heads to avoid stripping them.
4. Install the grab bar: Once the mounting brackets are secure, attach the grab bar to the brackets following the manufacturer’s instructions. This process usually involves placing the bar onto the brackets and tightening set screws to secure it in place.
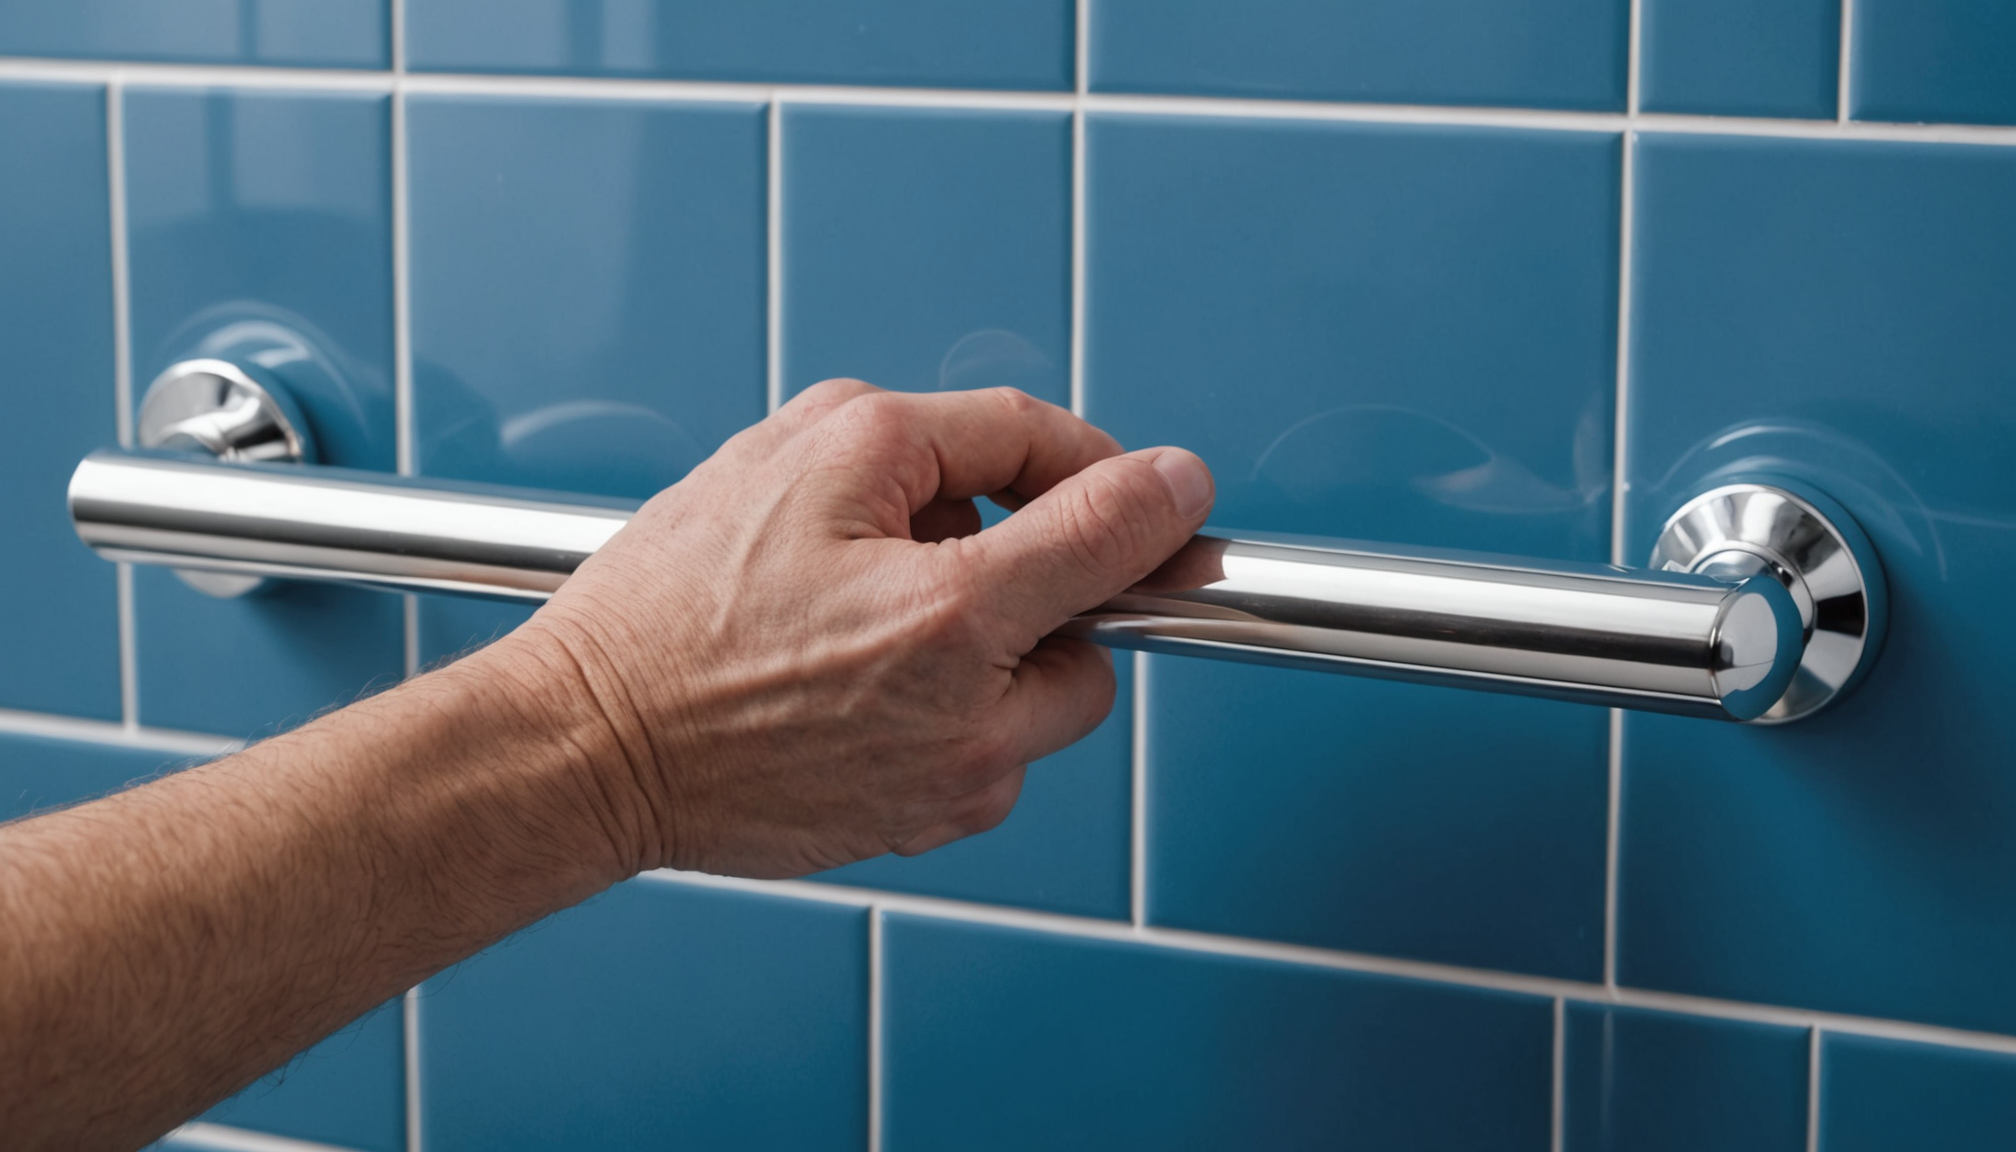
5. Test the grab bar: Before relying on the grab bar for support, give it a firm tug to ensure it’s securely fastened to the wall. It should not wobble or move when pulled. If it does, double-check that all screws are tight and that the bar is properly secured to the mounting brackets.
Remember, properly installing grab bars into studs is crucial for ensuring their stability and strength. This process provides the necessary support for users and enhances the overall safety and accessibility of your bathroom. Don’t rush through the installation process; taking the time to do it right will give you and the users peace of mind.
With your grab bars securely installed into the studs, you’ve significantly improved your bathroom’s safety features. Pat yourself on the back for a job well done, and enjoy the confidence that comes with a well-executed DIY project!
Using anchors for grab bar installation
- What if I can’t find a stud in the exact location I need to install the grab bar?
- If a stud isn’t available at the desired location, you can use special anchors designed to support the weight and force exerted on grab bars. These anchors, such as toggle bolts or molly bolts, can be installed in drywall and provide secure support for your grab bar hardware.
- Can I use regular drywall anchors for grab bar installation?
- No, regular drywall anchors are not sufficient for grab bar installation. Grab bars need to support significant weight, so it’s crucial to use heavy-duty anchors specifically designed for this purpose. These anchors ensure the safety and stability of the grab bar.
- How do I know if the anchors are strong enough to support the grab bar?
- When selecting anchors, ensure they are rated to support the weight capacity required for your grab bar. Look for anchors that meet or exceed the grab bar’s weight rating, which is typically at least 250 pounds to comply with ADA guidelines. Always follow the manufacturer’s instructions for proper installation.
- Can I install anchors in tile or other bathroom wall materials?
- Yes, there are specialized anchors designed for use in various wall materials, including tile, fiberglass, and concrete. Choose anchors that are compatible with your wall material and follow the manufacturer’s instructions for drilling and installation. Always use a drill bit designed for the specific material to prevent damage.
- What should I do if the grab bar feels loose after installation with anchors?
- If the grab bar feels loose, first ensure that all screws are tightened properly. If the anchors themselves seem loose, you may need to remove them and install larger or stronger anchors. In some cases, you might need to repair the wall material before reinstalling the anchors. Always test the grab bar for stability before using it for support.