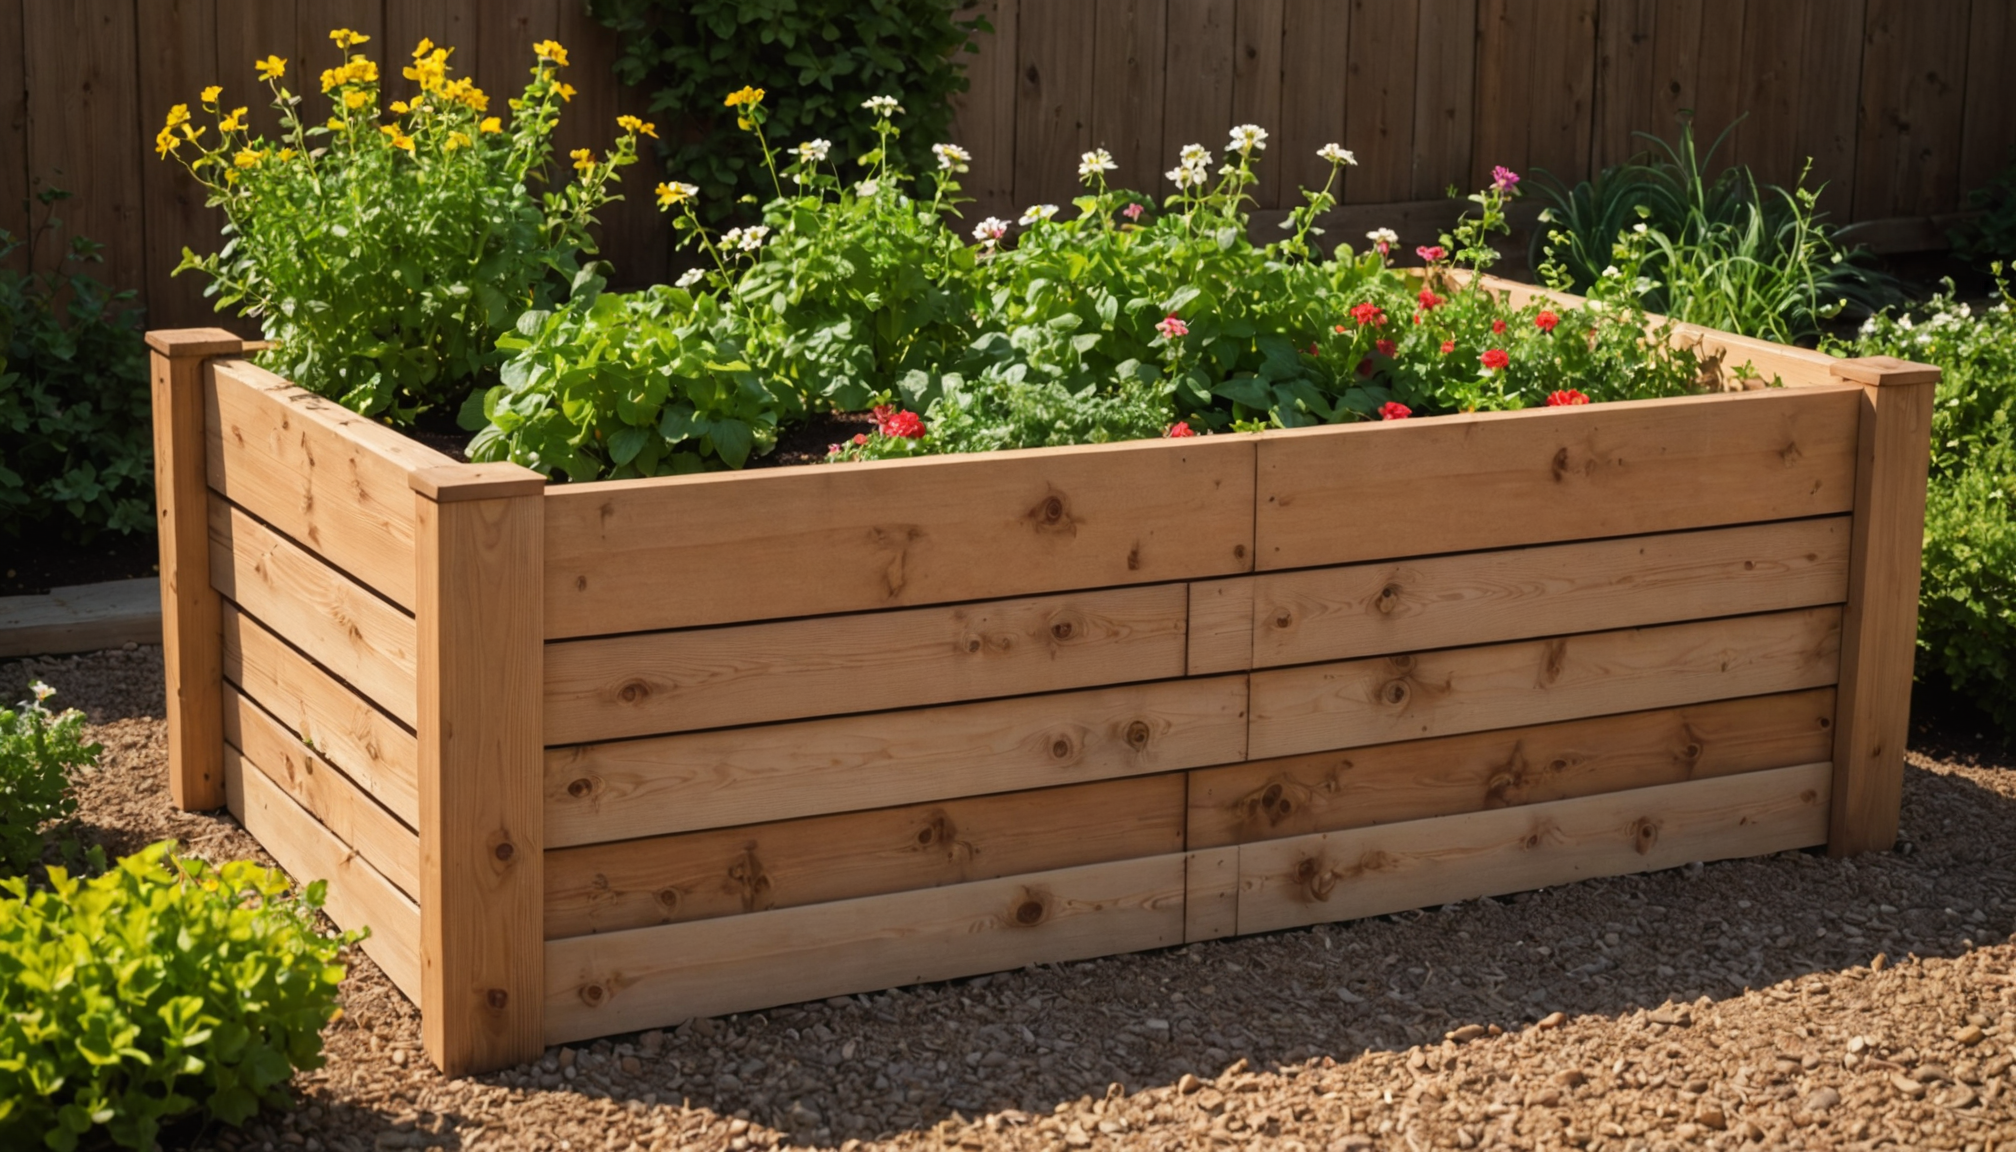
When building raised beds for your outdoor gardening project, selecting the right materials is crucial for longevity and plant health. According to the National Gardening Association, the most popular materials for DIY raised beds include cedar, redwood, composite lumber, and galvanized steel, each offering unique benefits and considerations.
Cedar and redwood stand out as premium choices, with natural resistance to rot and insects. Studies by Oregon State University show that cedar raised beds can last 10-15 years without treatment, making them an excellent long-term investment. While these woods come at a higher initial cost ($25-40 per 8-foot board), their durability justifies the expense.
For budget-conscious gardeners, untreated pine or Douglas fir offer affordable alternatives, though they typically last only 5-7 years. Never use pressure-treated lumber manufactured before 2004, as it contained toxic chromated copper arsenate (CCA). Modern pressure-treated lumber uses safer compounds but should still be lined if used for food gardens.
- Composite lumber: Eco-friendly option made from recycled materials, lasting 20+ years
- Galvanized steel: Durable and modern-looking, with 20-30 year lifespan
- Concrete blocks: Affordable and permanent, but can affect soil pH
- Stone/brick: Attractive and long-lasting, requires more complex construction
Hardware considerations are equally important. Use galvanized or stainless steel screws and brackets to prevent premature rusting. The University of California’s Master Gardener Program recommends 3-inch deck screws for wooden construction, while metal beds typically come with specialized fastening systems.
For corners and support, experts recommend installing stakes or posts every 4 feet to prevent bowing under soil pressure. According to professional landscaper David Beaulieu, 4×4 corner posts buried 12 inches deep provide optimal stability for wooden raised beds taller than 12 inches.
Cost analysis from Home Gardeners’ Association shows that while initial material expenses vary significantly ($100-500 for a typical 4’x8′ bed), investing in quality materials often proves more economical over time, reducing replacement and maintenance needs.
Choosing the right liner
Selecting an appropriate liner for your raised beds can significantly extend their lifespan and protect both the structure and your plants. High-quality liners create a barrier between soil and construction materials, preventing rot in wooden beds and protecting plant roots from potentially harmful substances in treated lumber. According to DIY gardening experts, landscape fabric remains the most popular choice, offering excellent drainage while blocking aggressive roots.
Heavy-duty pond liners and EPDM rubber sheets provide superior protection for wooden raised beds but require careful installation to ensure proper drainage. These materials typically cost $2-4 per square foot and can last up to 20 years. For outdoor gardens using treated lumber, a 6-mil polyethylene sheet offers adequate protection at a lower cost, though it may need replacement every 3-5 years.
Professional gardeners recommend extending liners approximately 6 inches up the interior walls of raised beds. However, avoid covering the entire interior, as this can trap moisture against the building material. When installing, create small drainage holes every 4-6 inches along the bottom to prevent water pooling, which could damage both plants and bed structure.
For metal or concrete raised beds, while liners aren’t strictly necessary, they can help regulate soil temperature and prevent mineral leaching. Geotextile fabric works particularly well in these situations, offering excellent water permeability while keeping soil separate from the building material. Research from agricultural extensions shows that proper liner installation can increase bed longevity by 30-50%.
- Landscape fabric should overlap by 6 inches at seams to prevent soil migration
- Use rust-proof staples or screws with washers to secure liners to wooden beds
- Double-layer protection is recommended for beds containing plants with aggressive root systems
- Always test drainage after liner installation by running water through the bed
Soil preparation and composition
A well-balanced soil mix is crucial for successful outdoor gardening in raised beds. The most common mistake gardeners make is using pure topsoil or garden soil straight from their yard, which often leads to poor drainage and compaction. Instead, create a mixture consisting of 60% high-quality topsoil, 30% compost, and 10% potting mix or coconut coir for optimal results.
Many DIY gardeners overlook the importance of pH testing, which should be done before planting. Most vegetables thrive in soil with a pH between 6.0 and 7.0. Using an inexpensive soil testing kit can help avoid nutrient deficiency issues that often plague new gardens. If needed, add lime to increase pH or sulfur to lower it.
Another frequent error is not properly layering materials when filling raised beds. Start with a layer of coarse organic matter like small branches or leaves at the bottom (known as the “Hugelkultur” method), which improves drainage and slowly releases nutrients as it decomposes. Some gardeners mistakenly pack this layer too tightly, which defeats its purpose.
Soil depth is another critical factor often miscalculated. Different plants require different depths:
– Shallow-rooted plants (lettuce, herbs): 6-8 inches
– Medium-rooted plants (peppers, beans): 12-14 inches
– Deep-rooted plants (tomatoes, squash): 16-18 inches
A common oversight is not incorporating enough organic matter. Add at least 20-30% compost to your soil mix, and avoid using sterilized compost exclusively, as it lacks beneficial microorganisms. Many gardeners also make the mistake of compressing the soil too much while filling beds – soil should be settled but not compacted.
Temperature management is often neglected. Dark-colored soil warms up faster in spring but can overheat in summer. Consider adding a 2-3 inch layer of organic mulch to regulate soil temperature and retain moisture. Straw, leaves, or wood chips work well, but avoid placing mulch directly against plant stems.
Nutrient balance poses another challenge. Many DIY enthusiasts over-fertilize their new beds, leading to nutrient burn. Start with a balanced, slow-release organic fertilizer and supplement based on specific plant needs and soil test results. Remember that excess nutrients can be as harmful as deficiencies.
Drainage and irrigation considerations
Proper drainage and irrigation are fundamental to successful plant growth in outdoor raised beds. A well-designed system prevents waterlogged soil while ensuring plants receive consistent moisture. Installing a drip irrigation system can save up to 70% of water compared to traditional watering methods, according to agricultural studies.
For optimal drainage, create a slight slope of about 1-2% from the center of the bed toward the edges. This prevents water from pooling around plant roots, which can lead to root rot and fungal diseases. DIY gardeners should incorporate a layer of gravel or crushed stone (about 2 inches) at the bottom of the bed before adding soil, creating essential drainage pathways.
Irrigation timing and frequency require careful consideration. Most raised beds need watering more frequently than in-ground gardens due to improved drainage and soil composition. Install a timer-controlled drip system with:
– Primary supply line (½ inch tubing)
– Secondary distribution lines (¼ inch)
– Drip emitters spaced 12 inches apart
– Flow rate of 1-2 gallons per hour per emitter
Moisture monitoring is crucial for successful gardening. Install a moisture meter or use the finger test method – if soil feels dry 2 inches below the surface, it’s time to water. Common irrigation mistakes include:
– Overwatering during cool seasons
– Inconsistent watering schedules
– Failing to adjust water volume based on weather conditions
– Not accounting for different plant water needs
To maximize water efficiency, consider these proven strategies:
– Apply 2-3 inches of organic mulch to reduce evaporation
– Water early morning or evening to minimize loss
– Group plants with similar water requirements together
– Install a rain sensor to prevent overwatering during wet periods
Zone planning helps manage water distribution effectively. Create hydrozones by grouping plants with similar water needs, and adjust drip emitter placement accordingly. This approach can reduce water usage by up to 30% while promoting healthier plant growth.
Remember that proper drainage and irrigation work together – too much of either can harm your plants. Monitor soil moisture regularly and adjust your system as needed throughout the growing season. With careful attention to water management, you’ll create optimal growing conditions for your plants to thrive.
Common size dimensions
- What’s the ideal size for a beginner’s raised bed garden?
- For DIY gardeners just starting out, a 4’x8′ raised bed is optimal. This size allows easy access from all sides while providing enough space to grow a variety of plants, and it’s manageable for most outdoor gardening beginners.
- How wide can I make my raised beds without making it hard to reach the middle?
- The maximum recommended width for raised beds is 4 feet if accessible from both sides, or 2-3 feet if only accessible from one side. This ensures you can reach the center of the bed without stepping into it, which could compress the soil.
- How tall should I build my raised beds for growing vegetables?
- Most vegetables grow well in beds that are 12-18 inches deep. However, root vegetables like carrots and potatoes may benefit from depths of 18-24 inches, while shallow-rooted crops like lettuce and herbs can thrive in beds as shallow as 6-8 inches.
- How much space should I leave between multiple raised beds?
- Paths between raised beds should be at least 24 inches wide to accommodate wheelbarrows and allow comfortable working space. For beds that will be accessed by wheelchairs, plan for 36-48 inch wide paths.
- What’s the minimum size raised bed worth building?
- The smallest practical size for a raised bed is typically 3’x3′, which provides enough space for a few plants while maintaining soil temperature and moisture stability. Anything smaller may dry out too quickly and limit plant selection options.
Maintenance and care tips
Regular maintenance ensures your raised beds remain productive and healthy throughout multiple growing seasons. A well-maintained garden starts with seasonal soil testing – conduct tests every spring to monitor nutrient levels and pH balance. Many DIY gardeners overlook this crucial step, leading to declining yields over time.
Keep your outdoor raised beds weed-free by pulling unwanted plants while they’re young, before they establish deep roots. Apply a 2-3 inch layer of organic mulch around plants to suppress weed growth and retain moisture. Remember to replenish mulch as it decomposes, typically twice per growing season.
Soil amendment should be an ongoing process. Add 1-2 inches of high-quality compost to your raised beds each spring before planting, and again in fall after harvest. This practice maintains soil structure and replenishes nutrients depleted during the growing season. For intensive gardening systems, consider adding slow-release organic fertilizers monthly during peak growing periods.
Monitor your beds regularly for signs of structural damage:
– Check wooden boards for rot or insect damage
– Inspect corner joints and hardware for looseness
– Look for soil erosion or settling
– Examine liner integrity if visible
Plant rotation is essential for disease prevention and soil health. Create a simple chart tracking what grows where each season, and avoid planting the same family of vegetables in the same location for at least three years. This practice significantly reduces pest and disease problems while optimizing nutrient usage.
During winter months:
– Remove dead plant material to prevent disease
– Cover beds with row covers or cold frames for extended growing
– Add a layer of leaves or straw to protect soil structure
– Check drainage systems for blockages
Clean and sanitize gardening tools regularly to prevent disease spread between beds. Many experienced gardeners keep a solution of 1 part bleach to 9 parts water nearby for quick tool cleaning between uses. Replace or repair damaged tools promptly to maintain efficient working conditions.
For irrigation system maintenance:
– Clean filters monthly during growing season
– Check for clogged emitters
– Flush lines seasonally
– Adjust watering schedules based on weather and plant needs
– Winterize system before first frost