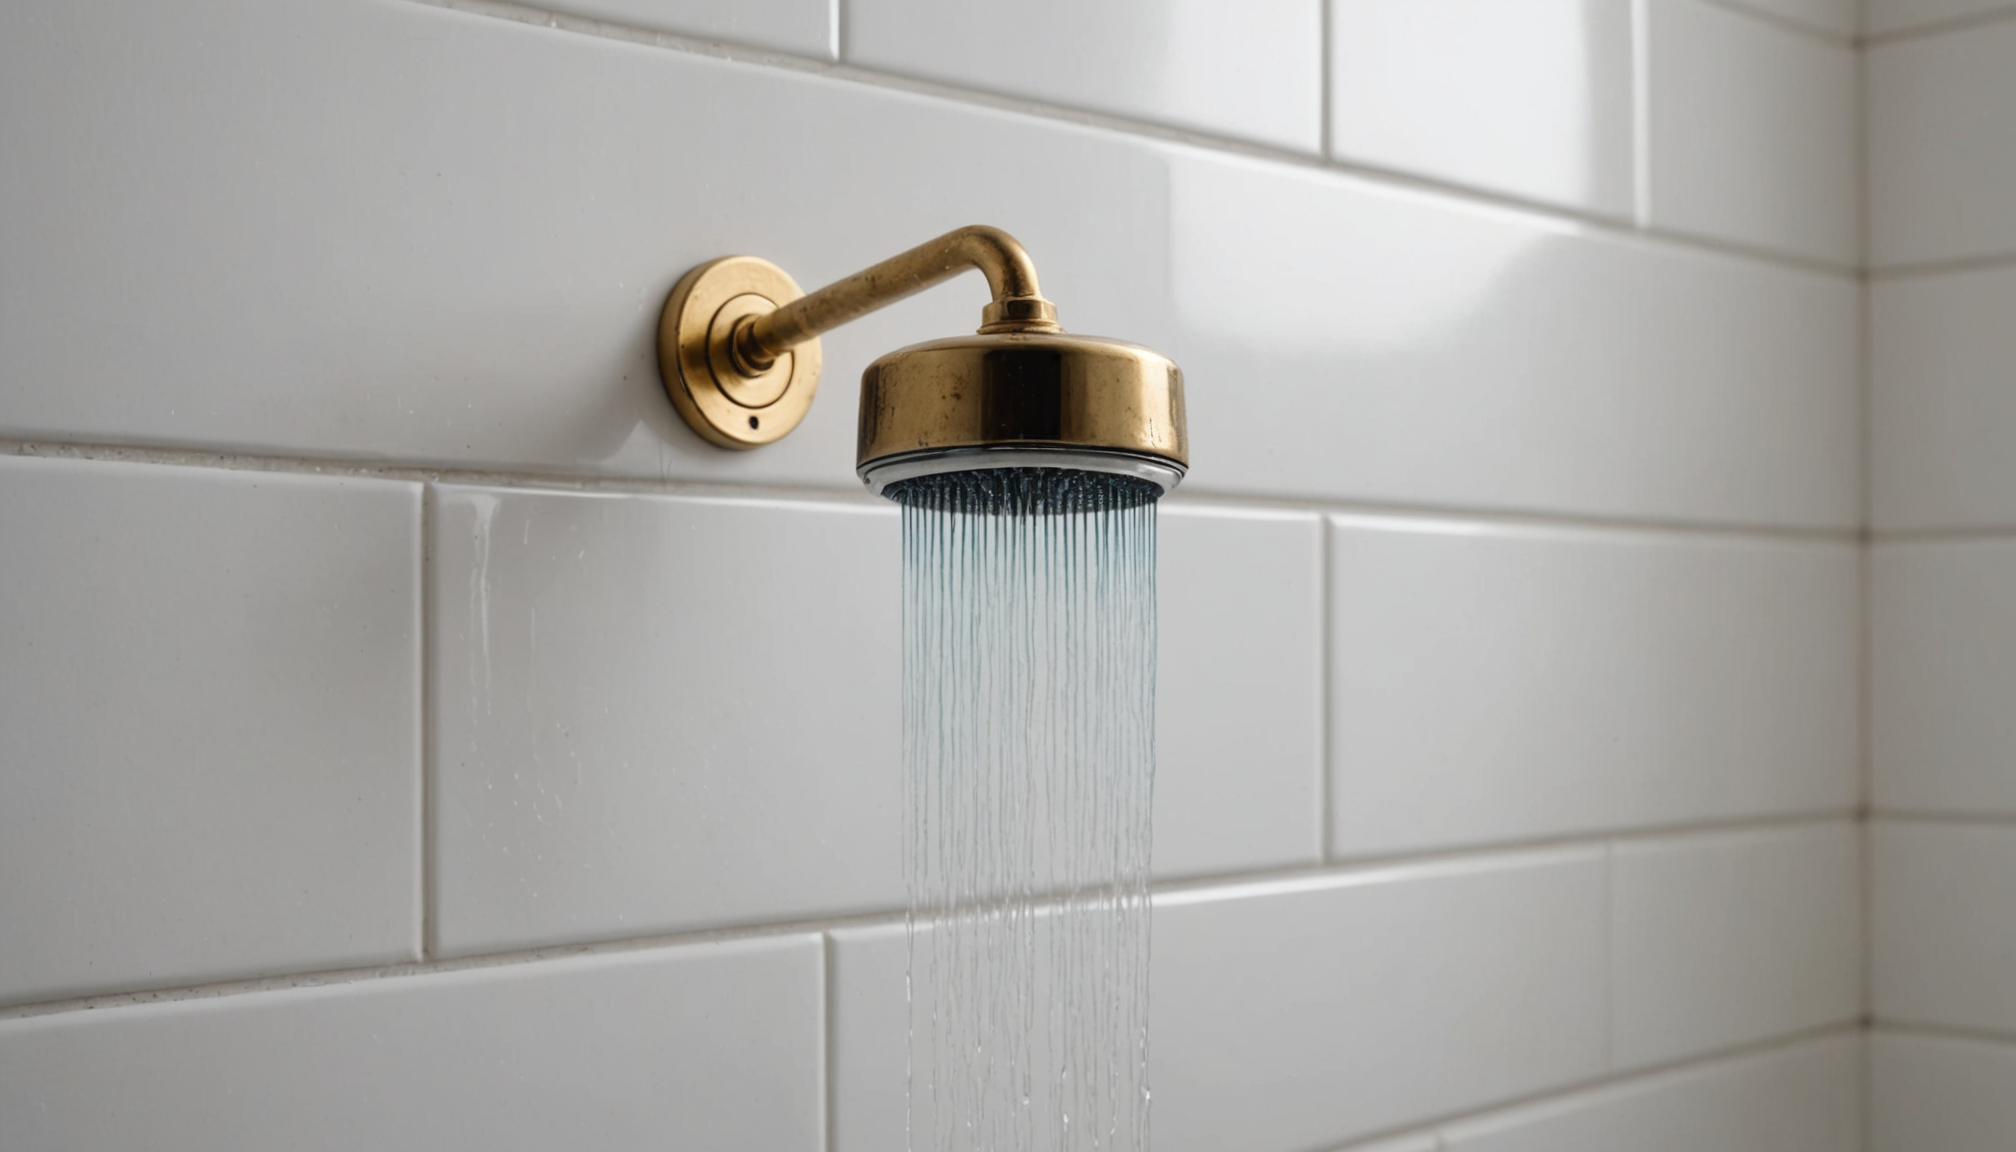
In the quest to maintain a functional and efficient bathroom, understanding the role of shower cartridges is essential. Shower cartridges are a crucial component of your shower valve, the mechanism that controls the flow and temperature of water in your shower. When drips or leaks occur, it’s often the shower cartridge that’s at fault, and knowing how to address this can save you from costly plumbing repairs down the line.
A shower cartridge is a small, cylindrical device that regulates the mixing of hot and cold water within the shower valve. Over time, these cartridges can wear out due to mineral deposits, corrosion, or simple wear and tear, leading to leaks. According to the Environmental Protection Agency, a showerhead leaking at 10 drips per minute wastes more than 500 gallons of water per year. This not only impacts your utility bills but also contributes to water wastage on a larger scale. Therefore, understanding and addressing issues with shower cartridges is not just a matter of convenience but also one of environmental responsibility.
There are different types of shower cartridges, each designed to fit specific shower valve brands and models. The most common types include:
- Moentrol Cartridges: Used in Moen shower valves, these cartridges feature a unique design that allows for easy replacement.
- Delta Monitor Cartridges: Delta faucets use a monitor cartridge system designed for precise temperature control.
- Generic Cartridges: These are designed to fit a variety of shower valve models, offering a universal solution for many homeowners.
Recognizing the signs of a failing shower cartridge is the first step in leak repair. Symptoms include dripping showerheads, fluctuations in water temperature, and difficulty in turning the shower handle. Addressing these issues promptly can prevent further damage and maintain the overall plumbing health of your bathroom. In the following sections, we will guide you through the process of replacing a shower cartridge, from gathering the necessary tools to testing the new cartridge.
Tools needed for replacement
Before starting the shower cartridge replacement process, it’s essential to gather the right tools. Having the correct equipment on hand will make the task smoother and help you effectively address the leak repair. Here’s a list of tools you’ll need for this plumbing job:
- Adjustable Wrench: This will be used to remove the shower handle and other fittings that may be secured by nuts or bolts.
- Screwdriver: A Phillips or flathead screwdriver, depending on the type of screws used in your shower handle and trim plate. This will help you disassemble these components to access the shower valve.
- Allen Wrench: Some shower handles and trim plates are secured with set screws, which typically require an Allen wrench for removal.
- Needle-Nose Pliers: These can be handy for removing any clips or retaining pins that might be holding the shower cartridge in place.
- Silicone Grease or Plumber’s Grease: Applying a small amount of grease to the new cartridge can help ensure a smooth and proper installation.
Once you have all the necessary tools, you’ll be well-equipped to tackle the replacement process. Keep in mind that the specific tools needed may vary slightly depending on the brand and model of your shower valve. If you’re unsure about any steps in the process, consult the manufacturer’s instructions or seek advice from a professional plumber to ensure the job is done correctly.
Having these tools ready will not only make the replacement process more efficient but also help minimize any potential damage to your bathroom’s plumbing fixtures. With the right equipment and a clear understanding of the steps involved, you can confidently proceed with the leak repair and restore your shower to its optimal functioning.
Removing the old shower cartridge
One common mistake people make when removing the old shower cartridge is failing to shut off the water supply to the bathroom before starting the job. This oversight can lead to water spraying uncontrollably when you disassemble the shower valve, creating a messy and potentially damaging situation. To avoid this, ensure you locate the shut-off valves, which are usually behind the shower wall or in the basement, and turn them clockwise to close them completely. If your bathroom doesn’t have individual shut-off valves, you may need to turn off the main water supply to your home.
Another mistake is not covering the shower drain to prevent small parts from falling in. Shower cartridges are often held in place by small clips, screws, or other components that can easily slip out of your hands and down the drain. To avoid this inconvenience and potential plumbing issues, cover the drain with a cloth or a small towel before you begin the removal process. This simple step can save you a lot of trouble and ensure that no parts go missing.
People also commonly use excessive force when trying to remove the old shower cartridge, which can lead to damaging the cartridge or even the shower valve itself. If the cartridge is stubborn and won’t come out easily, it’s likely due to mineral buildup or corrosion. Instead of forcing it, try soaking the cartridge with a penetrating oil or a vinegar solution to loosen it. Allow the solution to sit for a while, then gently use your tools to wiggle the cartridge free. Patience is key in this step to avoid causing any unintended damage that could complicate your leak repair.
Lastly, some homeowners neglect to take a photo or make a note of the exact position and orientation of the old cartridge before removing it. This information is crucial when installing the new cartridge, as it needs to be positioned precisely the same way to function correctly. To avoid this mistake, snap a quick picture with your phone or sketch a simple diagram indicating the position of the cartridge. This reference will be invaluable when you install the new cartridge and ensure that your shower valve operates smoothly.
By being aware of these common mistakes and taking the necessary precautions, you can make the process of removing the old shower cartridge much smoother and avoid any potential pitfalls that could complicate your plumbing task.
Installing the new shower cartridge
To install the new shower cartridge, begin by ensuring the area is clean and free of debris left from the removal process. First, apply a thin layer of silicone grease or plumber’s grease to the O-rings on the new cartridge. This step is crucial as it helps create a watertight seal and prevents future leaks. Lubricating the O-rings also makes it easier to insert and align the new cartridge properly within the shower valve.
Next, carefully align the new shower cartridge with the slot in the valve body where the old cartridge was originally positioned. Make sure the cartridge is oriented correctly, using the photo or diagram you took earlier as a reference. Pushing the cartridge in at the wrong angle or upside down can cause damage and lead to further plumbing issues.
Insert the cartridge gently but firmly, ensuring it is pushed in all the way. Some cartridges may require a slight twist or turn to lock into place. Do not use excessive force; the cartridge should slide in smoothly if aligned correctly. If you encounter resistance, double-check the alignment and the size of the cartridge to ensure it matches your shower valve model.
Once the cartridge is fully inserted, secure it in place using any clips, screws, or retaining pins that were removed earlier. These components are essential for keeping the cartridge stable and preventing it from moving or leaking. Be careful not to overtighten any screws, as this could strip the threads or damage the cartridge.
After the cartridge is securely in place, you can begin reassembling the shower handle and trim plate. First, replace any washers or gaskets that were removed, ensuring they are properly seated to prevent leaks. Then, carefully position the trim plate back onto the wall, aligning it with the screw holes. Secure it using the screws you removed earlier.
Finally, reattach the shower handle, making sure it is properly aligned and tightened. Be cautious not to overtighten, as this could damage the handle or the internal components of the shower valve.
With the new shower cartridge securely installed and the shower handle reassembled, you’ve successfully completed a significant step in your leak repair process. By taking the time to properly install the cartridge and reassemble the components, you’ve ensured that your bathroom’s plumbing is in good working order.
Remember, patience and attention to detail are key when performing plumbing tasks. Rushing through the installation process can lead to mistakes and further issues. Take your time, follow the steps carefully, and don’t hesitate to consult manufacturer instructions or seek professional advice if needed.
With the new cartridge in place, you’re one step closer to restoring your shower to its optimal functioning and eliminating those annoying drips. Great job! Now, let’s move on to testing the new shower cartridge to ensure everything is working perfectly.
Testing the new shower cartridge
- What if the new shower cartridge still leaks after installation?
- If the new shower cartridge still leaks after installation, first ensure it is correctly positioned and secured. If it is, then the issue might be with the O-rings or seals. Try replacing them and reinstalling the cartridge. If the leak persists, there might be a deeper plumbing issue requiring professional assistance.
- Can I replace a shower cartridge without turning off the water supply?
- No, it’s crucial to turn off the water supply before replacing the shower cartridge to prevent water from spraying uncontrollably when you disassemble the shower valve. This step protects your bathroom from flooding and potential damage.
- How do I know if I’ve purchased the correct shower cartridge for my shower valve?
- To ensure you have the correct shower cartridge, check the brand and model of your shower valve. Most manufacturers provide specific part numbers or compatibility charts. If unsure, consult a plumbing professional or contact the manufacturer’s customer service.
- Why is greasing the new shower cartridge important?
- Applying a thin layer of silicone grease or plumber’s grease to the O-rings on the new cartridge helps create a watertight seal, preventing future leaks. It also makes it easier to insert and align the new cartridge properly within the shower valve, ensuring a smooth installation.
- What should I do if I can’t loosen the old shower cartridge?
- If the old shower cartridge is stubborn and won’t come out easily, it might be due to mineral buildup or corrosion. Try soaking the cartridge with a penetrating oil or a vinegar solution to loosen it. Allow the solution to sit for a while, then gently use your tools to wiggle the cartridge free. Patience is key to avoid causing damage.