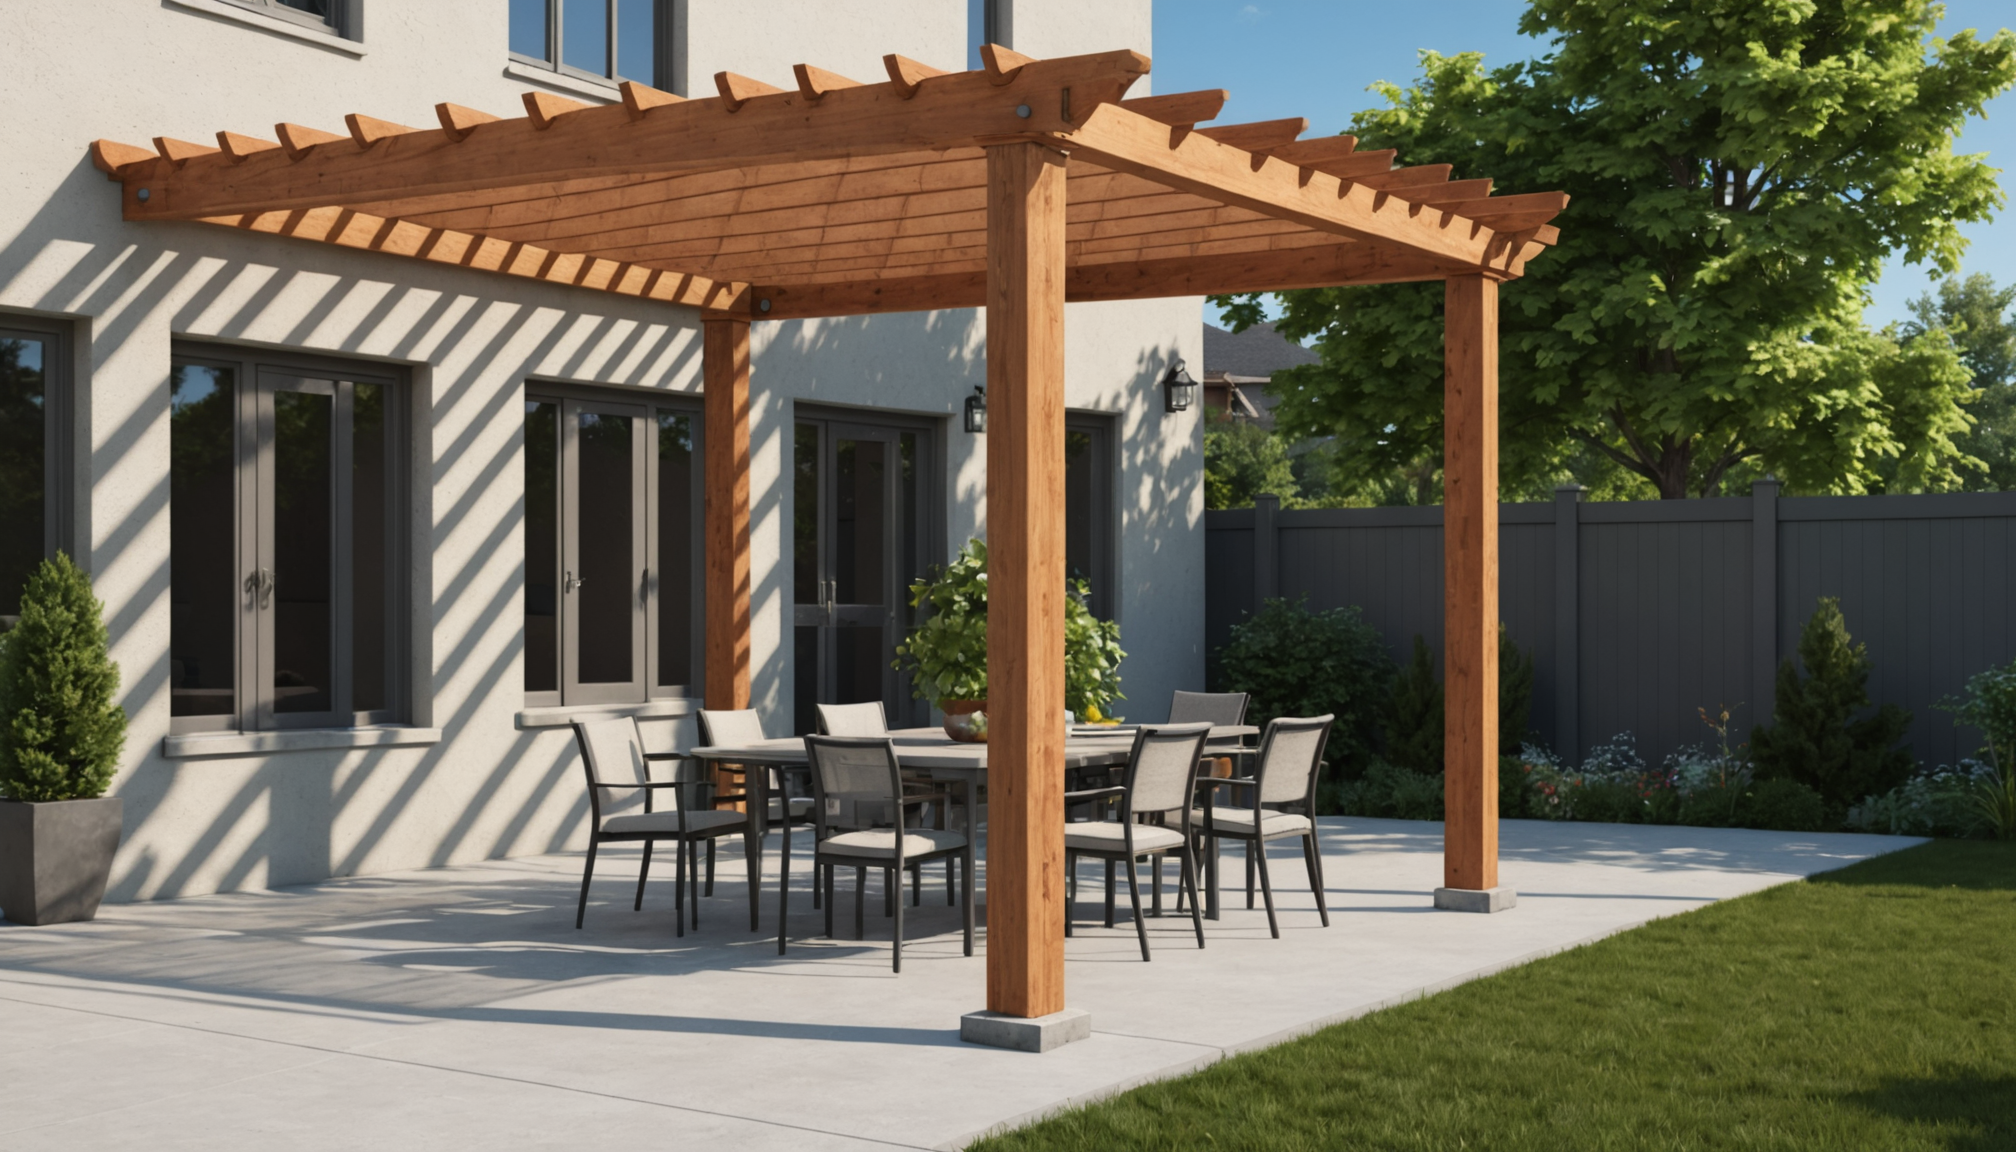
When installing outdoor shade structures, understanding load-bearing requirements is crucial for safety and longevity. According to the International Building Code (IBC), a properly designed pergola or shade sail system must withstand both dead loads (the structure’s weight) and live loads (wind, rain, and snow). The American Society of Civil Engineers (ASCE) recommends that residential shade structures should be capable of supporting a minimum of 20 pounds per square foot for general loads.
For shade sails, the tension forces can be substantial, often reaching several hundred pounds at each anchoring point. Professional engineers recommend using a safety factor of 2.5, meaning the support structure should be capable of handling 2.5 times the expected maximum load. Posts for pergolas typically need to support vertical loads ranging from 750 to 1,500 pounds, depending on the size and design of the structure.
- Support posts should be a minimum of 4×4 inches for small structures
- 6×6 inch posts are recommended for larger pergolas or high-tension shade sails
- Post depth should be at least 1/3 of the above-ground height
- Corner posts require additional reinforcement due to increased stress
Load distribution is particularly critical for shade sail installations. Dr. Sarah Chen, a structural engineer specializing in outdoor structures, notes that the angle of attachment significantly impacts load forces. “A minimum angle of 15 degrees from horizontal is essential for proper tension and water runoff, but this can increase the load on anchoring points by up to 30%,” she explains.
For pergola beams and rafters, spacing becomes a crucial consideration. The National Design Specification for Wood Construction suggests maximum spans based on lumber dimensions. For example, 2×6 rafters should not span more than 8 feet without additional support when spaced 24 inches apart. Metal brackets and connectors must be rated for the specific load requirements, with hot-dipped galvanized or stainless steel hardware being essential for outdoor applications.
Materials and hardware selection
When selecting materials for outdoor shade structures, durability and strength are paramount considerations. High-grade stainless steel hardware, specifically marine-grade 316, offers superior corrosion resistance and is ideal for anchoring points in shade sails and pergolas. The hardware should include turnbuckles, D-rings, carabiners, and pad eyes rated at least 2-3 times the expected load capacity.
For shade sail installations, commercial-grade fabric with high-density polyethylene (HDPE) is recommended, featuring reinforced edges and corner points to prevent tearing at anchoring locations. The fabric should come with a minimum 10-year UV warranty and be rated for at least 90% UV protection. Corner reinforcement patches should extend at least 24 inches from each attachment point.
The anchoring hardware must match the intended application. For pergolas, heavy-duty galvanized post bases and joist hangers are essential, while shade sails require robust mounting plates and tensioning devices. Through-bolts should be a minimum of 1/2 inch in diameter for primary connections, with carriage bolts or lag screws being suitable for secondary attachments.
Connecting plates and brackets should be manufactured from minimum 3/16-inch thick steel plate, hot-dip galvanized or powder-coated for weather resistance. When selecting cable for shade sail installations, marine-grade stainless steel wire rope with a minimum diameter of 4mm is recommended for smaller installations, while 6mm or 8mm may be necessary for larger spans.
- Use marine-grade 316 stainless steel hardware for all primary anchoring points
- Select shade sail fabric with reinforced corners extending at least 24 inches from attachment points
- Install through-bolts with a minimum 1/2-inch diameter for primary connections
- Choose wire rope with appropriate diameter based on span length (4-8mm)
Ground anchoring methods
One of the most critical yet often overlooked aspects of outdoor shade structure installation is proper ground anchoring. Many DIY enthusiasts underestimate the forces involved, leading to potentially dangerous situations. A common mistake is using shallow concrete footings that aren’t adequate for the structure’s size. The concrete footing should extend below the frost line, which varies by region but typically ranges from 12 to 48 inches deep.
Property owners frequently make the error of not properly preparing the hole for anchoring posts. The hole should be bell-shaped at the bottom, wider than the top, to resist uplift forces. Simply digging a straight-sided hole and filling it with concrete won’t provide adequate stability for shade sails or pergolas.
Another frequent oversight is improper drainage preparation. Without proper drainage, water can collect around the base of anchoring points, leading to premature deterioration. Installing a 6-inch layer of gravel at the bottom of each post hole allows for proper drainage and helps prevent frost heave in colder climates.
Many people also make the mistake of using standard concrete mix rather than high-strength concrete rated for outdoor use. The concrete mix should have a minimum compression strength of 2,500 PSI for adequate support. The concrete should be allowed to cure for at least 72 hours before any tension is applied to the anchoring points.
- Use j-bolts or post anchors rated for the specific load requirements
- Ensure concrete footings extend at least 6 inches beyond the post on all sides
- Install temporary bracing to hold posts plumb while concrete cures
- Use a concrete mix with a minimum 2,500 PSI rating
Chemical anchors are sometimes used incorrectly in ground applications. These anchors are designed primarily for solid concrete or masonry and may not provide adequate strength when used in poured footings. Instead, j-bolts or post anchors should be set during the concrete pour to ensure maximum strength and stability.
People often overlook the importance of soil testing before installation. Different soil types require different anchoring approaches. Sandy soils may need deeper or wider footings, while clay soils might require special drainage considerations. A soil test can help determine the appropriate anchoring method and footing size for your specific location.
Wall and post mounting techniques
When mounting shade structures to walls or installing support posts, precise technique and proper hardware selection are essential for long-term stability. A common approach for wall mounting involves using substantial mounting plates that distribute the load across a wider surface area. These plates should be secured into the building’s structural framework, ideally into wall studs, headers, or masonry using appropriate anchors.
For brick or masonry walls, 1/2-inch threaded rods with epoxy anchoring systems provide superior strength compared to traditional expansion bolts. Each mounting point should be capable of supporting at least 400 pounds of pull-out force for typical outdoor shade installations. When mounting to wood-framed walls, through-bolting is preferred over lag screws, with a minimum of two 5/8-inch bolts per mounting plate.
Post mounting requires careful attention to connection details:
• Use galvanized post bases with standoff plates to prevent moisture accumulation
• Install diagonal bracing for posts taller than 8 feet
• Ensure post-to-beam connections use appropriate hardware like hurricane ties
• Implement double joist hangers at critical pergola connection points
The angle of shade sail mounting hardware significantly impacts the structure’s stability. Mounting points should be oriented to create a minimum 15-degree angle from horizontal, while ensuring the hardware can pivot slightly to accommodate movement. Strategic placement of turnbuckles allows for proper tensioning and future adjustments.
For pergola installations, posts must be securely fastened to their concrete footings using appropriate anchoring methods:
• Cast-in-place J-bolts with a minimum 1/2-inch diameter
• Heavy-duty post bases with four-point anchoring
• Standoff plates to elevate wood posts above concrete
• Through-bolt connections for post-to-beam assemblies
Remember to always verify local building codes regarding connection requirements, as these can vary by region and structure type. Working with high-quality, corrosion-resistant hardware and following manufacturer specifications will ensure your shade structure remains secure for years to come. With proper installation techniques and attention to detail, you’ll create a safe and durable outdoor living space that stands up to daily use and weather conditions.
Wind resistance and weather considerations
- How strong does the wind need to be before I should take down my shade sail?
- Most shade sails are designed to withstand winds up to 85 mph when properly anchored. However, it’s recommended to remove or loosen the sail when sustained winds exceed 30 mph to prevent excessive stress on anchoring points and support structures.
- Can I leave my shade sail up during winter?
- In regions with snow, outdoor shade sails should be removed during winter months to prevent damage from snow load and harsh weather conditions. Even in warmer climates, taking down the sail during off-season allows for inspection and helps extend its lifespan.
- What’s the best way to protect my pergola from strong winds?
- Ensure your pergola has proper diagonal bracing and hurricane ties at all major connection points. For areas with frequent high winds, consider installing wind brackets and using thicker support posts (6×6 inches minimum) with deeper anchoring depths.
- How often should I check the tension of my shade sail?
- Inspect and adjust shade sail tension monthly during peak usage season and after any severe weather events. Proper tension helps prevent water pooling and reduces wind stress on anchoring points while maintaining the sail’s aesthetic appearance.
- Will my shade structure be safe in heavy rain?
- A properly installed shade structure with adequate slope (minimum 15 degrees) will safely handle heavy rain. However, ensure all drainage points remain clear and anchoring hardware is regularly inspected for signs of corrosion or loosening to maintain structural integrity.
Maintenance and safety inspections
Regular inspections and proactive maintenance are essential for ensuring the longevity and safety of outdoor shade structures. A comprehensive inspection schedule should include monthly visual checks during peak season and thorough bi-annual evaluations of all structural components. Pay special attention to anchoring points, which often experience the highest stress levels.
When examining shade sails, look for signs of fabric wear, particularly around the edges and connection points. Check for proper tension and ensure there’s no excessive sagging that could lead to water pooling. All hardware should be tested for tightness, and turnbuckles might need adjustment to maintain optimal tension levels.
For pergolas, inspect these critical areas:
• Wood components for rot, splitting, or pest infestation
• Metal hardware for rust or corrosion
• Anchoring points for stability and secure connections
• Post bases for signs of water damage or settling
• Fasteners for loosening or deterioration
Document all inspections and maintenance activities in a logbook, including:
• Dates of inspections
• Observed issues
• Repairs performed
• Hardware replacements
• Tension adjustments
• Weather damage incidents
Clean shade sails at least twice yearly using mild soap and water to prevent mold growth and maintain UV protection properties. Remove any debris that accumulates on pergola surfaces, as this can trap moisture and accelerate deterioration. Apply appropriate sealants or protective coatings to wooden components based on manufacturer recommendations.
Test the stability of support posts by checking for any movement or wobbling. Any detected looseness in anchoring points should be addressed immediately. Replace any corroded hardware with appropriate marine-grade alternatives to maintain structural integrity.
Keep trees and vegetation trimmed away from shade structures to prevent damage from falling branches and reduce the accumulation of leaves and organic debris. After severe weather events, conduct additional inspections to identify and address any potential damage promptly.