A running toilet is not just an annoyance; it’s a waste of water and money. According to the Environmental Protection Agency, leaks can waste up to 200 gallons of water per day, which can significantly impact your water bill. Before you dive into toilet repair, it’s crucial to identify the cause of the problem. This DIY plumbing task doesn’t require a professional if you know what to look for.
Start by understanding the basic mechanics of your bathroom’s toilet. A toilet is made up of a few key components: the bowl, the tank, and the mechanics inside the tank. The tank is the part that holds the water used for flushing. Inside the tank, there are several components that work together to make your toilet function properly. When something goes awry with these components, it can lead to a constantly running toilet.
To identify the cause, start by removing the tank lid. Be careful with it, as it’s breakable and can be heavy. Place it safely on the floor. Now, observe the water inside the tank. Here are some things to look for:
- If the water is flowing into the overflow tube, it indicates that the water level is set too high. The overflow tube is the open pipe in the center of the tank.
- If you notice water leaking from the bottom of the tank into the bowl, it could be due to a worn-out flapper. The flapper is the rubber piece at the bottom of the tank that lifts up when you flush, allowing water to flow from the tank into the bowl.
- If the water in the tank is not reaching the water line marked on the tank, it might be a sign of a leaky flush valve or a problem with the fill valve.
According to familyhandyman.com, these are the most common causes of a running toilet. Once you’ve identified the cause, you can move on to fixing the problem. Stay tuned for the next steps in this DIY toilet repair guide.
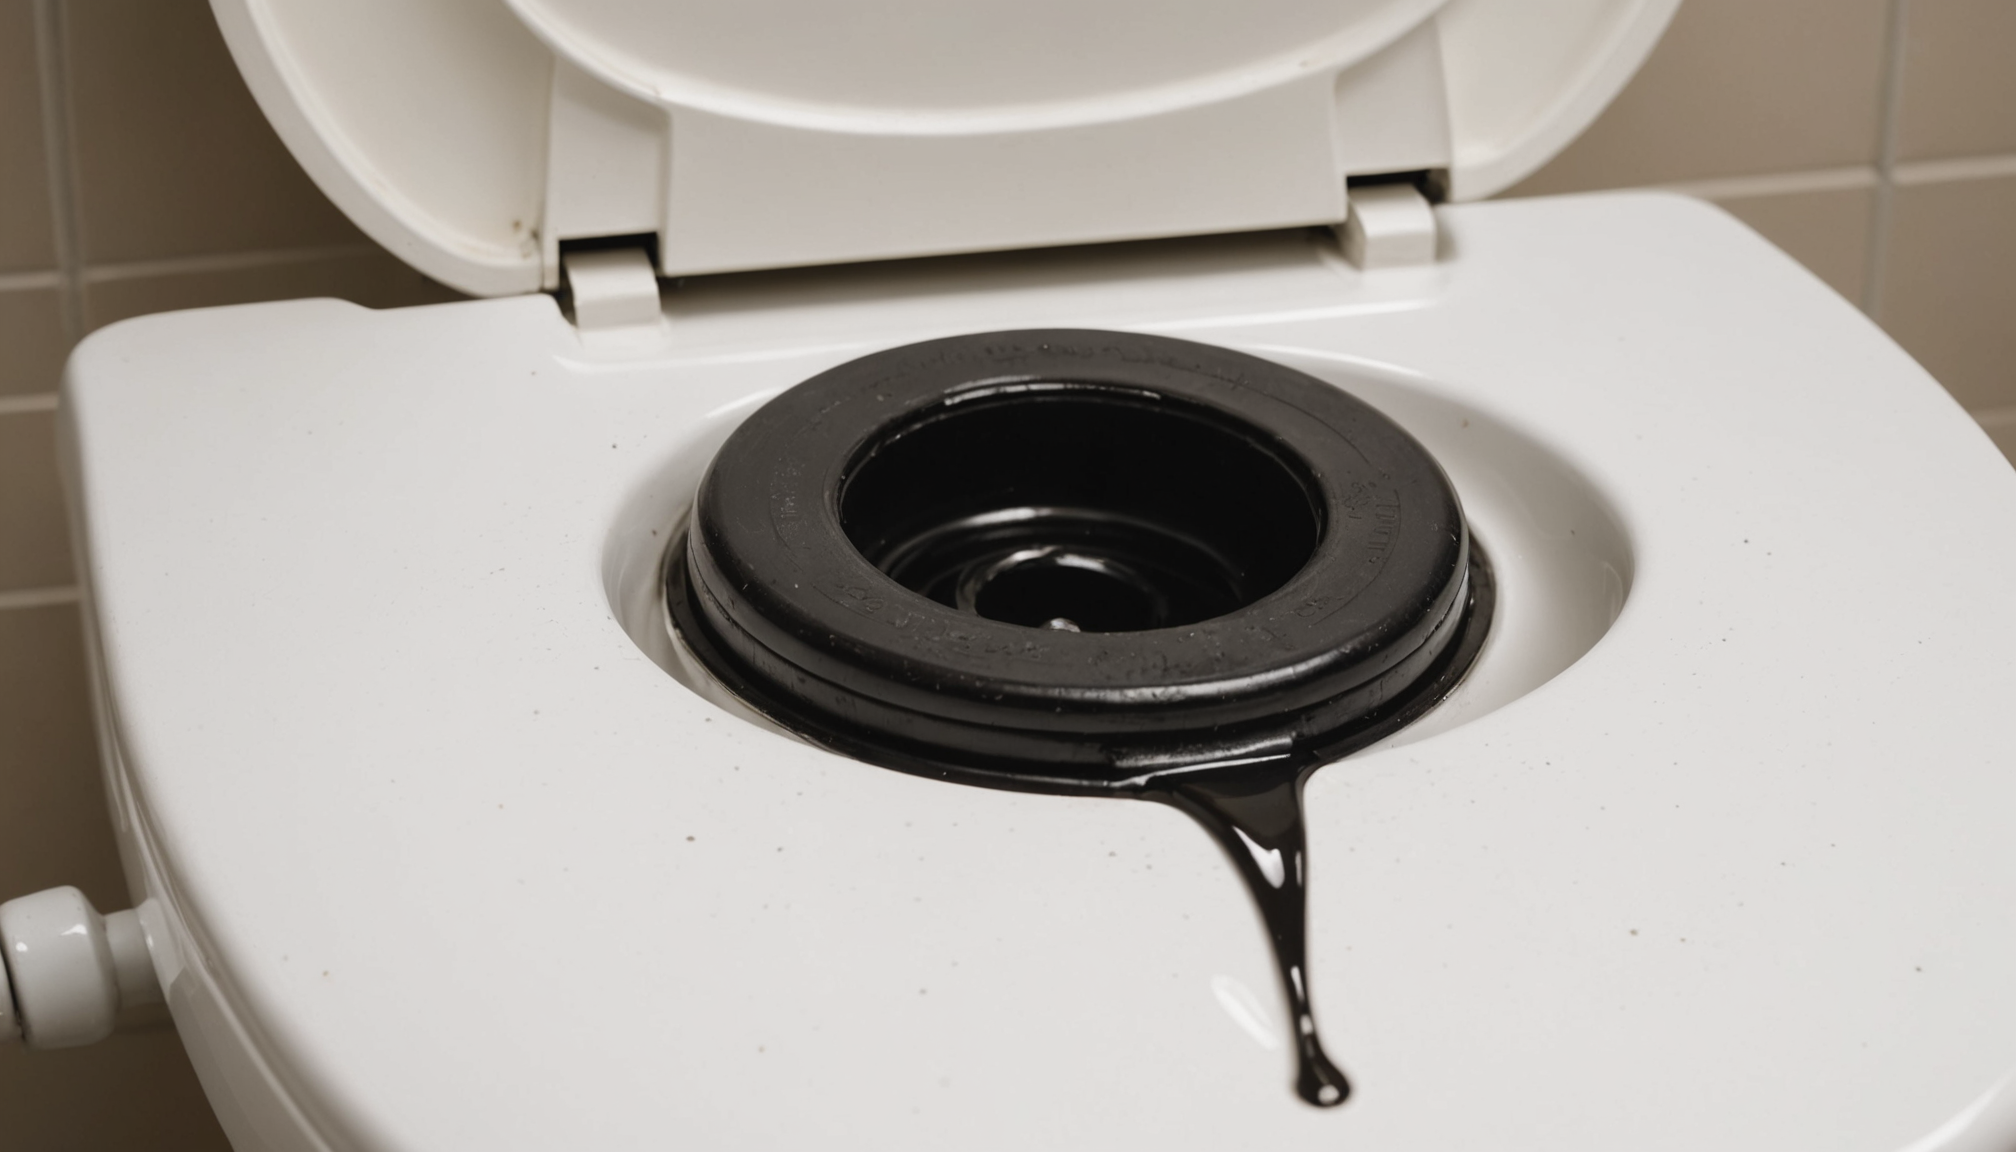
Check the flapper and flush valve
Once you’ve identified that the flapper or flush valve might be causing your toilet to run constantly, it’s time to investigate these components more closely. The flapper is a crucial part of your toilet’s plumbing, as it controls the flow of water from the tank to the bowl during a flush. Over time, the flapper can deteriorate, leading to a poor seal and a constantly running toilet.
Begin by turning off the water supply to your toilet. The valve is usually located behind the toilet in your bathroom. This step is essential to prevent water from flowing into the tank while you’re working on it.
Next, flush the toilet to empty the tank. This will allow you to work on the flapper without water getting in the way. Once the tank is empty, you can inspect the flapper more closely.
Here are some important facts and tips to consider when checking the flapper and flush valve:
- The flapper should be made of soft, flexible rubber. If it feels stiff or brittle, it’s likely that it’s worn out and needs to be replaced.
- Check the chain connecting the flush handle to the flapper. If the chain is too long or too short, it can cause the flapper to not seal properly. The chain should have a little slack but not so much that it gets caught under the flapper.
- Inspect the flush valve, which is the opening at the bottom of the tank that the flapper covers. If the flush valve is damaged or has mineral deposits around it, it might not be providing a flat surface for the flapper to seal against.
- If you need to replace the flapper, it’s an easy and inexpensive DIY toilet repair task. Simply remove the old flapper by unhooking it from the chain and sliding it off the pegs on the flush valve. Then, attach the new flapper in the same way.
- After replacing the flapper, turn the water supply back on and test the toilet to see if the running noise has stopped. If the toilet is still running, you might need to adjust the chain length or check the other components in the tank.
Taking the time to inspect and replace the flapper if necessary can save you a significant amount of water and money. It’s a simple toilet repair task that can be done by most homeowners without the need for a professional plumber.
Inspect the fill valve and float
When it comes to inspecting the fill valve and float, people often make a few common mistakes that can be easily avoided with the right knowledge. The fill valve is responsible for refilling the tank after a flush, and the float signals the valve to stop once the water reaches a certain level. Here are some mistakes to avoid and tips to help you through this DIY toilet repair task.
One of the most common mistakes is not understanding the type of fill valve in your toilet. There are different types, such as cup-style, floatless, and float-arm fill valves. Each operates slightly differently, so it’s essential to identify which one you have before proceeding with any adjustments. Most toilets will have a float-arm fill valve, which is easy to recognize due to its arm-like mechanism connected to a floating ball or cup.
Another mistake is skipping the step of checking the water pressure. High water pressure can cause the fill valve to not shut off correctly, leading to a running toilet. You can check the water pressure at your toilet’s water supply valve, located in your bathroom, usually behind the toilet. Normal water pressure should be around 40-80 psi. If it’s too high, you may need to install a pressure regulator.
Many people also overlook the importance of cleaning the fill valve. Mineral deposits and dirt can build up over time, causing the valve to malfunction. To clean it, close the water supply and flush the toilet to empty the tank. Then, remove the fill valve cap (you may need to twist it counter-clockwise and pull it up) and inspect for any debris or buildup. Use a brush or cloth to gently clean the valve area.
Additionally, people often overlook the need to properly adjust the float. If the float is set too high, water will constantly flow into the overflow tube, causing the toilet to run. If it’s set too low, the toilet may not flush effectively. To adjust the float, locate the adjustment screw or clip on the fill valve mechanism. If you have a cup-style float, you can adjust it by pinching the clip and sliding the float up or down. For a float-arm mechanism, you can bend the metal arm slightly or adjust the screw to change the float height.
Lastly, a common mistake is forcing components if they are stuck or not moving smoothly. If the float or other parts of the fill valve are not moving easily, don’t force them, as this could cause damage. Instead, try applying some gentle lubricant like WD-40 to loosen them up or, if necessary, consider replacing the entire fill valve assembly.
Avoiding these common mistakes will not only save you time and effort but also help ensure a successful DIY toilet repair. Always take your time to understand the plumbing components and be gentle with the parts to prevent further damage. If at any point you feel uncertain about what to do, consult a professional plumber for advice.
Adjust the tank water level
To adjust the tank water level, start by locating the water level mark on the inside of your toilet tank. This mark is often indicated by a small line or stamp labeled “water line.” The ideal water level should be about 1 inch below the top of the overflow tube, which is the open pipe in the center of the tank.
Here are the steps to adjust the water level correctly:
1. Identify the float type: The float is the component that signals the fill valve to stop the water flow once it reaches a certain level. There are two common types of floats: the cup-style float and the float-arm style.
2. Adjusting a cup-style float: If your toilet has a cup-style float, you can adjust the water level by pinching the clip on the side of the float and sliding it up or down. To lower the water level, slide the float down. To raise it, slide the float up.
3. Adjusting a float-arm style: For a float-arm mechanism, look for an adjustment screw or a small metal arm that connects the float to the fill valve. You can adjust the water level by gently bending the float arm slightly or by turning the adjustment screw. If you need to lower the water level, bend the arm down or turn the screw counterclockwise. To raise the water level, bend the arm up or turn the screw clockwise.
4. Test the water level: After making the adjustment, flush the toilet and observe the water level in the tank as it refills. The water should stop flowing just below the water line mark and about 1 inch below the top of the overflow tube.
5. Make fine adjustments if necessary: If the water level is still not correct after the first adjustment, make small incremental changes to the float until the water stops at the appropriate level.
Remember, adjusting the tank water level is an essential part of DIY toilet repair. A properly set water level ensures that your toilet operates efficiently and conserves water. Too high a level can cause water to constantly flow into the overflow tube, leading to a running toilet and wasted water. Too low a level can result in weak flushes and inadequate bowl cleaning.
By following these steps carefully, you can fine-tune your toilet’s plumbing and prevent the annoyance of a constantly running toilet. Don’t hesitate to take your time and make small adjustments as needed. With a little patience and the right know-how, you’ll have your bathroom’s toilet functioning smoothly in no time.
Keep up the good work—you’re well on your way to mastering DIY toilet repair!
Test the toilet and final checks
- What if my toilet is still running after I’ve tried everything?
- If your toilet is still running after you’ve checked the flapper, fill valve, and adjusted the water level, there might be a more complex issue at hand. It could be a leaky flush valve or other plumbing problems. In this case, it might be best to consult a professional plumber for further toilet repair.
- Can I fix a running toilet without any special tools?
- Yes, most DIY toilet repairs can be done with basic household tools. You’ll typically need just a screwdriver and maybe some adjustable pliers. The most important tool is knowledge—understanding how your bathroom’s plumbing works is half the battle.
- How often should I inspect my toilet’s mechanisms?
- It’s a good idea to inspect your toilet’s mechanisms every six months to ensure everything is in working order. Regular maintenance can help prevent small issues from turning into bigger plumbing problems that require professional toilet repair.
- Is it normal for my toilet to make a high-pitched sound when it’s filling?
- A high-pitched sound when your toilet is filling usually indicates a problem with the fill valve. It might be that the water pressure is too high, or the fill valve itself is malfunctioning. Try adjusting the water pressure or consider replacing the fill valve if necessary.
- How can I tell if my toilet’s flapper needs replacing?
- If your toilet’s flapper is worn out, it might feel stiff or brittle to the touch. Another sign is if you see water leaking from the tank into the bowl, even when the toilet isn’t being flushed. Replacing the flapper is an easy and inexpensive DIY toilet repair task that can save you a lot of water and money.