According to the National Weather Service, temperatures below 20°F (-6°C) can cause significant damage to unprotected outdoor plumbing systems. Professional plumbers report that up to 87% of frozen pipe incidents occur in improperly winterized outdoor fixtures, making proper preparation essential for preventing costly repairs.
The first step in outdoor plumbing winterization involves conducting a thorough inspection of all exterior components. Walk around your property and create a detailed inventory of all hose bibs, spigots, and exposed pipes. Check for existing leaks, drips, or damage that need immediate attention before winter weather sets in.
For optimal protection, experts recommend beginning the winterization process when overnight temperatures consistently drop to 40°F (4°C). This provides a safety margin before freezing conditions arrive. Key areas requiring attention include:
- All exterior hose bibs and faucets
- Exposed water supply lines
- Garden irrigation systems
- Pool equipment and lines
- Outdoor kitchen plumbing
- Basement or crawl space pipes near exterior walls
The International Association of Certified Home Inspectors emphasizes the importance of locating your main water shut-off valve and exterior shut-off valves before beginning winterization. These valves are typically found in basements, crawl spaces, or utility rooms, often near where the main water line enters your home. Mark these valves clearly and ensure all household members know their locations.
Modern homes built after 2012 typically feature frost-free hose bibs, which provide some inherent freeze protection. However, plumbing experts still recommend taking additional precautions, as these fixtures can still be vulnerable during extended cold spells. For homes with older fixtures, comprehensive winterization becomes even more critical.
Draining outdoor water lines
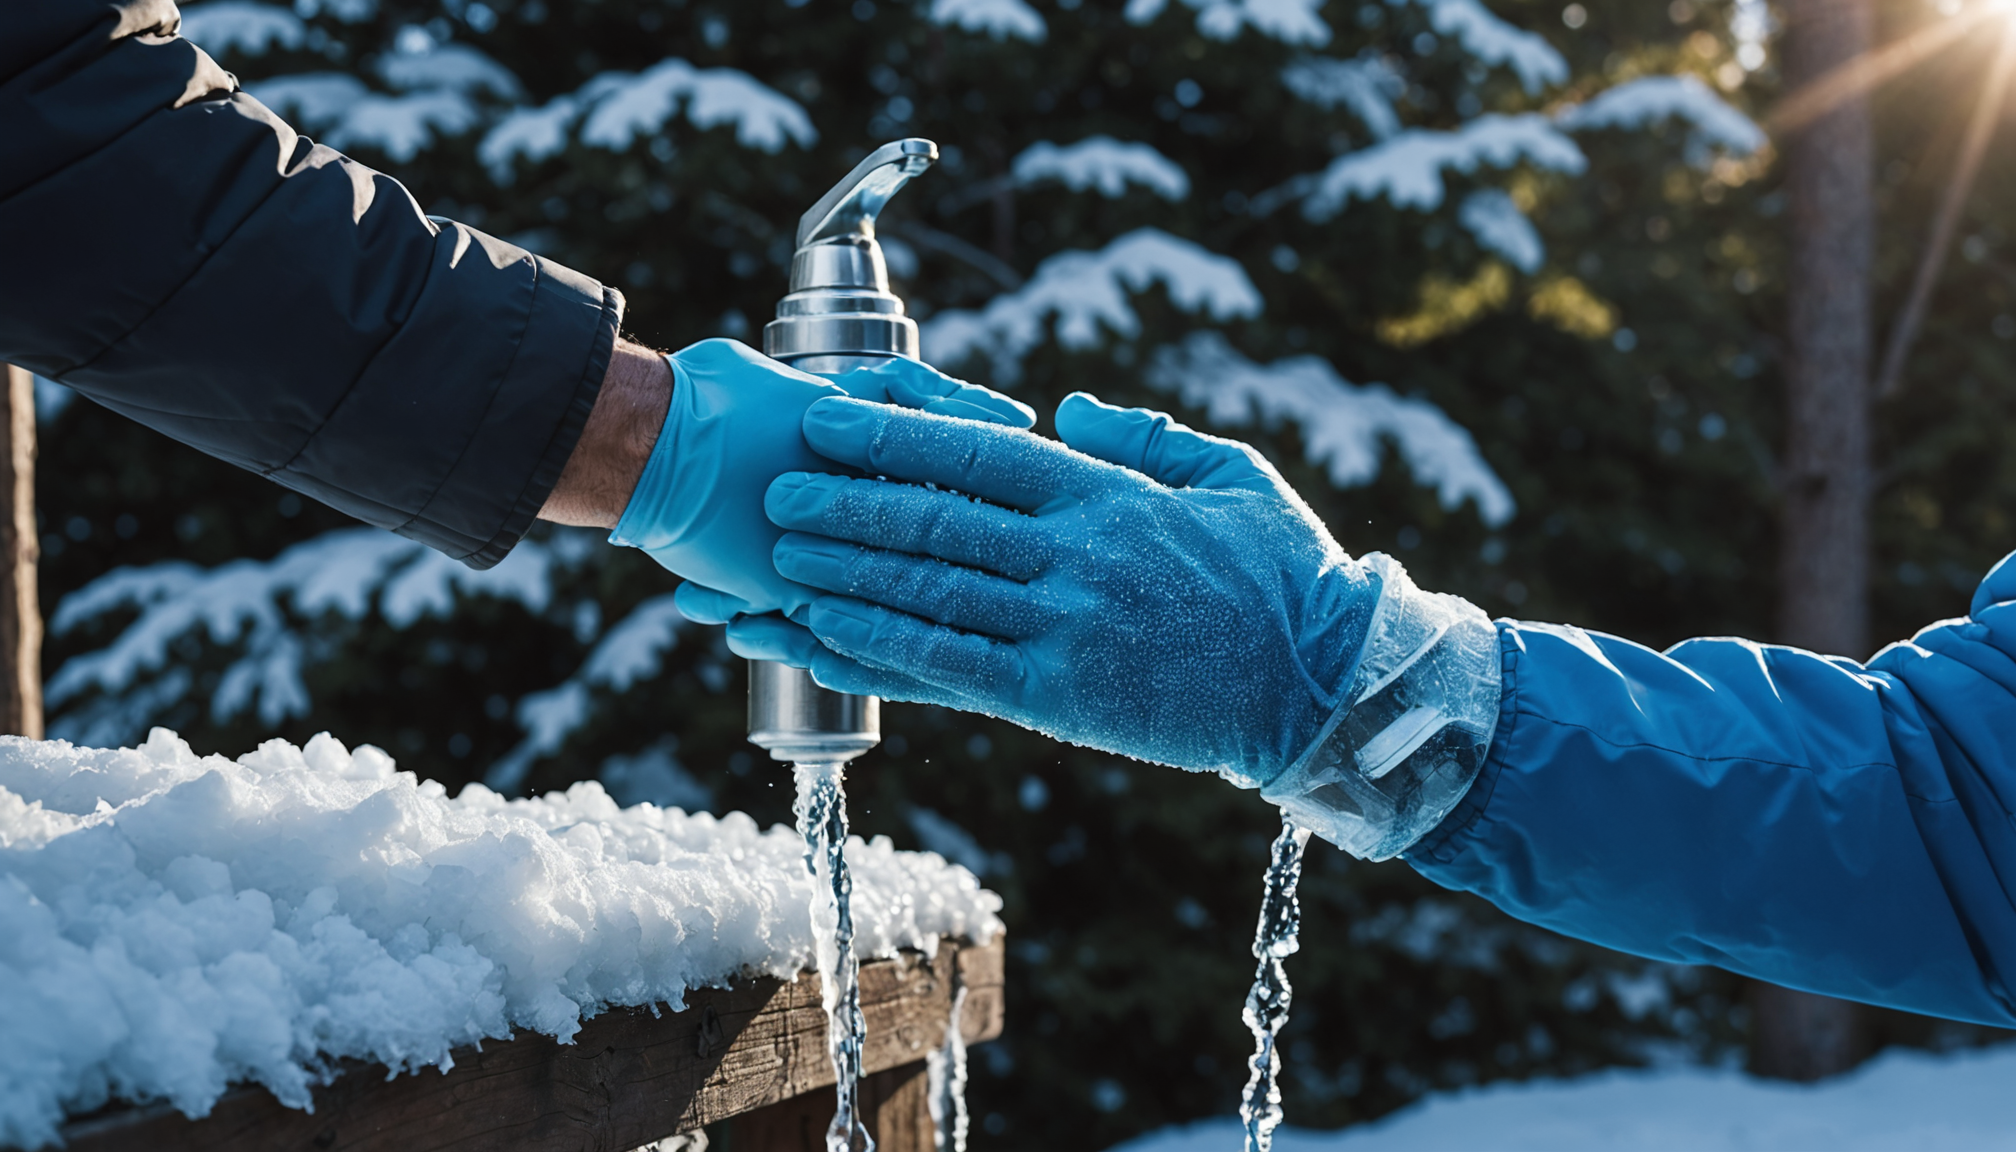
After shutting off the main water supply to outdoor fixtures, thorough drainage becomes crucial for preventing freeze damage. Begin by opening all outdoor faucets and hose bibs completely, allowing gravity to remove standing water from the lines. For multi-story homes, start draining from the highest points to ensure complete water evacuation.
Using an air compressor set to no more than 40 PSI can help force out remaining water in stubborn areas. Connect the compressor to each outdoor fixture for approximately two minutes, or until no more water exits the lines. This step is particularly important for irrigation systems and longer pipe runs where gravity drainage alone may be insufficient.
Special attention should be given to frost-free hose bibs, which can retain water in their internal stems. Even though these fixtures are designed with freeze protection, trapped water can still cause damage during severe cold snaps. After draining, leave all valves in the open position throughout winter to prevent pressure buildup from any residual water that might freeze.
- Drain pipes from highest to lowest points for maximum effectiveness
- Use compressed air at 40 PSI or less to avoid damaging pipes
- Keep valves open during winter to prevent pressure accumulation
- Check for water flow cessation at each outlet before finalizing drainage
Insulating exposed pipes and faucets
One of the most common mistakes homeowners make is relying solely on basic foam covers for outdoor faucet protection. While these covers provide some insulation, they’re not sufficient when used alone. For proper protection, wrap pipes and hose bibs first with thermal tape or pipe-heating cable, then add foam insulation sleeves, and finally secure a weatherproof cover over everything.
Many people also incorrectly assume that underground pipes don’t need protection because they’re below the frost line. However, sections where pipes rise to connect to outdoor fixtures are particularly vulnerable. These areas should be insulated with specialized underground pipe insulation rated for soil contact.
Another frequent error is improperly installing pipe insulation, leaving gaps between sections where cold air can penetrate. Always overlap insulation pieces by at least one inch and secure them with weatherproof tape. For maximum effectiveness, ensure the insulation extends from the outdoor fixture all the way into the heated space of your home.
During winterization, homeowners often forget about less obvious exposed pipes, such as those in unheated garages or under decks. These hidden pipes require the same level of protection as visible outdoor plumbing. Use foam pipe sleeves with a minimum R-value of 4 for these areas, and consider adding extra insulation in particularly cold climates.
A potentially costly mistake is failing to remove hoses from outdoor faucets before insulating. Even with proper covering, attached hoses can trap water and cause freezing damage. Always disconnect, drain, and store hoses separately before applying any insulation materials.
Irrigation system risers and above-ground components are frequently overlooked during the insulation process. These components should be wrapped individually with foam insulation and secured with cable ties. Pay special attention to backflow preventers and control valves, as these are particularly susceptible to freeze damage.
Remember that insulation materials can degrade over time. Using old, compressed, or water-damaged insulation provides inadequate protection. Replace any insulation that shows signs of wear, and inspect all materials annually before the cold season begins.
Shutting down irrigation systems
Proper shutdown of irrigation systems is crucial for preventing freeze damage and ensuring your sprinkler system remains functional for years to come. Begin by turning off the main water supply to your irrigation system at the dedicated shut-off valve. This valve is typically located near where the irrigation line connects to your home’s main water supply.
Next, activate each zone of your irrigation system for two to three minutes to relieve pressure and drain most of the water from the lines. Pay special attention to low points where water naturally collects. For systems with automatic drain valves, allow sufficient time for complete drainage – typically 30 minutes to an hour.
Using an air compressor with a compatible irrigation blow-out adapter, pressurize each zone to remove remaining water. Maintain air pressure between 30-50 PSI to avoid damaging pipes and components. Work systematically through each zone, starting with those furthest from the compressor connection point. Continue until no more water exits the sprinkler heads.
For systems with backflow preventers, ensure these components are fully drained. Most backflow devices have dedicated test cocks that should be opened to release any trapped water. Remove and store any above-ground components, such as rain sensors or removable heads, in a dry indoor location.
Remember to deactivate and drain automatic timer systems, removing batteries if applicable. Modern smart irrigation controllers should be set to “rain mode” or “winterization mode” rather than completely powered down to preserve programming. Document your zone settings and schedules before shutting down to simplify spring reactivation.
Key steps for thorough winterization include:
– Shut off main water supply
– Drain all zones completely
– Blow out lines with compressed air
– Empty backflow preventers
– Protect or remove exposed components
– Document system settings
Regular maintenance during the shutdown process helps identify potential issues that need addressing before spring. Look for signs of damage like cracked heads, leaking valves, or corroded fittings that could cause problems when the system is reactivated.
By following these detailed steps, you’ll protect your irrigation investment from freeze damage and ensure your system is ready for efficient operation when warm weather returns. Taking the time to properly winterize now saves significant time and money on repairs later.
Removing and storing equipment
- How long can I safely store my garden hoses during winter?
- Garden hoses can be stored safely for the entire winter season when properly drained and kept in a climate-controlled space. Coil hoses loosely to prevent kinks and store them off the ground to prevent moisture damage and freezing.
- What’s the best way to clean outdoor faucet covers before storage?
- Clean faucet covers with mild soap and water, then allow them to dry completely before storage. Remove any mold or mildew with a solution of one part bleach to three parts water, as these can damage the covers during long-term storage.
- Should I disassemble my backflow preventer for winter storage?
- Unless specifically recommended by the manufacturer, don’t completely disassemble the backflow preventer. Instead, drain it thoroughly and insulate or remove only the components specified in your owner’s manual. Store removed parts in a labeled container to prevent loss.
- What’s the proper way to store irrigation system sensors and controls?
- Remove batteries from all wireless sensors and store them separately in a cool, dry place. Keep electronic controls and smart irrigation components in a climate-controlled environment, and maintain a record of their programming settings for spring reinstallation.
- How should I organize and label my winterization equipment for next year?
- Create a dedicated storage container for all winterization supplies, including pipe insulation, faucet covers, and tools. Label all components clearly with weatherproof tags, and maintain an inventory list to ensure nothing is missing when needed next season.
Maintenance tips for spring activation
When springtime arrives, proper reactivation of your outdoor plumbing and irrigation systems requires careful attention to prevent damage and ensure optimal performance. Begin by visually inspecting all components for winter damage, including cracked pipes, loose fittings, or damaged hose bibs. Check insulation materials for signs of deterioration and remove them gradually as temperatures consistently remain above freezing.
Before restoring water flow, verify that all drain valves and outdoor faucets are closed. Turn the main water supply on slowly to prevent pressure surges that could damage pipes weakened during winter. Listen carefully for unusual sounds that might indicate leaks, and observe all fixtures for proper operation.
For irrigation systems, remove any winterization caps or plugs installed during shutdown. Activate each zone briefly at low pressure, checking for proper spray patterns and coverage. This gradual approach helps identify any sprinkler heads or valves that may need replacement or adjustment after winter storage.
Test backflow preventers and ensure all test cocks are closed and functioning correctly. Modern smart irrigation controllers should be reprogrammed with appropriate seasonal schedules, and batteries should be replaced in wireless sensors and controls.
Key maintenance tasks include:
– Cleaning and lubricating all valve stems and moving parts
– Replacing worn washers and O-rings in outdoor faucets
– Adjusting sprinkler heads for proper alignment
– Calibrating soil moisture sensors and rain gauges
– Updating irrigation schedules for spring weather patterns
Document any repairs or replacements made during activation, as this information helps track system performance and plan future maintenance. Remember to reinstall any removed equipment gradually, testing each component thoroughly before moving to the next.